


Use sustained water-quality trends, lighting and flow checks, guarded pumps, livestock health, maintenance consistency, and responsible sourcing to decide whether to add a bubble-tip anemone now or wait.
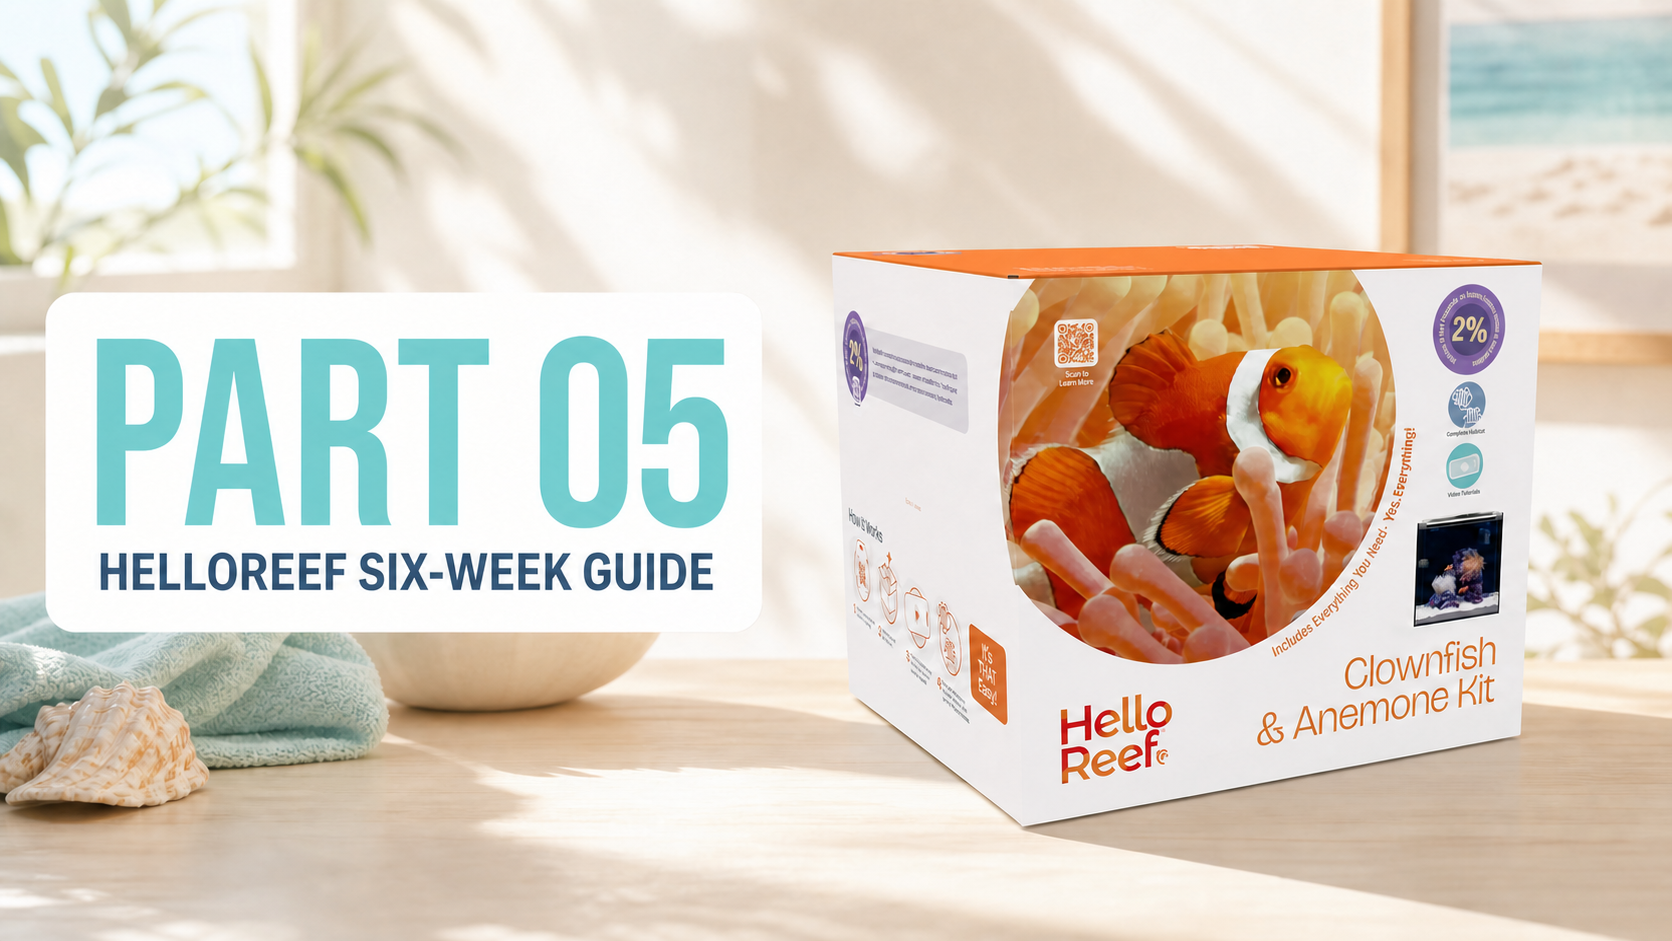
Learn how to decide between one clownfish and a compatible pair, evaluate a seller and individual fish, prepare quarantine, handle arrival, feed conservatively, and recognize when the aquarium is ready for the next stage.

Learn when a new aquarium is ready for its first cleanup animals, how to select by job instead of a generic gallon package, and how to plan sourcing, arrival, acclimation, and feeding.

Learn what cycling accomplishes, prove biological readiness with test results instead of a countdown, and build the top-off, testing, seawater, and observation habits a small aquarium needs.

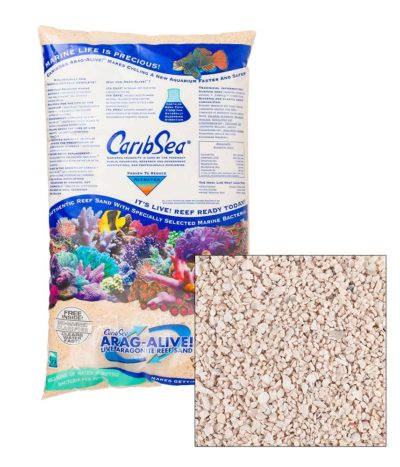
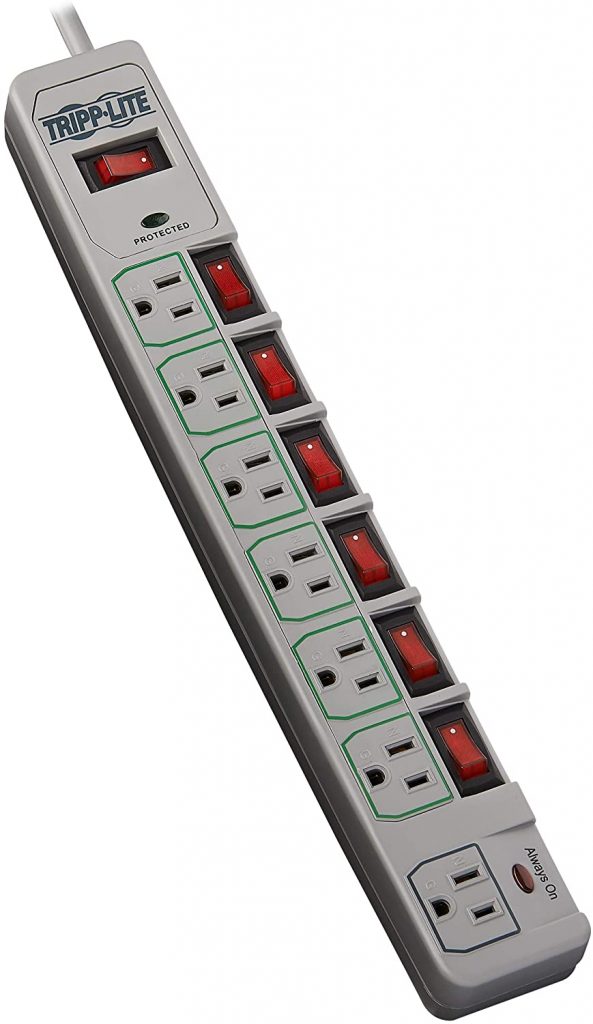
Turn the dry HelloReef aquarium into a measured, safely powered saltwater system with appropriate source water, stable salinity and temperature, useful circulation, and a consistent lighting plan.

Start your HelloReef aquarium correctly by choosing the location, inspecting the kit, understanding the equipment, and building a stable, maintainable aquascape before the first fill.