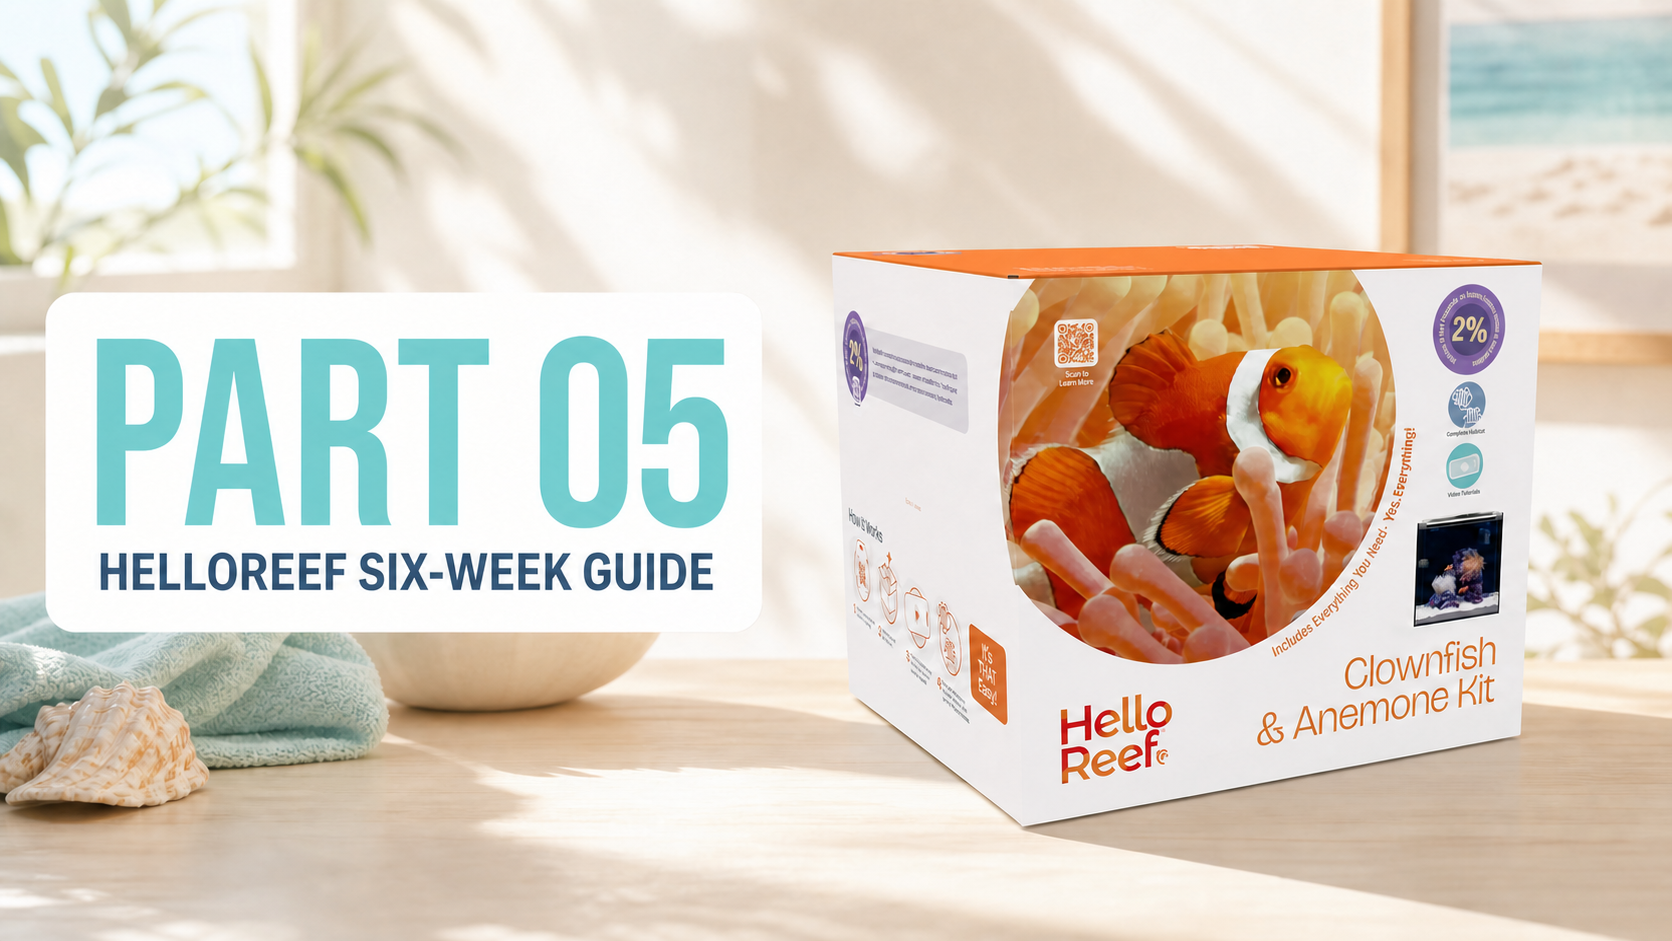
Updated 2024
This compilation is tailored for individuals seeking a nano-tank (under 20 gallons) and are ready to invest a bit more for premium equipment.
At the heart of this setup is the Innovative Marine 14 gallon peninsula tank with APS stand. It’s a great size, comes with a ton of different gear, and is just an all around great small tank.

Key Stats:
Size: 14 Gallon
Dimensions:11.8″L x 20″ W x 13″ H
I actually own this tank and it is such a great size and value.
Create a welcoming environment for yourself with the Fusion Pro 2 Series, an advanced All-In-One (AIO) aquarium that stands out in its class. Inspired by the success of its award-winning predecessors, this aquarium comes packed with convenient features, including a built-in emergency overflow, adjustable water level risers, leveling mat, and a secure screen lid. Whether you’re into saltwater or freshwater setups, these nano-sized desktop aquariums make the hobby a breeze.
Designed for ease of use, the Fusion Pro 2 Series boasts customizable dual return nozzles and a controllable DC return pump. Essential filter media is neatly organized in a custom caddy concealed behind the filter wall, ensuring a clean and tidy look. By elevating the standard features, this AIO allows you to create a spacious and functional setup even in limited space.
This all in one kit includes a ton of stuff!
– 14 Gallon Nuvo Fusion Peninsula PRO 2 Aquarium
– MightyJet 326 GPH Return Pump with Controller
– Removable 200 Micron Filter Sock
– Desktop CustomCaddy Media Basket with PurityPack Filter Media, including:
– Mechanical Fiber Ball
– Premium 0.8 ROX Carbon Pack
– High Capacity Coarse GFO Pack
– Preinstalled Rubber Leveling Mat
– Pre-Assembled SafeScreen Mesh Screen Lid
– MicroMag Glass Cleaner
– Nuvo Return Nozzle
– High Tide Water Riser

New lights released in 2023, the AquaIllumination Blades have taken off. They come in a lot of different sizes and in four color configurations. The best general all around is the Blade Grow. A mix of blues and whites, specifically designed for coral growth
What’s really handy about the Blade light, is it doesn’t need a mount because it comes with detachable feet that it directly on the rim of your tank.
For this IM peninsula tank, the 12″ Blade is the right size, and one will work just fine. I’ve been using one on my 15 gallon HelloReef tank and it has been so good for my anemones!

Let’s talk heaters: it’s important to remember that all heaters eventually give out, so it’s a factor to consider. There are a few heater types to choose from: glass, ceramic, and titanium being the main ones. Personally, I’ve always gone with glass heaters because they’re cost-effective and heat up water quickly. However, they’re also prone to breaking (I’ve unfortunately shattered a couple – maybe even three – in my time!)
Since the start of my journey, I’ve relied on Eheim Jager heaters. They’ve never let me down in over five years (with proper care, of course). Do note that these heaters require calibration, so team it up with a digital thermometer to dial in the temperature precisely.
By the way, for this 14-gallon tank, the 50 Watt Jager is all you need!

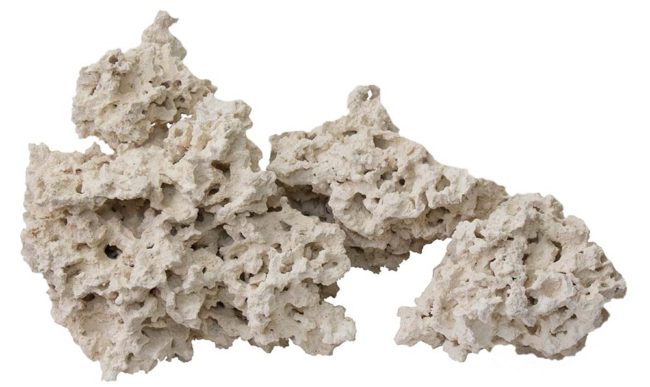
I’m a fan of this Marco Rock option. It’s sourced with the environment in mind, and you can start with as little as 10 lbs (which is perfect for this tank). However, while I do like it, it’s not my top choice. If it fit the plan for this build, I’d lean towards either the CaribSea Life Rock (20 lbs) or the Real Reef Rock.
Rock serves several purposes: it offers a hub for beneficial bacteria to thrive, creates hideouts for your aquatic residents, provides anchor points for corals, and frankly, it beats having an empty-looking tank!
For this smaller tank, you don’t need an excessive amount; I believe 10 lbs should do the trick. However, if you opt for more, it just gives you additional possibilities to explore!
Among the items in this affordable budget build, the Flipper magnetic algae scraper stands out as an exception. While there are cheaper alternatives available, none can match the performance and durability that the Flipper offers. Personally, I have been using the same Flipper for several years, and it continues to work flawlessly.
One significant advantage of the Flipper is its versatility. It allows you to switch between the stainless steel blade and the soft felt side without getting your hands wet, a feature that any saltwater aquarium hobbyist will appreciate. This magnetic algae scraper not only ensures efficient cleaning but also provides convenience and ease of use, making it a valuable addition to your aquarium maintenance toolkit.
For this tank, the Flipper Float Nano is the right size, as the glass on this aquarium isn’t super thick.

In addition to utilizing filters and filtration media, another crucial aspect of aquarium maintenance involves conducting water changes. This straightforward process entails removing a portion of saltwater from your tank and replacing it with fresh saltwater. During this procedure, employing a siphon allows you to “vacuum” and eliminate detritus, such as fish waste and leftover food, from the tank.
Obtaining saltwater can be done by visiting your local fish store and purchasing it directly from them. Alternatively, you might find distilled water available at the fish store or your nearby grocery store. Distilled water proves beneficial for topping off the aquarium, as it helps maintain the salinity when water naturally evaporates. If you’re keen on crafting your own saltwater, we’ll delve into that topic later!
For this particular saltwater aquarium setup, I recommend the Python 2″ Medium.

We don’t need anything fancy here, just something that is easy to look at everyday and that keeps an accurate temperature. The BRS Stick-On Thermometer just does that, and is about as inexpensive as they come. I like to place my stick on thermometers near the rear side of the tank so I can easily check it everyday, but don’t have to stare at it!

Possessing a fundamental test kit is a fundamental requirement for any enthusiast in the saltwater aquarium hobby. Its greatest utility lies in the initial stages of your aquarium endeavor, facilitating testing to confirm the nitrogen cycle’s completion.
While this particular test kit might not claim the top spot on the market, its affordability is coupled with the provision of a reasonable reading that caters to the needs of most hobbyists. It functions as an invaluable instrument for overseeing your aquarium’s well-being and identifying potential issues before they escalate into algae or bacteria blooms within the tank. Maintaining a proactive testing routine can significantly contribute to the preservation of a thriving and healthy saltwater aquarium.

Extremely inexpensive, every aquarium hobbyist needs a net! Not only is it good for catching and transferring fish, you can also use it when thawing frozen food to help get rid of any fillers or phosphates!

A refractometer stands as an indispensable tool for every enthusiast in the saltwater aquarium hobby. Its exceptional accuracy outshines that of a hydrometer, rendering it a valuable investment, even for those working within budget constraints.
Maintaining consistent and stable salinity levels holds paramount importance for the well-being of corals and invertebrates like shrimp and crabs. Unlike fish, these organisms exhibit high sensitivity to abrupt shifts in water parameters, especially salinity.
It’s worth noting that a refractometer necessitates calibration to ensure precise readings. However, the need to purchase an entire bottle of calibration fluid is unnecessary. Frequently, your Local Fish Store (LFS) will readily provide a few drops of calibration fluid, offering a cost-effective and pragmatic solution. By incorporating a reliable refractometer into your toolkit, you’re actively contributing to the optimal environment for your saltwater inhabitants.

Optional Items
Initially, many enthusiasts in the saltwater aquarium hobby often choose to acquire pre-made saltwater from their Local Fish Store (LFS). This decision is driven by the cost considerations of purchasing distilled water from a grocery store and the intricate nature of setting up a Reverse Osmosis Deionization (RO/DI) filter system.
However, if you’re inclined to both save costs and streamline your long-term setup, crafting your own saltwater at home presents a feasible alternative. With a plethora of salt mix options available in the market, I’ve personally experimented with numerous brands. While each of them performs effectively, their suitability hinges on the specific inhabitants of your saltwater aquarium.
In the context of this budget-conscious aquarium build, I recommend the usage of this specific salt mix. It proves optimal for Fish Only With Live Rock (FOWLR) systems or aquariums that house low-maintenance corals. Embracing this salt mix choice will contribute to achieving a harmonious and economical saltwater solution tailored to the needs of your aquarium.

Maintaining a stable temperature in your saltwater aquarium is crucial, as we previously discussed. Even the most reliable heating equipment can fail, leading to a complete aquarium crash. However, you can avoid such disasters with a simple and affordable solution priced at just $35. This device monitors your aquarium temperature, ensuring it stays within a precise 0.1° F range and prevents your heater from getting stuck in the “on” position, which could boil your saltwater.
The best part is that this controller can also handle cooling tasks! In my case, living in the desert, I use a fan during summers to keep my aquarium cool. I plug the fan into the “cooling” outlet and the heater into the “heating” outlet, maintaining a constant 78° F throughout the year. This impressive device also includes a built-in alarm, alerting me promptly if there’s a failure in the heater or fan. Remarkably, all these features come at an affordable price, making it an ideal addition to your budget-friendly aquarium build. With this controller, you can rest assured that your aquarium’s temperature remains stable, providing a safe and comfortable environment for your aquatic companions.

If your saltwater aquarium is primarily designed for fish or soft corals, you can afford to be less stringent about closely monitoring calcium and alkalinity levels. In such scenarios, regular water changes generally provide the necessary nutrients and parameters that these corals demand.
However, if your intention is to house SPS (small polyp stony) and LPS (large polyp stony) corals, maintaining adequate calcium and alkalinity levels becomes imperative to support their skeletal growth. This testing kit equips you with the ability to ascertain the approximate values of these parameters within your saltwater, allowing you to discern when additional dosing becomes necessary or if there’s a chance of overdosing.
Ensuring proper parameters remains pivotal for the overall well-being of your aquarium, regardless of how attentively you handle other aspects. By upholding the correct calcium and alkalinity levels for SPS and LPS corals, you establish a thriving and harmonious environment where these delicate organisms can truly thrive.

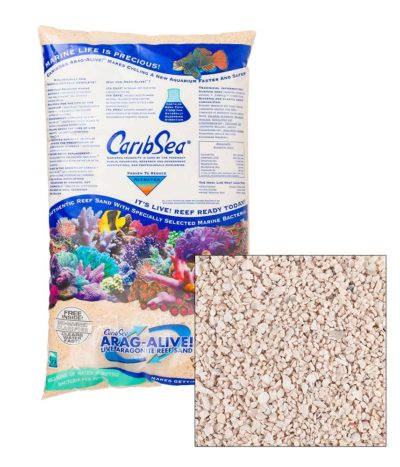
While sand might not be an absolute necessity, there’s a growing trend among hobbyists to opt for bare-bottom tanks. Nevertheless, incorporating sand can truly metamorphose your aquarium into an authentic slice of the ocean. Its benefits extend beyond aesthetics, contributing significantly to biological filtration. Additionally, sand creates a snug refuge and serves as a nourishment source for specific organisms.
In the realm of sand options, we advocate for the CaribSea brand for the finest selections. So, have fun embellishing your aquarium!


A critical gear piece that you might already possess or should strongly contemplate acquiring is a power strip tailored to accommodate all your saltwater aquarium equipment. Although the temptation to cut corners on this might arise, it’s paramount not to compromise on safety. Electrical mishaps or fires can have grave consequences that should never be underestimated.
Opting for a dependable surge protector/power strip is a highly recommended course of action. This specific choice not only furnishes protection but also provides the added convenience of individually powering down equipment components without needing to physically unplug them. This attribute proves particularly advantageous during saltwater changes, where shutting off the heater to prevent damage due to exposure to air while maintaining power is recommended. By selecting a top-quality power strip, you can safeguard your equipment, guarantee the welfare of your aquatic inhabitants, and establish a secure and efficient framework for your saltwater aquarium setup.

The RO/DI filter is a water filtration unit that transforms tap water into nearly pure water through the process of Reverse Osmosis Deionization. To understand its workings in detail, you can read this article.
While some online hobbyists might emphasize the necessity of an RO/DI filter for any saltwater aquarium, this claim isn’t entirely accurate. Although it offers long-term cost benefits and advantages, there are other simpler options for small and beginner saltwater aquariums.
One option is purchasing pre-made saltwater and purified water from your local fish store. Alternatively, you can use filtered water from a grocery store.
Over the course of a year, a $200 RODI filter will save you hundreds of dollars, so while it may seem a bit steep of a price to pay up front, it pays for itself rather quickly.

Including these two brushes in a build list might appear trivial, but in reality, they handle the bulk of my cleaning tasks. Their rigid bristles have proven their durability over the years, outlasting many alternatives. Their effectiveness surpasses that of a toothbrush by a significant margin, making them an essential addition to your toolkit.

If you followed my suggestion and acquired the RO/DI filter mentioned in this guide, there’s no necessity for a separate TDS meter. This is because the RO/DI filter already incorporates an inline TDS meter.
However, you might still consider getting one for the enjoyment of testing the TDS levels of various substances! When producing saltwater, your aim is to achieve a TDS reading of 0 in the RO/DI water before adding salt.
As a point of reference, during my time in Seattle, the tap water had around 40 ppm TDS. After moving to Southern California, my TDS increased to 140 ppm.

I love me a Sicce Syncra pump, and use these all around the house.
I employ utility pumps for a variety of tasks: blending saltwater, transferring RO/DI water to the reservoir, generating circulation in my quarantine tank, and maintaining the cleanliness of my sump. Their versatility makes them an indispensable tool in my arsenal, and I find myself using them regularly.