How to Get Rid of Dinoflagellates in a Reef Tank
Do not treat every brown film as dinos. Confirm what you have, stabilize the aquarium, and match the response to how the organism behaves.

The short answer
My approach is diagnosis first. Dinoflagellates are diverse, and the same treatment does not work equally well for every type.
- Confirm that the growth is actually dinoflagellates.
- Record nitrate, phosphate, salinity, temperature, pH, and recent system changes.
- Remove visible biomass while protecting yourself and the animals.
- Restore detectable, stable nutrients without creating a spike.
- Reduce only the export methods pushing the tank toward zero.
- Use UV or temporary light reduction only when the identification supports it.
- Reassess weekly with photos, tests, and—ideally—microscope samples.
Dinoflagellates can make a reef tank look lost overnight, but “brown snot” is not a diagnosis. Diatoms, cyanobacteria, chrysophytes, and ordinary algae can look similar. My first goal is to identify what is growing, then correct the conditions that gave it an opening instead of reaching for a miracle bottle.
Affiliate disclosure: This guide contains affiliate links. If you buy through them, My First Fish Tank may earn a commission at no extra cost to you. The treatment plan is useful whether or not you purchase anything.
Watch: my dinoflagellate action plan and UV installation
First, confirm that it is dinoflagellates
Common warning signs include tan or brown mucus-like strings, trapped bubbles, rapid regrowth under light, and mats that shrink after dark. Those clues are useful, but none is conclusive.

Use a microscope when you can
Collect a sample when the bloom is strongest, place a small amount under a coverslip, and compare movement and cell shape with reputable identification references. If you are uncertain, photograph the sample and ask an experienced reef microscopy group before selecting a species-specific treatment.
Watch: dinoflagellate identification and practical clues

Diatom comparison
Diatoms can create a dusty brown film and are commonly confused with dinoflagellates.

Dinoflagellate comparison
Cell shape and movement under a microscope provide more useful evidence than color alone.
Why dinoflagellates take over
Dinoflagellates usually exploit an ecological opening rather than one universally “bad” number. New or disrupted aquariums, extended periods of undetectable nitrate or phosphate, aggressive nutrient export, reduced microbial competition, and strong light can combine to favor a bloom.
That does not mean dirty water cures dinos, and it does not mean every low-nutrient reef develops them. The useful lesson is to stop pushing the aquarium toward extremes and rebuild a stable, competitive community.
| Pattern to investigate | What to check | What not to assume |
|---|---|---|
| Strong export | Skimmer schedule, GFO, refugium harvest, roller mat, filter changes, carbon dosing | The equipment is not automatically the problem; imbalance is. |
| Repeated zero readings | Test method, reagent age, timing, feeding, export history | One zero reading does not prove the cause. |
| Recent disruption | New rock, medications, major cleaning, new media, livestock loss | A bottled bacterium is not an instant cure. |
| Light-driven growth | Photoperiod, intensity, daily appearance and disappearance | A blackout alone rarely fixes the underlying system. |
How to get rid of dinoflagellates: seven steps
1. Establish a reliable baseline
Test nitrate and phosphate with the same method at roughly the same time of day several times per week during active correction. Also record salinity, temperature, pH, livestock behavior, visible coverage, and anything you recently changed.
Do not react to every tiny fluctuation. Confirm unexpected results, then adjust one variable at a time.

Nitrate testing
Use the same test and follow its timing, vial-cleaning, and reagent instructions consistently.

Phosphate testing
Small handling and timing differences matter; repeat surprising results before dosing anything.
2. Remove visible dinos carefully
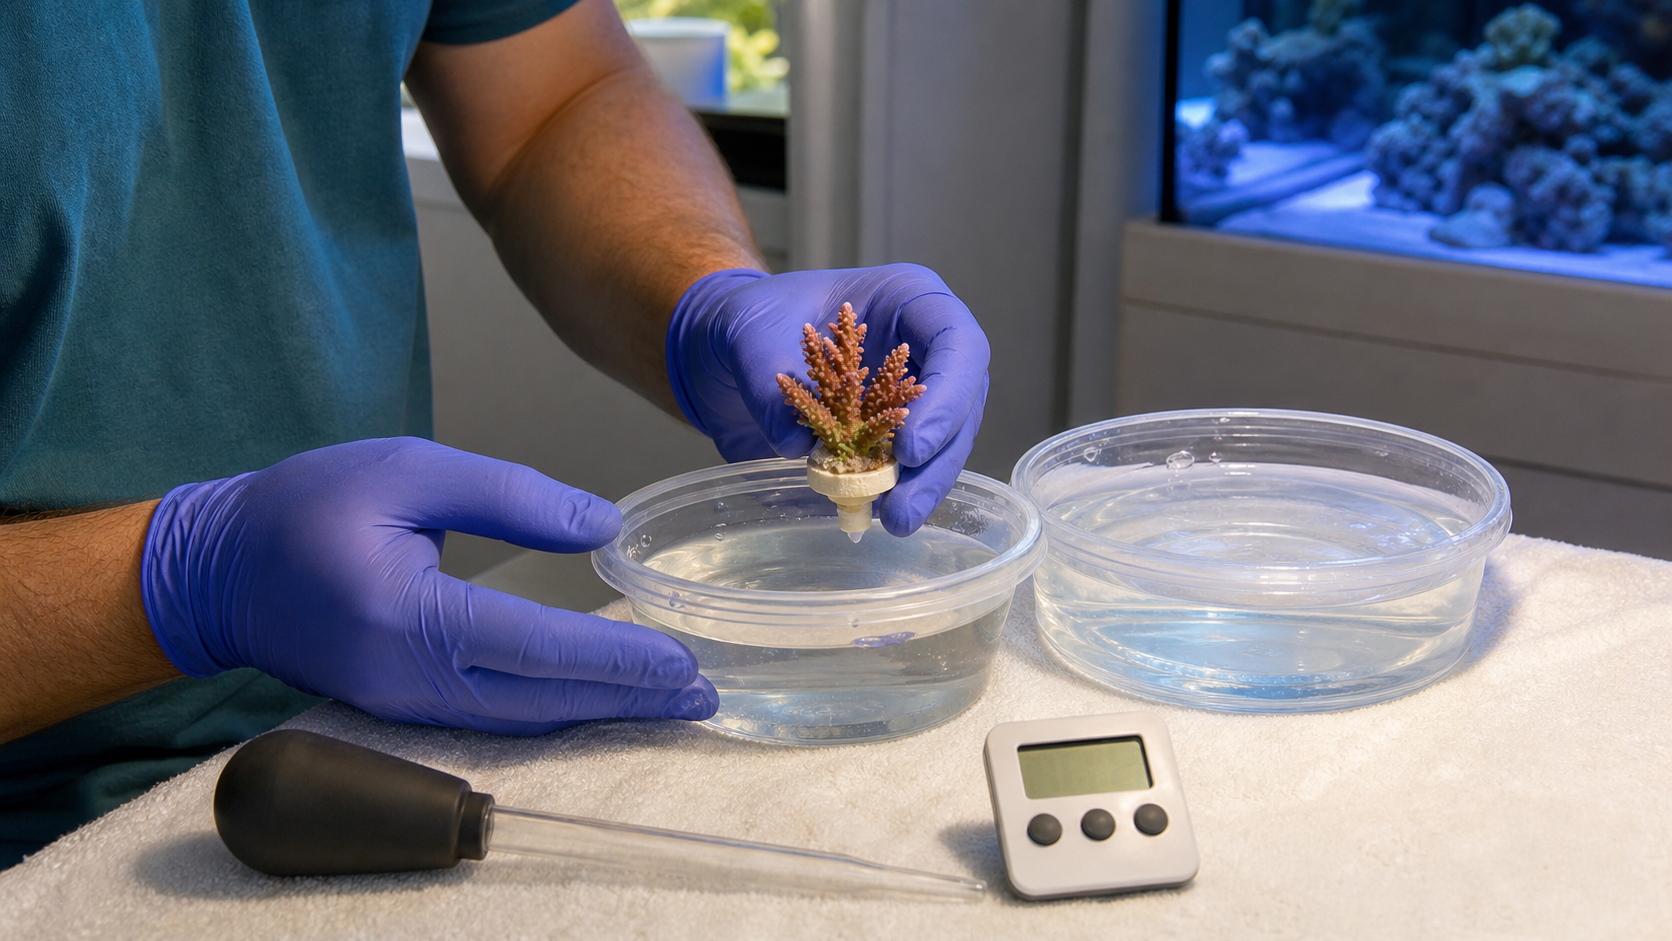
Siphon dinos during peak growth using dedicated tubing and a bucket. If the bloom may be toxic, discard the removed water and material rather than returning filtered water to the aquarium. Wear gloves and rinse tools in a ventilated area.
Run fresh activated carbon, maintain strong circulation and aeration, and change captured mechanical media before the material decomposes. Manual removal lowers biomass; it does not fix the cause by itself. If discarded water needs replacing, follow the water-change guide and match the new water’s salinity and temperature.
3. Restore detectable, stable nutrients
There is no universal nitrate or phosphate number that cures dinoflagellates. The safer goal is to move away from repeated undetectable readings and hold nutrients at a stable level appropriate for the aquarium.
Start by correcting feeding and excessive export. Use a nitrate or phosphate supplement only when testing confirms a real need. Calculate actual water volume with the aquarium calculators, follow the current product label, make small changes, and stop escalating once the system is stable.

NeoPhos
A concentrated phosphate supplement—not a dinoflagellate medication. Use only for a tested deficiency and follow the current label.

NeoNitro
A concentrated nitrate supplement—not a dinoflagellate medication. Calculate real water volume and make measured adjustments only.
4. Reduce only the export that is driving nutrients too low
If export is outrunning input, shorten the skimmer’s collection schedule, reduce phosphate media, harvest less macroalgae, or change mechanical filtration less aggressively. Make one adjustment, then measure the response.
Do not disable the return pump, heater, biological filtration, or basic circulation as part of a dino treatment.
5. Feed the animals deliberately
Add food because the animals need it and testing supports the change—not simply because “more food beats dinos.” Increase one feeding variable at a time, control portions, and remove what is not eaten.
6. Rebuild competition carefully
A mature reef contains bacteria, microalgae, grazers, and other organisms competing across rock and sand. Time, stable nutrients, and avoiding repeated sterilizing cleanouts all support recovery.
Bottled bacteria may support that process, but they are not a direct cure. Use one clearly labeled product at a time, follow the current label, maintain aeration, and watch ammonia and oxygen-sensitive livestock. Do not stack multiple bacterial blends because the bloom is still visible.
7. Match UV and light changes to the identification
UV is most useful when the organism spends meaningful time in the water column. Ostreopsis-like blooms often respond better than sand-associated Amphidinium-like blooms. These are practical patterns, not guarantees.
Size and plumb UV around actual aquarium volume, target exposure, and the manufacturer’s recommended flow—not wattage alone. Continue manual removal and nutrient stabilization while UV runs.
Watch: Adding a UV sterilizer to a reef tank
This BRS video walks through adding a UV sterilizer to a reef aquarium. Watch the installation to get a better idea of how the unit fits into the setup, then follow the instructions for your own sterilizer and pump.
What I would not do first

Do not use a blackout as the entire plan
A short light reduction may suppress a photosynthetic bloom, but it rarely corrects the cause. A full blackout can also stress corals and reduce pH and oxygen. If you use one, maintain circulation and aeration, observe livestock, and restore light gradually.
- Do not dose hydrogen peroxide by default. Overdosing can injure fish, corals, invertebrates, algae, and microbes, so I do not recommend blanket peroxide dosing as a beginner treatment.
- Do not change temperature to chase dinos. Keep temperature stable rather than heating or cooling the tank outside your livestock’s normal safe range.
- Do not stack every suggested cure. Make changes in stages and document the response so you can tell what helped—or what harmed the tank.
Not sure whether this is dinos at all?
Compare nuisance algae and look-alike problems before committing to a treatment.
Source note: Aquarium recommendations are based on Matthew’s experience and current reef-keeping guidance. Scientific context comes from NOAA’s Harmful Algal Blooms overview. Coastal bloom research explains dinoflagellate diversity and possible toxins; it is not a reef-aquarium treatment protocol. Product-specific instructions should always come from the current manufacturer label.