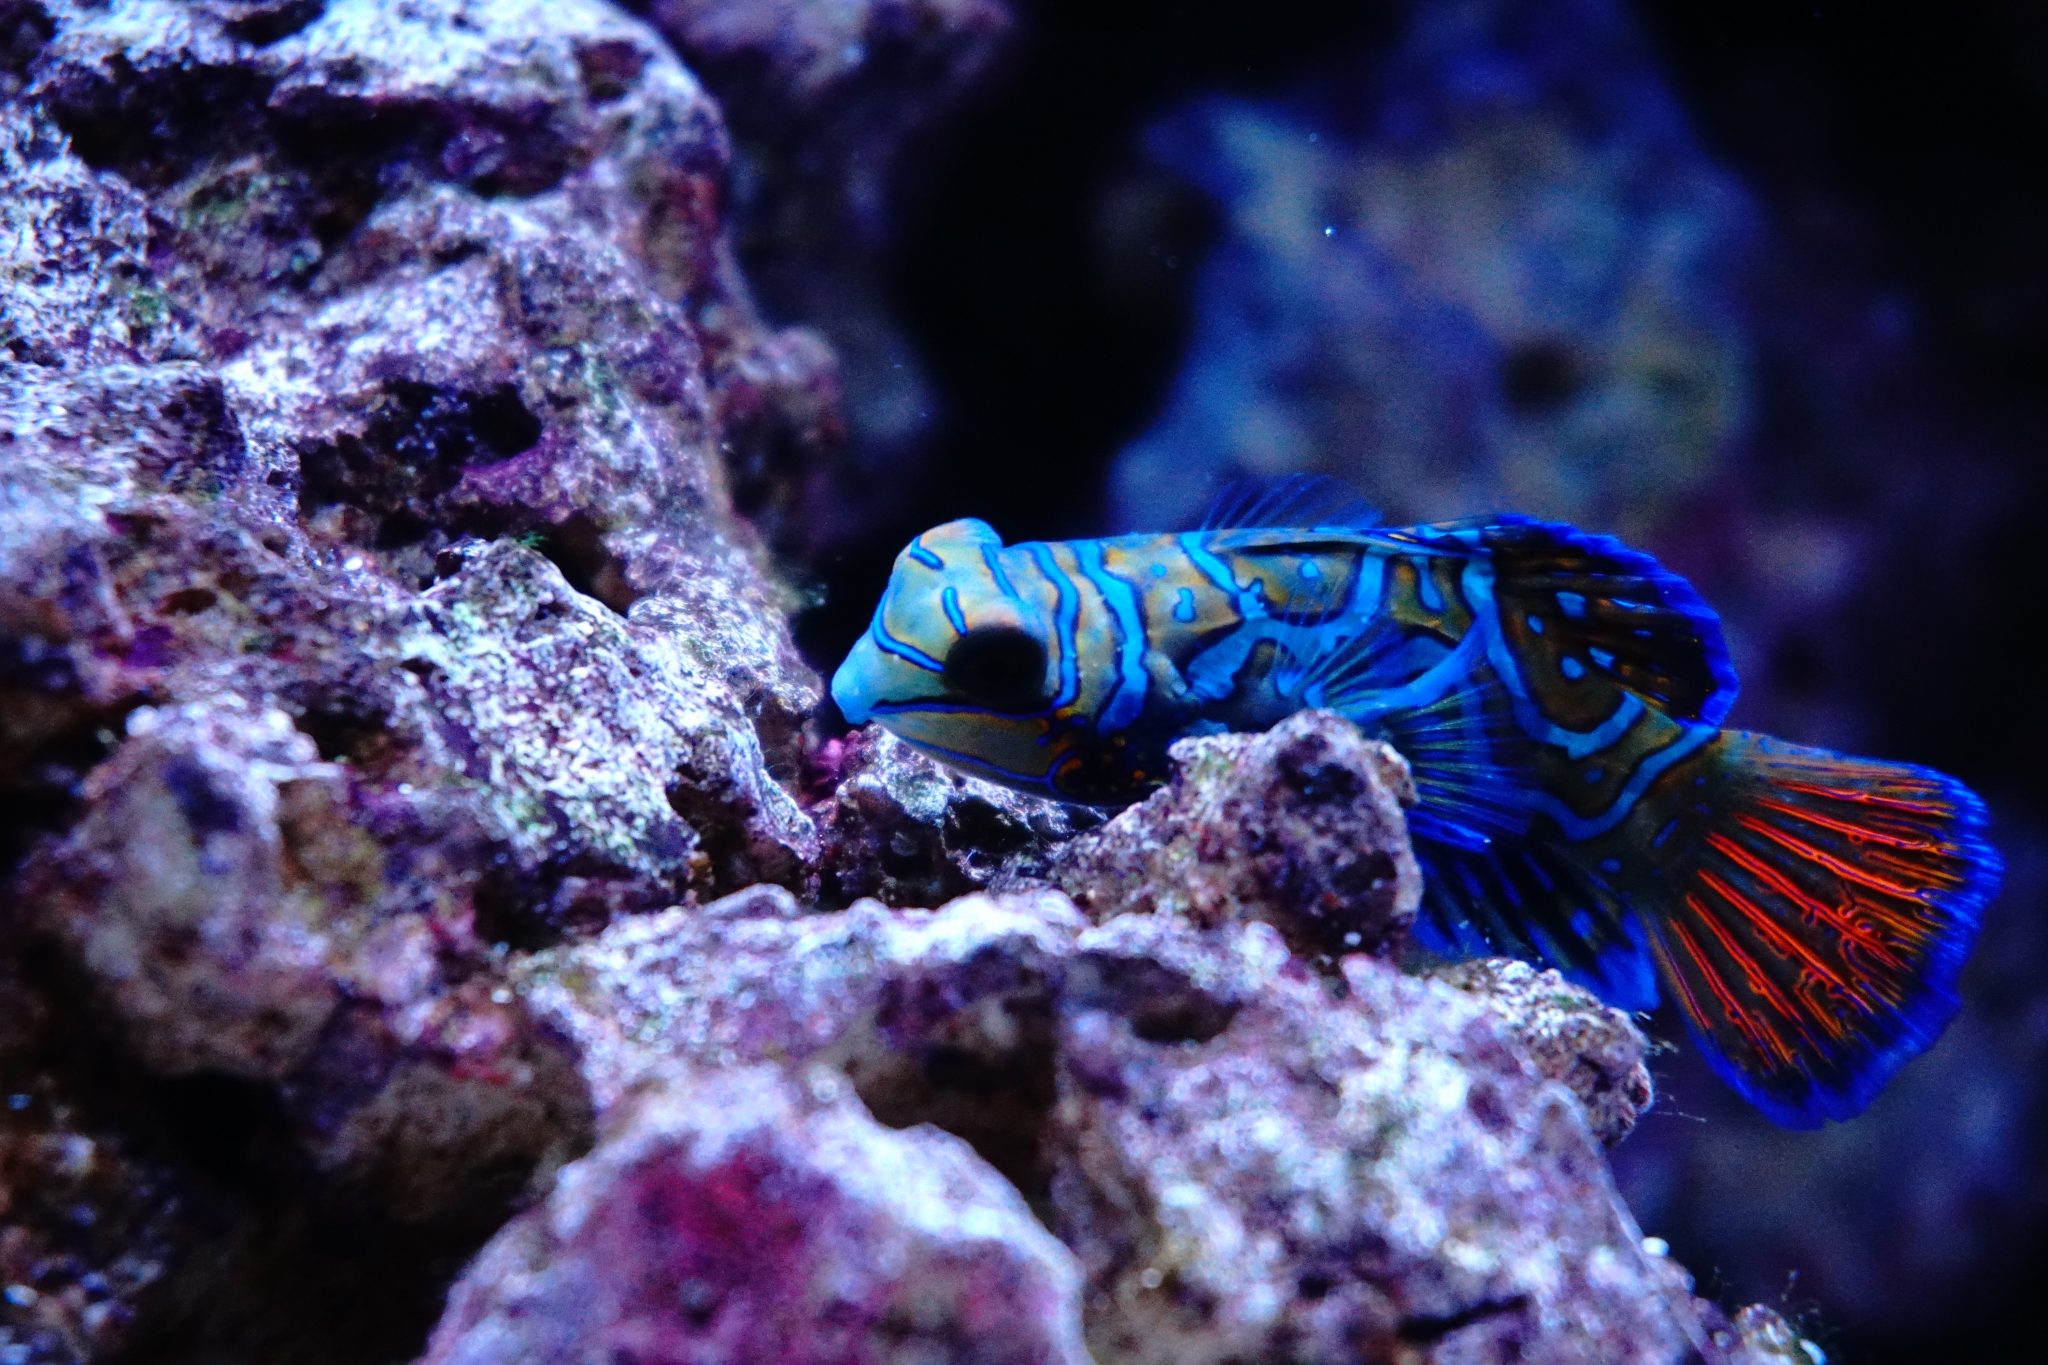
Saltwater aquarium guide
Reef Rock for Saltwater Aquariums: Live vs. Dry Rock
Updated July 2026. Choosing reef rock for a saltwater aquarium affects far more than appearance. The rock helps define swimming space, coral placement, water flow, cleaning access, and the surface area available to beneficial bacteria.
The labels can be confusing because “live,” “dry,” “manufactured,” and “aquacultured” describe different origins or conditions—not a simple best-to-worst ranking. The video and updated guide below compare the practical tradeoffs so you can choose a legal, aquarium-safe source and build a stable structure that fits your livestock and maintenance plan.
This is the focused decision guide for choosing between rock types. For the larger project—rock quantities, breaking and bonding an aquascape, flow and lighting considerations, and choosing sand—continue to Reef Rock, Aquascaping, and Sand: Demystified Part 3.
This Week's Video:
Basics of Reef Rock
What counts as reef rock?
Use porous, calcareous rock sold or documented for marine aquariums. Do not collect random rock from a beach, reef, quarry, yard, or construction site. Its composition and contaminants may be unknown, and collecting marine material can be illegal.
Live rock, dry rock, and previously live rock
- Live rock is wet rock already colonized by bacteria and other marine organisms. It may come from an established aquarium or a permitted aquaculture operation.
- Dry rock is sold without established marine life. It may be quarried, manufactured, or cleaned and dried before sale.
- Previously live, dried rock can contain dead organic material. Treat it as used material that may need a separate curing period rather than assuming it is clean, cycled rock.
Legal and responsible sourcing
Ask the seller where live rock came from and whether it was legally cultured or transferred from an aquarium. Rules vary by location. As one current example, Florida permits aquaculture—not wild harvest—for live rock, and its agriculture department describes licensed producers placing quarried rock on submerged leases so marine life can colonize it. See the Florida Department of Agriculture live-rock guidance.
What the rock does
Porous surfaces provide habitat for nitrifying bacteria, but rock does not make a new aquarium instantly safe. Source, porosity, shape, transport, and die-off all change how much useful biology a piece brings. Cycle and test the aquarium instead of relying on a fixed amount of rock or a seller’s “live” label.
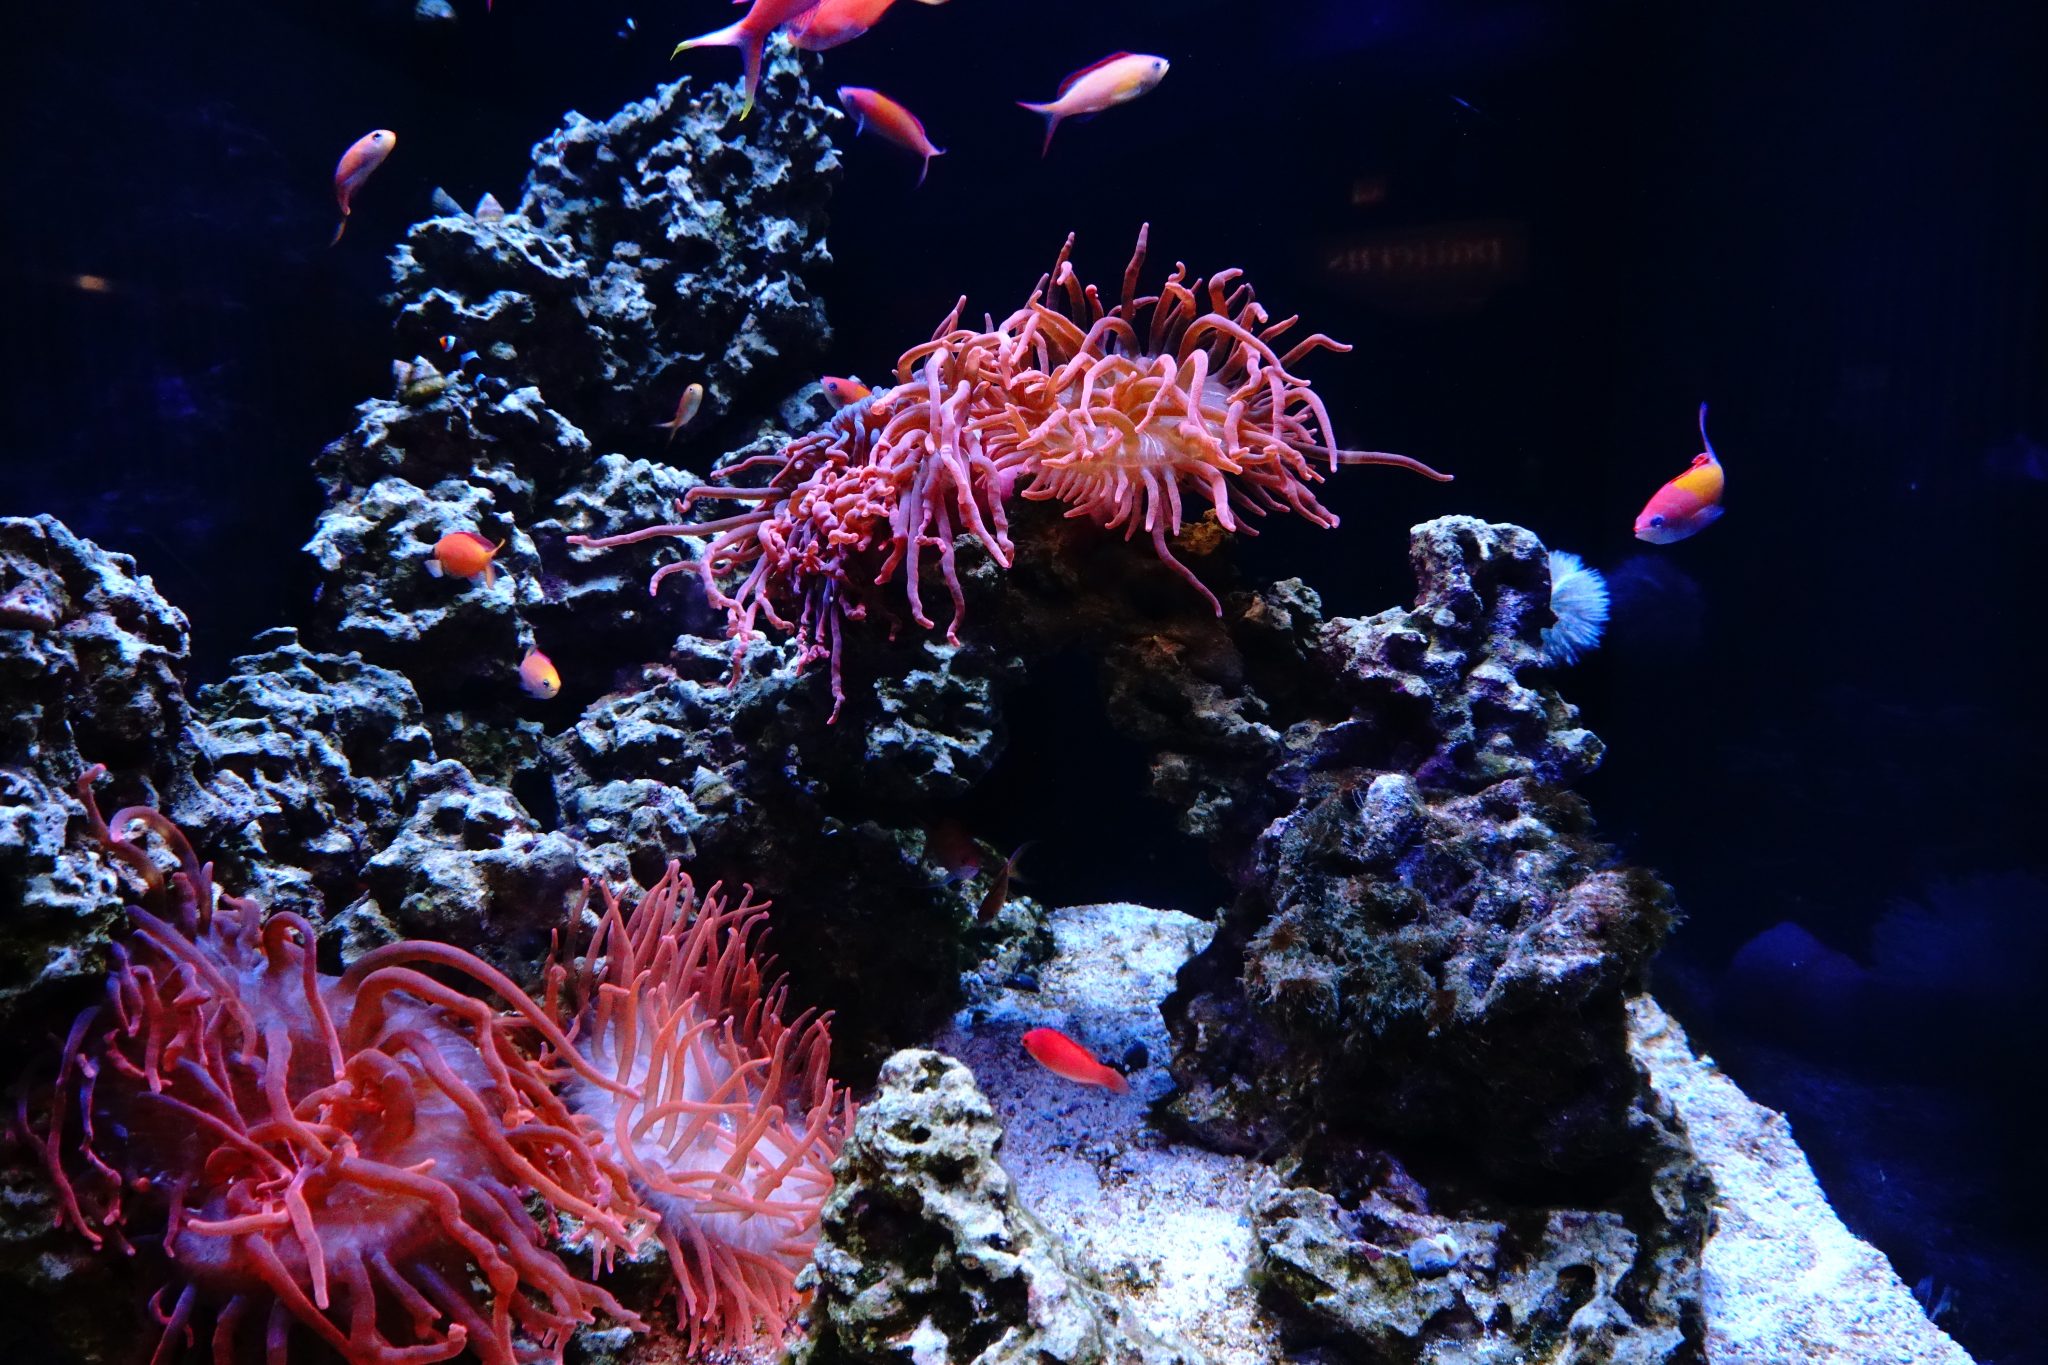
Rock also creates caves, sight breaks, resting areas, coral ledges, and visual structure. Leave open water around it so detritus can be removed and pumps can move water through the display.
How to Choose Reef Rock
Wet live rock: benefits and tradeoffs
Established live rock can introduce mature bacterial populations, coralline algae, and useful microfauna. It can also carry nuisance algae, aiptasia, predatory crabs, worms, snails, or other hitchhikers. Shipping and temperature exposure can cause die-off, so inspect it carefully, quarantine when practical, and monitor ammonia before adding livestock.
Dry rock: benefits and tradeoffs
Dry rock gives you time to dry-fit arches, shelves, and caves outside the aquarium. It usually starts without marine pests and is often easier to budget and shape. It still needs a fishless cycle, and a sterile-looking new setup may take months to develop the diversity and appearance of an established reef. “Pest-free at the start” also does not mean pests can never arrive later on corals or other additions.
A hybrid approach
Many beginners use mostly dry rock and add a small amount of trusted, inspected live rock or established biomedia. This can seed biodiversity while limiting cost, but anything moved from another system can also move pests. Choose the source as carefully as the quantity.
Choose shapes for the animals—not just the photo
- Flat-bottom base pieces can create broad, stable contact points.
- Shelf pieces provide coral space but need secure support and room above for growth.
- Branches and arches create swim-throughs but must resist tipping and point loads.
- Rubble is useful in baskets or small gaps when it cannot shift into pumps.
There is no universal “one pound per gallon” requirement. Modern rock varies greatly in density and porosity. Start with the aquarium footprint, planned fish and corals, cleaning access, flow, and the tank manufacturer’s support requirements. Buy enough extra pieces to test options, but do not fill every open space.
Prepare each type correctly
- New dry rock: Follow the maker’s instructions, remove loose dust, and use only aquarium-safe tools and adhesives. Never use soap or household cleaners.
- Previously live, dried rock: Cure it separately in heated, circulating saltwater. Remove decaying material, monitor odor and ammonia, and change water as needed before it enters the display.
- Wet live rock: Keep it submerged, inspect it in a separate container, and plan for possible transport die-off. A “live” label does not replace ammonia testing.
Related resources: Continue with the reef aquascaping guide, compare the beginner live-sand guide, or browse complete saltwater aquarium setup guides.