

Saltwater aquarium guide
Reef Aquascaping Guide: Build a Stable Rockscape
Updated July 2026. Reef aquascaping is where a saltwater aquarium starts to feel like your own, but the first priority is a structure that cannot shift, trap excessive detritus, or block the flow your fish and corals will need.
You do not need an art background. Dry-fit the rock outside the aquarium, build around stable contact points, leave swimming and cleaning space, and picture where corals will grow—not just where small frags sit today.
The video and steps below show my process. Before starting, compare the available reef-rock options, estimate substrate with the sand-bed calculator, and use the dimensions in your aquarium build plan.
This page is the focused, hands-on procedure for building a stable rockscape. For the broader planning context—including rock types and quantities, aquascape styles, flow and lighting considerations, and sand—use Reef Rock, Aquascaping, and Sand: Demystified Part 3.
This Week's Video:
Aquascaping Basics
Tools and Safety
A simple, stable stack may need little more than a cardboard template. More ambitious arches and shelves can require a saw, drill, hammer, chisel, reef-safe cyanoacrylate, epoxy, or hydraulic reef cement, plus temporary supports while joints cure.
- Wear eye protection and gloves when cutting, drilling, chiseling, or mixing cement.
- Control dust with appropriate respiratory protection and work outdoors or in strong ventilation; follow each product’s instructions.
- Use only aquarium-safe rock and adhesives, allow the stated cure time, and rinse or cure prepared rock as appropriate before it enters the system.
- Build sections light enough to move safely. Get help for awkward pieces and never lift a structure by one glued joint.
Plan the Reef Aquascape
- Start with livestock: Create caves and sight breaks for fish, open sand for animals that need it, and suitable ledges for the corals you expect to keep.
- Build a stable base: Use broad contact points and test the structure from several directions. Burrowing animals and routine maintenance must not be able to topple it.
- Leave service space: Keep enough clearance from the glass for a scraper and from pumps and overflows for cleaning.
- Protect flow: Avoid solid walls that create detritus traps. Leave channels for water to move through and around the rock.
- Plan for light and growth: Reserve high, exposed ledges for higher-light corals and shaded zones for lower-light animals. Leave room for colonies to expand.
- Create depth: Islands, negative space, varied heights, and an off-center focal point usually look more natural than one continuous rock pile.
Take photos from the front and sides, then walk away for a few hours. It is much easier to change the design before cement, sand, water, and livestock are in the tank.
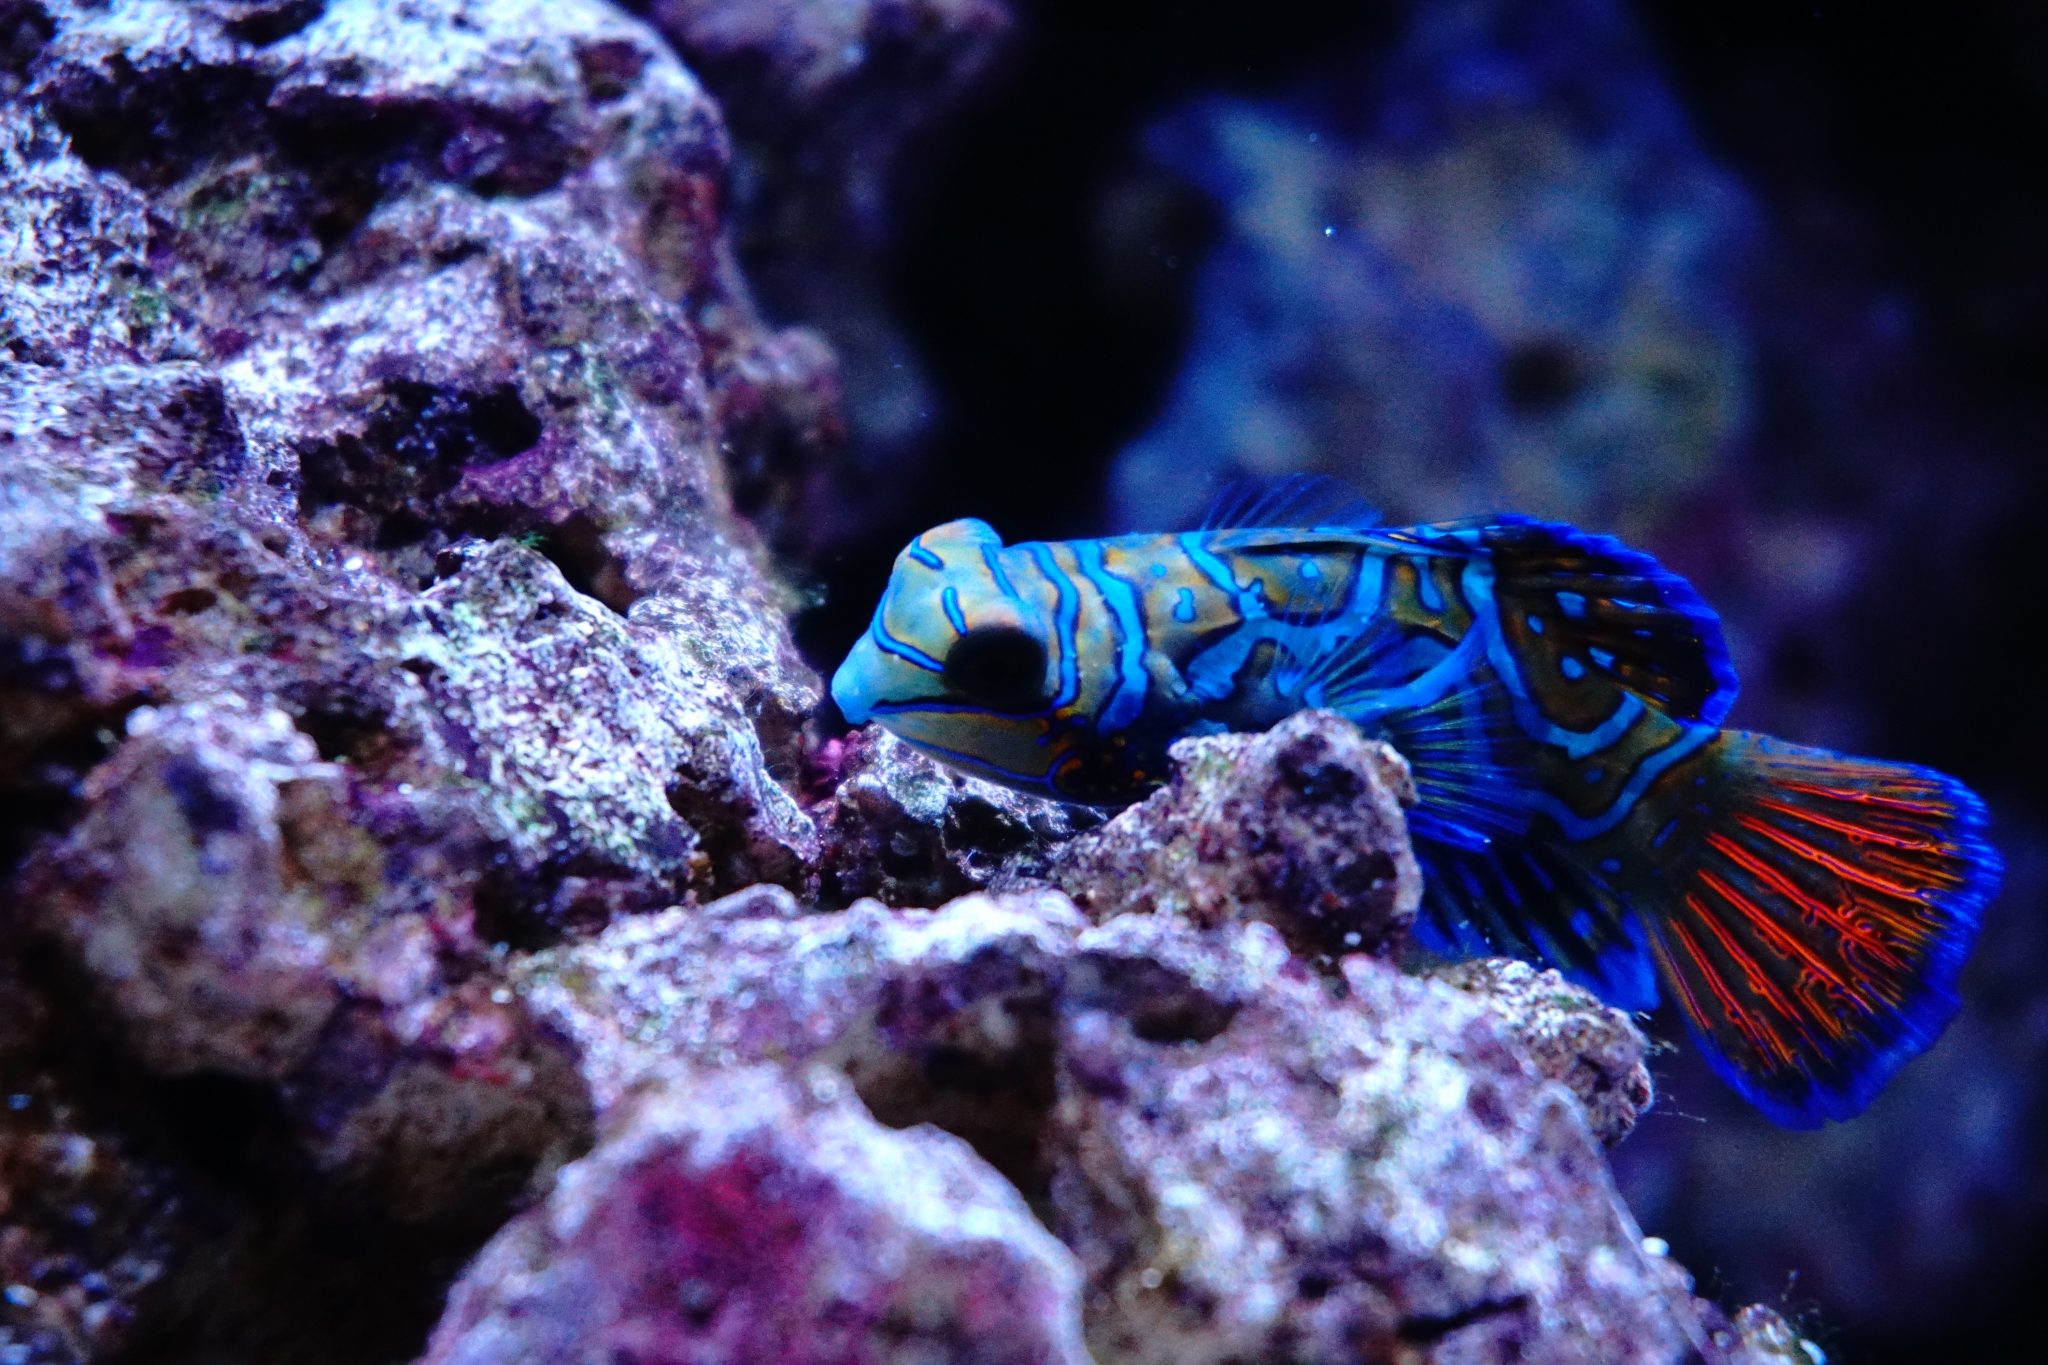
How To Scape-Our Own Aquascaping Procedure!
Safety check: confirm that your aquarium manufacturer permits rock to rest on the bottom panel and whether a protective support sheet is recommended. Avoid point loads, keep the structure off loose sand, and test every section before adding water.
Creating a cardboard model of your aquarium is the essential first step. Working on this model prevents accidental glass breakage while experimenting in the actual tank.
Here’s how to proceed:
- Cardboard Blueprint: Construct a cardboard replica of your aquarium. This model serves as your testing ground, enabling you to refine your design without endangering your tank.
- Rock Arrangement: Lay out your reef rocks on a spacious blanket for easy accessibility. Having your rocks organized allows you to experiment seamlessly.
- Tool Gathering: Collect the tools and safety equipment you need. Wear eye protection and gloves, control dust, and follow the adhesive or cement manufacturer’s instructions.
- Visualize Your Vision: Examine the rocks and cultivate an overarching vision for your aquascape. Compare your aspirations with inspirations from diverse sources.
- Innovative Shapes: If you opt for human-made reef rocks with unique shapes, the process becomes more convenient. These specialized shapes enhance your creative possibilities.
- Strategic Stacking: Begin stacking pieces, examining the composition from various angles. Focus on the primary viewing angle, often the front of the aquarium.
- Arches and Passageways: For intricate features like arches or swim-throughs, balance pieces or seek assistance from a friend to hold them in place as you evaluate.
- Solid Foundation: For foundational elements, consider slightly arched pieces or affixing three feet using glue to elevate the structure above the substrate.
- Evaluate and Refine: Once satisfied with the aquascape’s arrangement, step away for a few hours. Return later to ensure your contentment. Repeat this process over several days for meticulous refinement.
- Fine-Tuning: Use a saw or chisel to adjust portions of the rock. If the rock doesn’t break as desired, don’t fret—glue can rectify it.
- Secure Connection: To unite sizable components, opt for epoxy or cement. When using cement, employ gloves and stir small batches for manageable application.
- Cement Application: Apply cement sparingly, sculpting pieces together rather than merely adhering them. Conceal unsightly seams with glue and rubble rock.
- Epoxy for Precision: For precise connections, rely on epoxy. Keep in mind that even after cementing, the connection remains breakable—handle pieces with care during tank placement.
- Final Scape Inspection: If unsatisfied with the aquascape, make changes now. A well-crafted design will enhance your satisfaction for years to come.
- Safe Transfer: Move the scape into the tank cautiously to avoid scratching the glass or dropping rocks. Set each section on the stable bottom panel or manufacturer-approved support before adding sand, and lower it without contacting the side glass.
- Balancing Act: Ensure stability, as sand sifters and snails can unsettle an unbalanced tank. Support the rock on the stable tank bottom or approved support, not on loose sand that burrowing animals can move.
- Simplicity Shines: Avoid excessive complexity. A well-executed, balanced design often surpasses intricate but chaotic arrangements.
Embark on this aquascaping journey with patience and creativity. By following these steps and considering the well-being of your aquarium inhabitants, you’ll craft an aquascape that enriches your tank’s aesthetic appeal and ecological harmony.
Related resources: First compare reef rock options for saltwater aquariums, then estimate substrate with the sand-bed calculator or explore complete saltwater aquarium setup guides.