

Beginner filter-maintenance guide
How to Clean Saltwater Aquarium Filters and Skimmer Cups
A filter only removes waste when you remove the waste from the filter. The goal is not to sterilize every sponge, sock, chamber, and piece of biomedia. It is to remove trapped debris without destroying the biological filtration your aquarium depends on.
Affiliate disclosure: This guide includes a few affiliate links. If you purchase through one, I may earn a commission at no additional cost to you. I only link to tools or media that fit the maintenance job described.
My short answer
Clean mechanical filtration when it is loaded; protect biological filtration
Inspect floss, socks, sponges, rollers, and skimmer cups before they clog, bypass, overflow, or allow trapped food to decompose. Replace disposable mechanical media, rinse reusable mechanical media appropriately, and avoid cleaning every biological surface at the same time.
The distinction that matters
Mechanical filtration and biological filtration are not the same job

Mechanical media catches particles
Floss, pads, socks, sponges, and roller fleece intercept food, detritus, and other suspended material. They help only while water can pass through them and the trapped material is removed from the aquarium.

Biological media houses bacteria
Rock, sand, ceramic media, and established sponge surfaces support the bacteria that process nitrogen waste. Do not sterilize every biological surface or replace all established media at once.

Skimmer cup and neck
A protein skimmer exports dissolved organic material into a collection cup. Empty the cup and clean the neck before buildup interferes with foam production or the cup overflows.
The order I would use
How I clean saltwater aquarium filters
1
Look at the filter while it is still running
Check the water level, flow, bypass, trapped debris, roller position, sock level, skimmer foam, noise, and anything else that will disappear once the system is turned off. The way it is operating tells you what actually needs attention.
2
Get the clean replacement and waste container ready
Have clean floss, a replacement sock, aquarium-only brushes, towels, and a container ready before removing dirty media. If reusable media needs rinsing, save appropriate removed aquarium water during the water change.
3
Clean only the mechanical media you actually use
Replace disposable floss and pads. Swap dirty socks for clean ones. Rinse reusable mechanical sponges according to the product and the role that sponge plays in your system. Do not confuse permanent biological media with disposable mechanical media.
4
Clean the skimmer cup and neck—if you use a skimmer
Turn the skimmer off, remove the cup without spilling it back into the aquarium, empty it, clean the cup and neck, inspect drains and floats, reinstall it, and verify normal operation after restart.
5
Put the filter back together before restoring power
Confirm that socks, baskets, sponges, lids, sensors, and drain lines are seated correctly. Restart the return pump and watch every chamber as the water level stabilizes.
6
Record what was dirty and adjust the next inspection
If floss was packed after three days, waiting two weeks is not a maintenance schedule. If a sock was nearly clean after seven days, inspect it again later instead of replacing it because the calendar says so.
Find the filter you actually use
What to do with each type of mechanical filtration
Filter floss and pads
Replace disposable material when it is dark, packed, collapsing, or allowing water to bypass it. Cut new material to fit without blocking the entire chamber.

Filter socks and filter cups
Swap a dirty sock before it overflows or bypasses. Empty cups, rinse reusable inserts, and keep a clean replacement ready so the system is never waiting on laundry.

Sponges and foam blocks
Rinse mechanical sponges when flow slows or debris accumulates. If the sponge also carries much of the biological filtration, preserve it and avoid aggressive tap-water cleaning.

Roller fleece and roller mats
Check remaining roll capacity, water level, sensor position, motor advance, and fleece path. Follow the exact manufacturer instructions because roller designs differ.
Protein-skimmer cup and neck
Empty before the cup overflows. Clean the inside neck when buildup disrupts the foam head. Save pump and skimmer-body disassembly for deeper maintenance when it is actually due.

Drain lines, waste collectors, and floats
Inspect for blockages, dried waste, failed floats, pinched tubing, and loose lids. A waste container is only safe when the overflow protection works.
Let the filter set the interval
When is filter maintenance actually due?
| Signal | Likely meaning | Action |
|---|---|---|
| Dark packed media, rising chamber level, bypass, or reduced flow | Mechanical media is loaded | Replace or clean it now |
| Filter clogs much faster than normal | Feeding, livestock, algae, or a disturbance increased the waste load | Service the filter and investigate what changed |
| Skimmer cup fills unusually fast or immediately overflows | Water level, additives, residue, adjustment, or equipment condition changed | Do not simply empty it repeatedly; find the cause |
| Media stays nearly clean | The system may have a lighter load or water may be bypassing it | Confirm the flow path before extending the interval |
Avoid these mistakes
Common filter-cleaning problems
- Cleaning every sponge, biomedia basket, rock surface, and chamber at the same time.
- Leaving dirty mechanical media in place until water bypasses it.
- Rinsing established biological media aggressively because it looks brown.
- Replacing permanent media simply because the package suggests a calendar interval.
- Running pumps or heaters dry while the filter is disassembled.
- Restarting the system without checking chamber levels, leaks, drains, and normal flow.
- Assuming unusually fast filter loading is just a maintenance problem instead of a clue.
The same job changes with tank size
What changes for the three beginner tanks?

DeskMate 4.8
The tiny filter area can clog quickly and the water level changes fast. Watch the sock or mechanical insert, return flow, temperature, and salinity closely. Make small corrections.
HelloReef 15
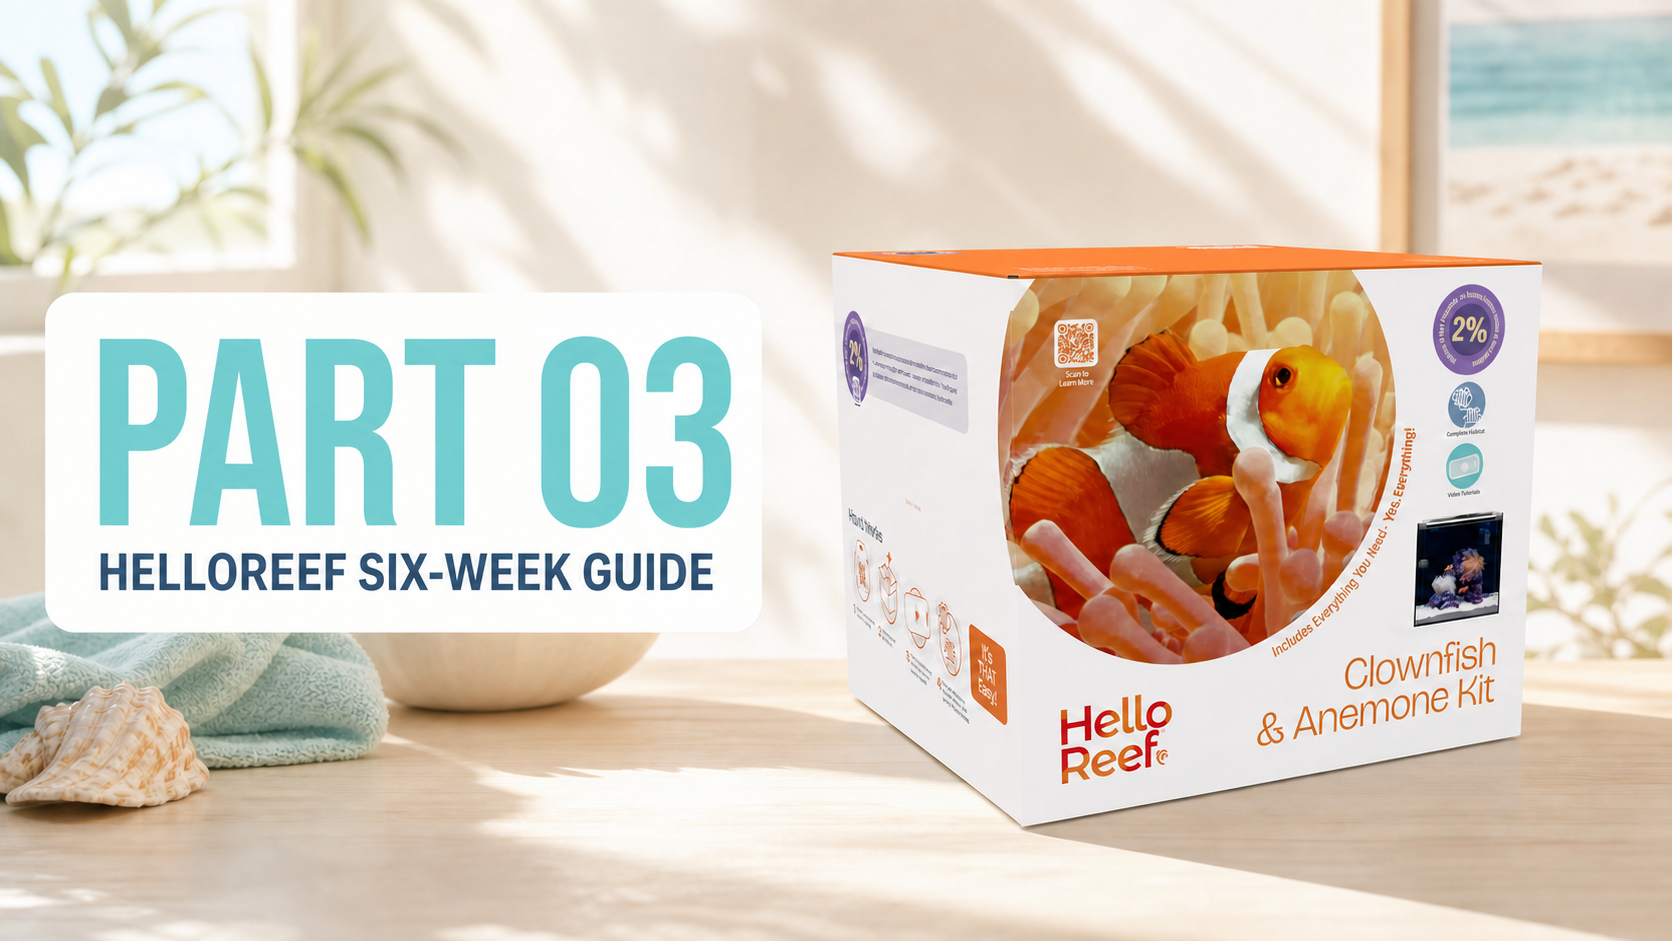
Use the kit’s course routine as the baseline. Watch mechanical filtration, rear-chamber level, feeding, and the first livestock additions while the biological filter matures.
JBJ RF-45
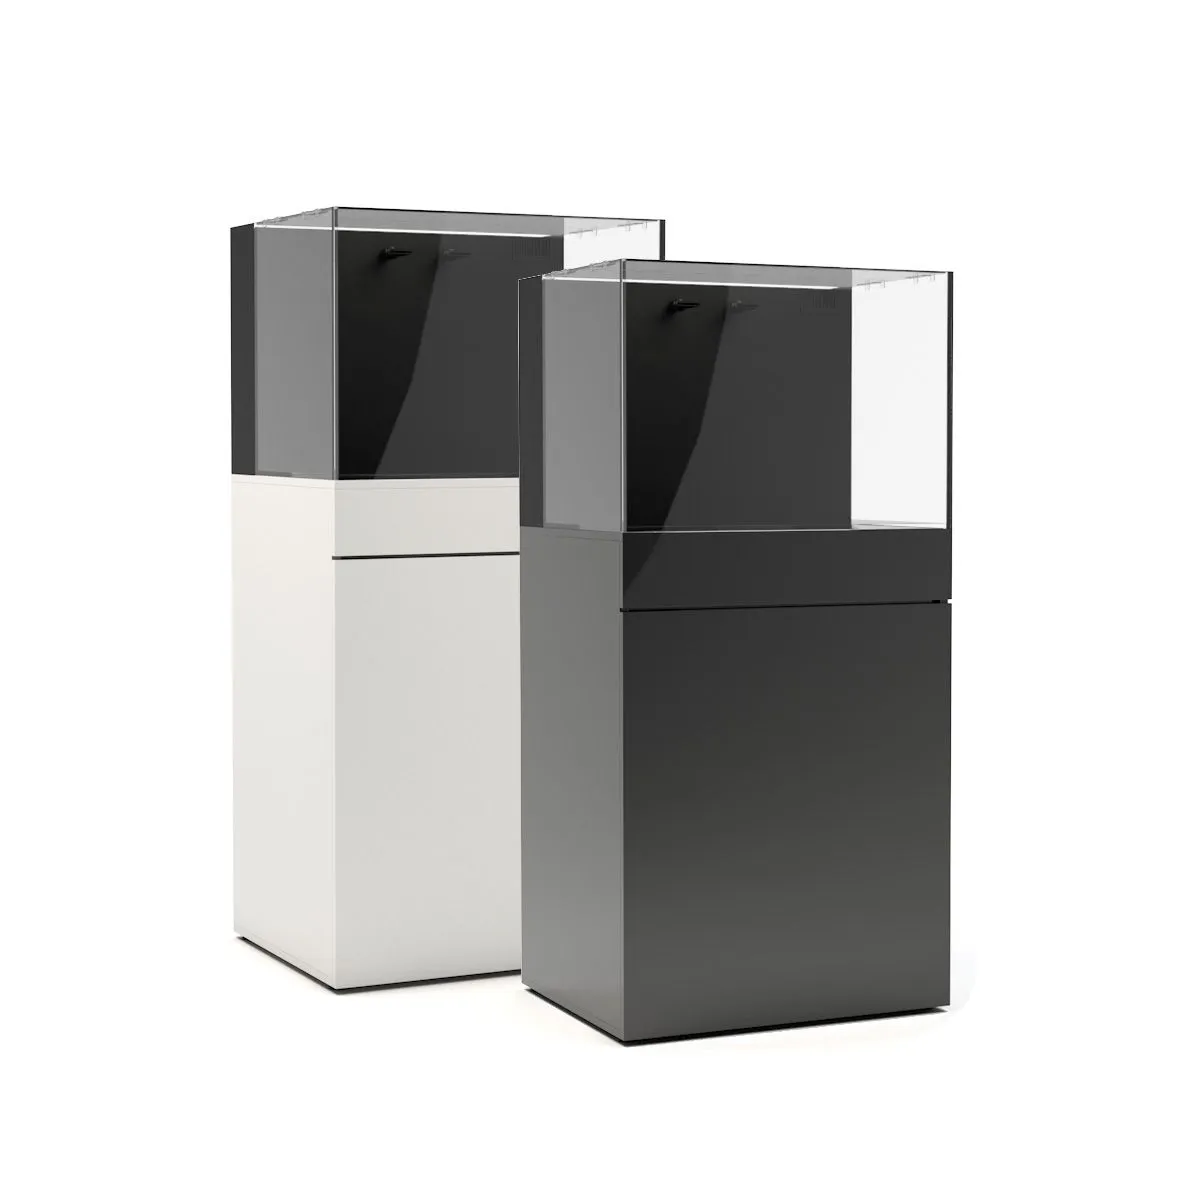
Inspect both rear chambers, multiple flow paths, baskets, pumps, the ATO, cabinet, cords, and any place detritus settles. More water gives more buffer but adds more equipment to verify after restart.
Filter-maintenance FAQ
Common beginner questions
How often should I replace filter floss?
When it is loaded or water begins bypassing it. Inspect often until you know how quickly your aquarium clogs the material.
Should I rinse a sponge in tap water?
If it is purely disposable mechanical foam, follow its directions. If it carries meaningful biological filtration, preserve that bacteria and rinse it gently in removed aquarium water.
Should I replace ceramic biomedia?
Not on an arbitrary weekly calendar. Protect established biological media and replace only for a defined reason, in stages when appropriate.
How often should I clean a protein-skimmer cup?
Before it overflows and whenever neck buildup interferes with foam production. The interval depends on the skimmer and the aquarium’s organic load.
This job fits into the larger maintenance routine

Weekly Maintenance
Put filter inspection in the right order with testing, panel cleaning, water changes, and restart checks.
Maintenance Tools
Compare the brushes, scrapers, siphons, pumps, and cleaners I actually use.
Monthly Maintenance
Use the deeper schedule for pump cleaning, chamber cleanup, and equipment service.
Updated substantially August 2026. This hybrid revision preserves Matthew’s existing distinction between mechanical and biological filtration and his inspection-first workflow while adding current visual navigation, maintenance tools, and beginner-tank context.