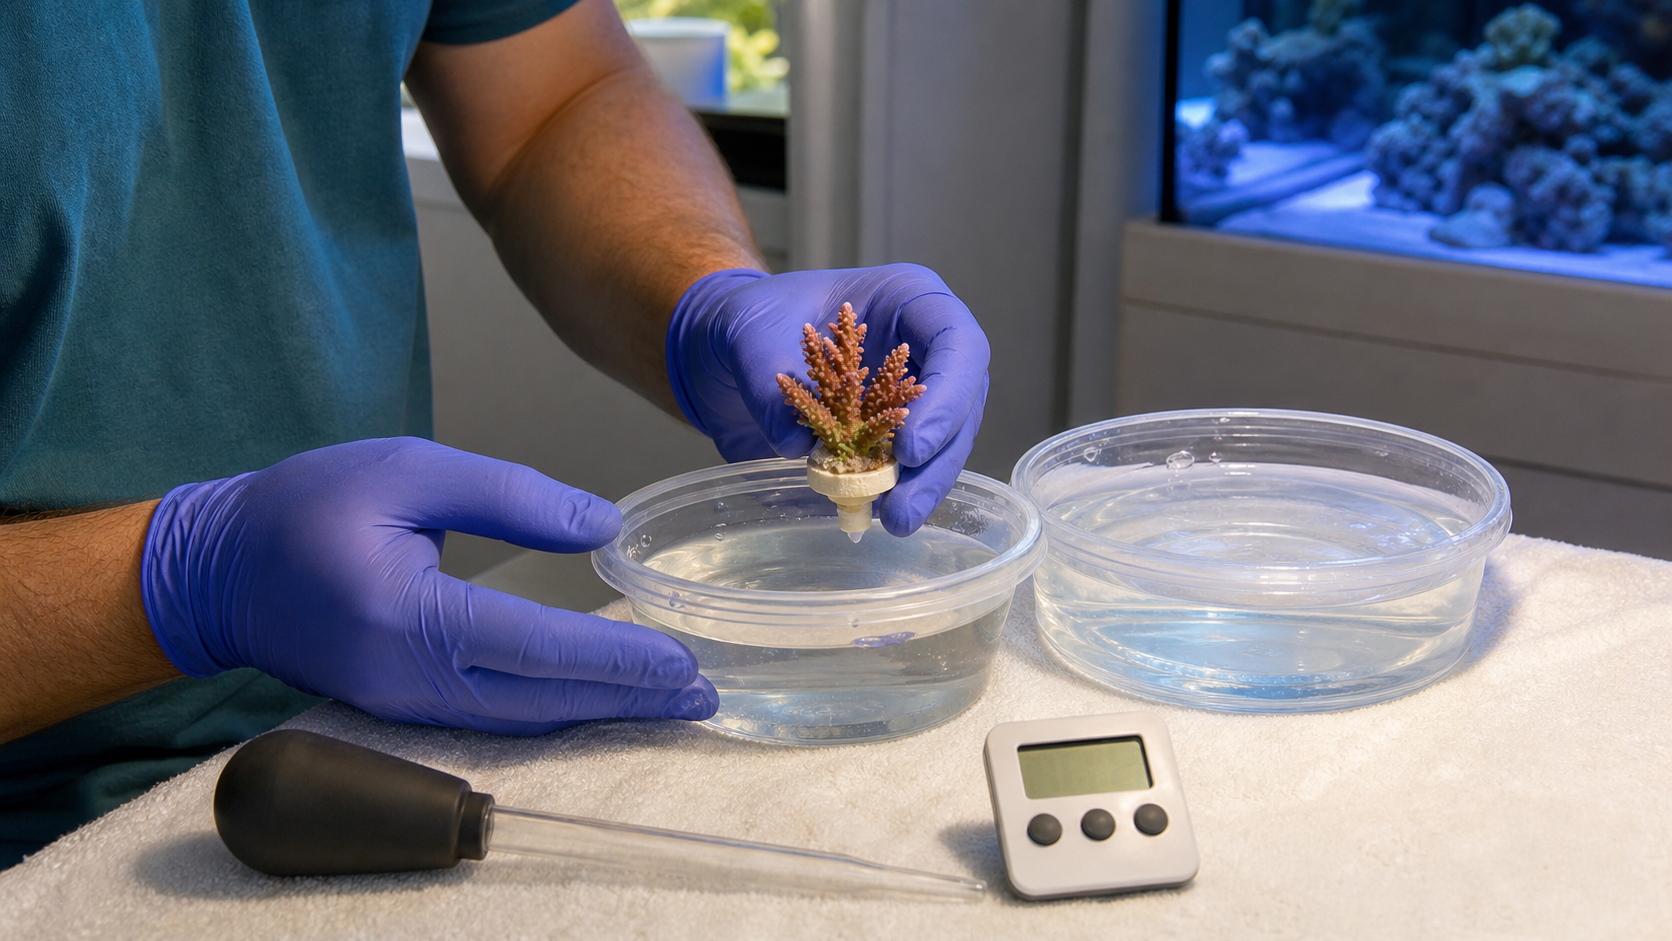
Affordable saltwater aquarium build
How I’d Build a Saltwater Aquarium for Under $500
Yes, you can start a functional saltwater aquarium for less than $500. The most realistic route is a standard 10-gallon glass aquarium paired with dependable basic equipment, a modest fish-only livestock plan, and enough money left for saltwater, testing, and maintenance supplies.
Affiliate disclosure: This article contains Impact affiliate links. If you purchase through one, I may earn a commission at no additional cost to you. The recommendations remain useful whether or not you use the links.
The short answer
Spend on the system that keeps the animals stable—not decorative upgrades.
My current budget-first choice is Bulk Reef Supply’s Bring Your Own Aquarium 10-Gallon Saltwater Starter Kit. It includes the filter, heater, dry rock, live sand, bacteria, flow pump, thermometer, and fish food. You provide the standard aquarium, water, light if needed, testing tools, maintenance supplies, and livestock.
When checked on August 23, 2026, BRS listed the kit at $169.99. Prices change, so use the current product page—not this sentence—as the final price.

Budget snapshot
A realistic under-$500 plan
| Category | Planning amount | What it covers |
|---|---|---|
| Starter kit | $170–$200 | Filter, heater, rock, sand, bacteria, flow, thermometer, food |
| 10-gallon aquarium and lid | $25–$60 | Standard glass tank, simple lid or screen |
| Water and salinity testing | $50–$100 | Initial saltwater or salt mix, RO/DI water, refractometer |
| Cycle and water testing | $30–$50 | Ammonia and nitrite testing, with nitrate as a useful extra |
| Maintenance tools | $30–$60 | Bucket, siphon, scraper, net, towels |
| Livestock reserve | $50–$100 | One carefully chosen fish or a small invertebrate-first plan |
That leaves a workable total of roughly $355–$570. Staying below $500 usually means buying the aquarium locally, keeping the livestock plan simple, using premixed water initially, and delaying coral lighting or automated upgrades.
The core purchase
Start with the 10-gallon starter kit
The kit is designed around a standard 10-gallon glass aquarium. It does not include the aquarium or light, which is helpful: you can buy the tank locally and choose lighting based on whether this will be fish-only or eventually hold coral.
- Seachem Tidal 35 hang-on-back filter
- AquaReady preset 50-watt heater
- 10 pounds of Reef Saver dry rock
- 20 pounds of Ocean Direct live sand
- MicroBacter7 bacteria
- Sicce Voyager Nano flow pump
- Stick-on thermometer
- Pellet fish food
This is more coherent than building from random bargain parts because the filtration, heat, rock, sand, and flow are already sized around the same small aquarium.
What you still need
Finish the system without blowing the budget

Refractometer and water
A refractometer is the one testing tool you cannot skip. Evaporation removes fresh water while leaving salt behind, so salinity can change quickly in ten gallons. Calibrate the refractometer, top off with fresh RO/DI water, and use premixed saltwater or properly mixed saltwater for water changes.

Ammonia and nitrite testing
During the initial nitrogen cycle, you need to know when ammonia and nitrite have returned to zero. The API Saltwater Master Test Kit is accurate enough for this job and includes many tests. You do not need an expensive digital ammonia checker for a simple beginner cycle.
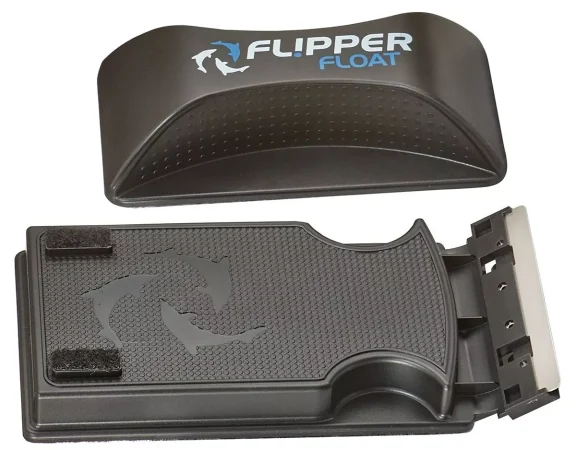
Bucket, siphon, scraper, and net
Use a dedicated bucket and small siphon for water changes. A nano magnetic scraper keeps film algae under control, while a small net is useful for emergencies. These are not glamorous purchases, but they are the tools that make the weekly routine repeatable.

Premixed saltwater or an economical salt mix
For the first few water changes, buying premixed saltwater from a trusted local fish store can keep startup costs low. If you mix your own, Instant Ocean Reef Crystals is a proven budget option. Use RO/DI water and verify salinity every time.
Where to save—and where not to
Keep the first version simple
Skip reef lighting at first
A fish-only aquarium does not require an expensive reef light. Use an inexpensive light for viewing, then buy coral-capable lighting only when coral is genuinely part of the plan.
Do not replace included equipment
Run the included filter, heater, and flow pump before considering upgrades. Clean them consistently and replace something only when the tank demonstrates a real limitation.
Skip the ATO
An auto top-off unit is convenient, but when starting out, you can just top off by hand every day. This will get tiresome, but it will work for quite a while.
Livestock plan
One carefully chosen fish beats a crowded bargain tank
My default plan
Cycle the aquarium fully, then choose one genuinely nano-appropriate fish. A single captive-bred ocellaris clownfish can work if you understand its adult territorial behavior. A tiny goby can take the build in a quieter direction.
I would not use a ten-gallon budget tank for an orchid dottyback, lemon damsel, pair of clownfish plus extra fish, or any animal you expect to “upgrade later.” Buy for the aquarium you own today.
An invertebrate-first alternative
Start with snails and other appropriate clean-up animals, then let the aquarium mature before deciding whether it needs a fish at all. A lightly stocked tank is easier to feed, easier to maintain, and far more forgiving on a strict budget.
Do not add an anemone just because the eventual fish is a clownfish. Clownfish do not require one, and anemones need a mature, appropriately lit system.
Budget aquarium FAQ
Common questions
Can a saltwater aquarium really cost less than $500?
Yes, if you use a standard small aquarium, choose dependable basic equipment, begin fish-only, and reserve part of the budget for water, testing, maintenance tools, and modest livestock. A coral-ready system can exceed the budget quickly.
Does the BRS starter kit include the aquarium?
No. It is a bring-your-own-aquarium kit designed around a standard 10-gallon glass tank. It also does not include lighting or saltwater.
Can I keep coral in this build?
The filtration and flow can support a future coral plan, but you need an appropriate reef light and enough budget for coral-specific testing and care. I would establish the aquarium first rather than forcing reef lighting into the initial $500.
Should I buy an RO/DI system immediately?
Not necessarily. For a ten-gallon aquarium, premixed saltwater and RO/DI top-off water from a trusted local store can be cheaper at first. Buy an RO/DI system when the volume and convenience justify it.
What is the biggest budget mistake?
Spending everything on visible equipment and leaving nothing for water, test kits, food, replacement supplies, and livestock care. A complete budget must include operating the aquarium after setup day.
Substantially revised August 2026 using current product information checked on August 23, 2026. Prices and bundle contents can change; verify the linked product page before purchasing.