

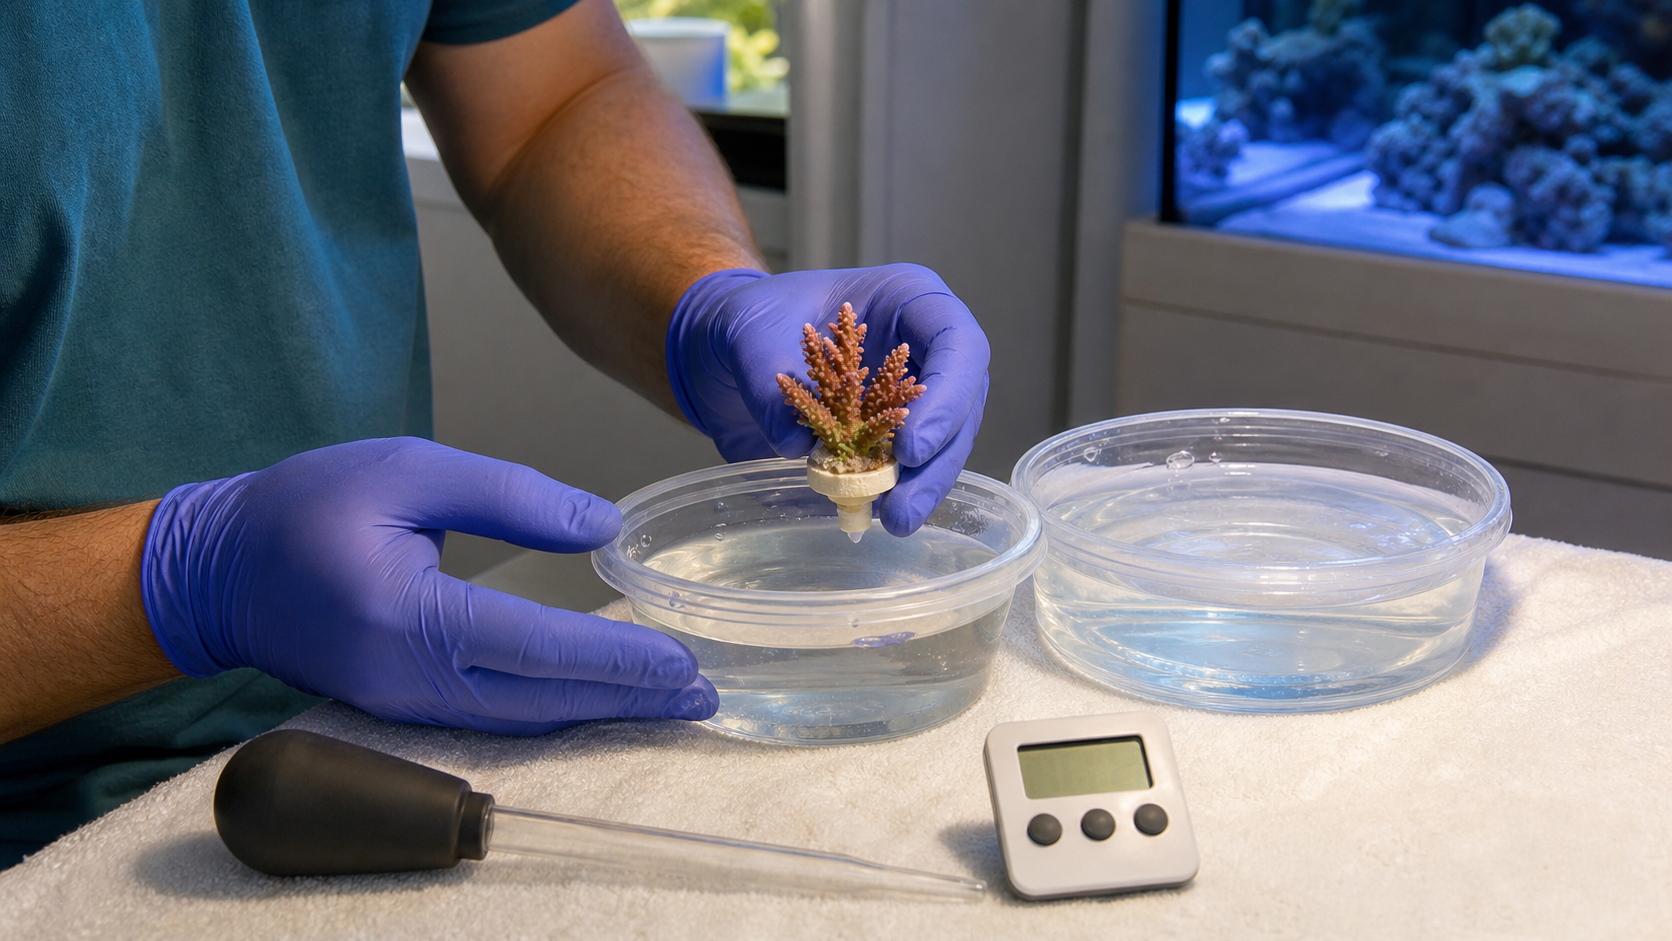
How to Dip and Quarantine New Coral
A coral dip is useful, but it is not a magic bath that makes a coral safe. I’ll show you how inspection, dipping, rinsing, isolation, quarantine, and observation fit together—and where each one stops.
The short answer
I Would Inspect Every New Coral
For most new coral, I would also plan on a coral-appropriate dip and a clean saltwater rinse. If you want the best chance of keeping pests out of the display, add a separate observation or quarantine period.
Here’s the important part: those are separate jobs. A dip may knock loose some exposed pests. It may not touch every egg, every hidden organism, or every tissue problem. Quarantine gives you time to see what one quick inspection could miss.
This page is for coral. Fish acclimation, fish quarantine, and fish medication are completely different subjects. Do not use a coral process on a fish or a fish product on a coral.
Do not combine these into one step
What Each Part of the Process Actually Does
Before you bring the coral home
Set Up the Work Area First
Do not start gathering containers after the bag is open. Know the coral, read the current dip label, and set up a clean place to work before the animal arrives.
From the bag to observation
My New-Coral Arrival Process
This is the order I would use. The exact acclimation method, dip product, concentration, and time still depend on the coral, shipment, seller instructions, and current product label.
Look at the bag and coral before opening it
Check the temperature, water clarity, smell, loose tissue, exposed skeleton, obvious pests, algae, and damage. Take a photograph. If the coral looks seriously compromised, document it and contact the seller before you erase the arrival condition.
Decide whether acclimation is needed
Do not automatically drip every coral for the same amount of time. Compare the seller’s instructions and known water conditions with the prepared destination. Long shipping time and changing bag-water chemistry can change the decision. If you are not sure, ask the seller before delivery day.
Inspect the coral and frag plug under good light
Look at the top, underside, branch junctions, tissue edge, skeleton, glue line, and every side of the plug. You are looking for eggs, nudibranchs, flatworms, snails, crabs, algae, tissue loss, and anything you cannot identify.
Decide whether the plug should stay
Frag plugs are useful, but they also create hiding places. If you can safely remove the coral or replace the plug without cutting healthy tissue, that may remove one obvious risk surface. If removal would damage the coral, do not turn a preventive step into an injury.
Mix the dip exactly as the current label directs
Use the correct saltwater volume, concentration, movement, and time for the exact product. Never add a coral dip directly to the display aquarium. Do not mix products unless the manufacturer explicitly says to do it.
Use gentle water movement to help expose pests
Follow the product directions. Gentle agitation or a coral-safe baster may help dislodge exposed organisms, but do not blast torn tissue or assume that everything coming off is a pest.
Move the coral into clean saltwater
Rinse the coral in a separate container so the used dip and dislodged material do not travel with it. Discard the used dip according to the label and do not reuse it for another coral.
Put the coral into isolation or quarantine when possible
Use dedicated tools and keep the system stable. Give yourself time to inspect again, watch the tissue, and respond to a pest without exposing the display. The right length and any repeat-dip schedule depend on what you are trying to detect and the biology of that pest.
Transfer and place the coral carefully
Keep dip and quarantine water out of the display. Start with a placement that fits the exact coral and lets you observe it. Do not glue it into the hardest-to-reach part of the aquarium until you are confident in the location and health.
Photograph it and watch what changes
Compare tissue, color, inflation, polyp behavior, attachment, and the area around the coral. Also check temperature, salinity, and the rest of the aquarium. One closed coral is not a diagnosis, but a clear baseline can help you notice a real change.
Choose the purpose before the bottle
Coral Dips Are Not All the Same
I have used Coral Rx as my general coral dip for years, and it is the one I know best. That is my experience—not proof that it is right for every coral or every problem. Whatever you choose, the current label wins.
| Product | What the manufacturer says it is for | What I would not claim |
|---|---|---|
| Coral Rx | A general coral dip intended to help remove several exposed coral pests. The current manufacturer directions specify the product dose and a timed dip with water movement. | That one dip kills every pest or egg, treats every tissue problem, or replaces quarantine. |
| ReVive Coral Cleaner | Two Little Fishies describes it as a plant-extract surface cleaner for live stony and soft corals, zoanthids, and anemones. | That “surface cleaner” means disease medication or a complete pest-eradication process. |
| Brightwell MediCoral | Brightwell describes it as a preparatory dip for coral additions and stressed or damaged tissue. Brightwell also says it is not a medication. | That it cures coral disease or should be used as a general aquarium cleaner. |
The biggest limitation
A Clean Dip Bowl Does Not Prove the Coral Is Clean
Sometimes you will see flatworms, nudibranchs, brittle stars, pods, worms, or other animals come off a coral. That tells you the dip moved something. It does not tell you that every organism was harmful, and it does not prove that the coral is now pest-free.
Eggs and hidden pests are the reason inspection and time still matter. Look closely at the frag plug, exposed skeleton, branch junctions, and the underside of the coral. If you find something you cannot identify, keep the coral out of the display and get help before guessing.
Protect yourself too
Use Extra Care With Zoanthids and Palythoa
Some zoanthids and Palythoa can contain palytoxin. Exposure can happen through the eyes, mouth, broken skin, or by breathing contaminated droplets or aerosols.
- Do not boil, scald, or scrub these corals with hot water.
- Avoid cutting or aggressive cleaning that can spray liquid into the air.
- Follow the dip product’s label and safety data sheet for gloves, eye protection, ventilation, first aid, and disposal.
- Keep children and pets away from the work area, used water, tools, and coral.
- If anyone develops breathing trouble, severe eye symptoms, chest symptoms, or rapidly worsening illness after a possible exposure, seek urgent medical help and mention possible palytoxin exposure.
The CDC has documented serious respiratory illness connected to aquarium zoanthid exposure. This is not a reason to panic. It is a reason to handle these animals carefully and avoid creating aerosols.
When something looks wrong
Stop Guessing When the Coral Is Declining
A coral that stays closed after a move is not automatically sick. But rapid tissue loss, brown-jelly-like material, spreading recession, a visible pest, repeated losses, or a coral that continues to worsen deserves more than another random dip.
Keep going