My first sump-system recommendation
Red Sea REEFER MAX 200 G3: My 42-Gallon Saltwater Aquarium Build
My first saltwater aquarium was a Red Sea REEFER 170. The REEFER MAX 200 G3 is a larger, newer option that comes with a whole bunch of equipment I had to think about separately. If I were putting this system together today, this is what I would buy, what I like about it, and what I would change.
My verdict
A premium reef with a sump and most of the big-ticket gear included
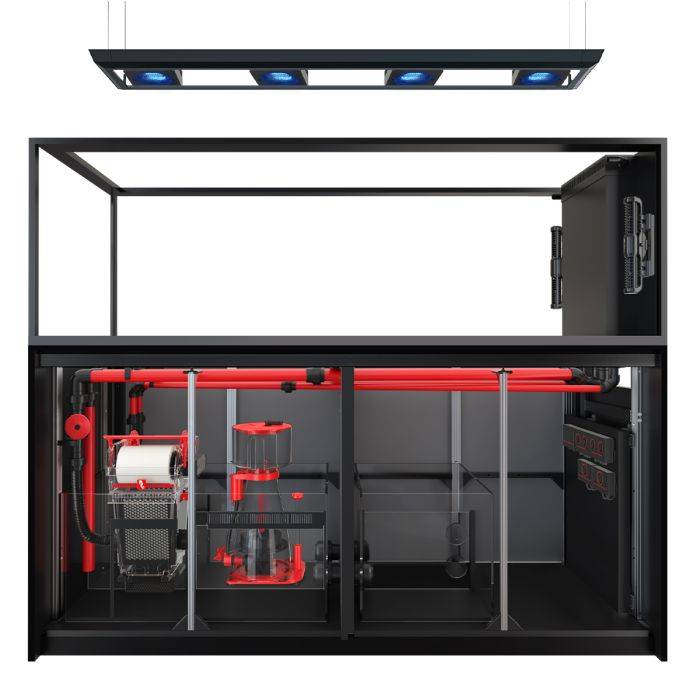
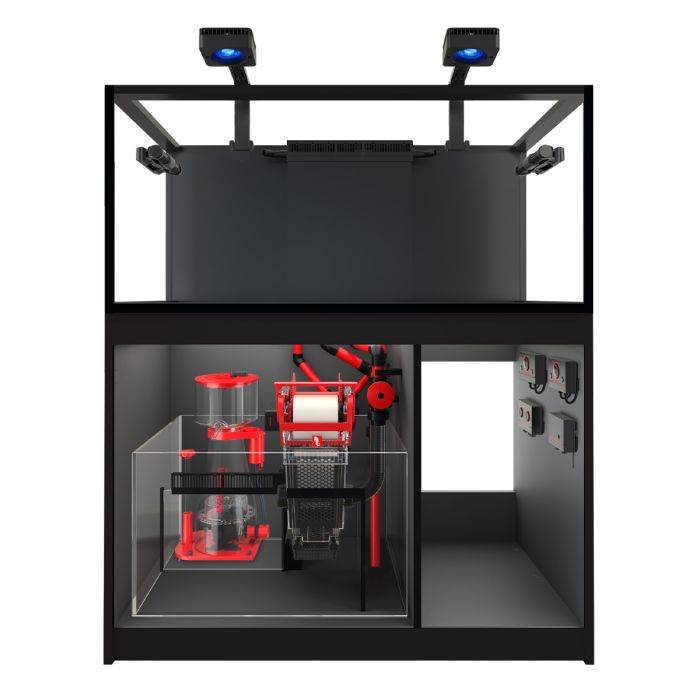
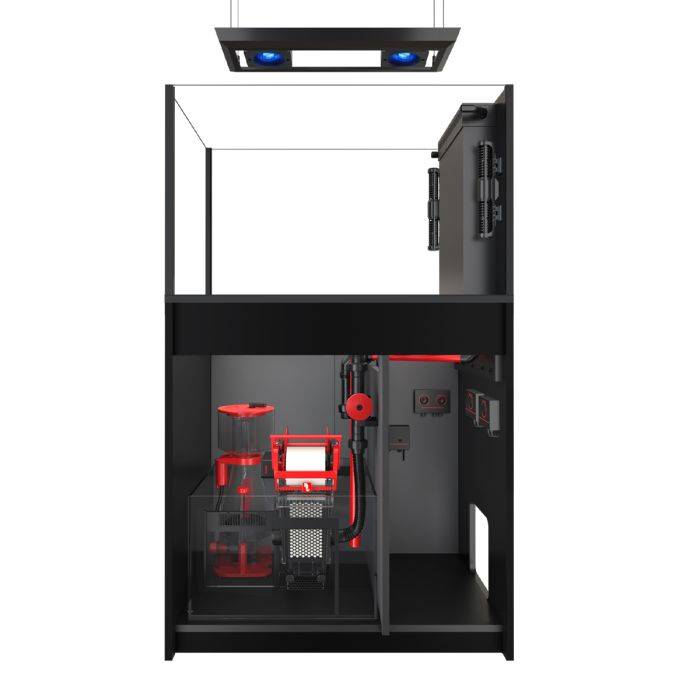
What I love about this system is how much comes with it. You get the tank, cabinet, sump, plumbing, light, skimmer, return pump, wave maker, fleece roller, and auto top-off system. You are buying high-end products designed to work together instead of piecing everything together from different companies.
I do not love the cube-like shape, and I would personally prefer an acrylic sump. But if you want a compact reef with a sump and a lot of the equipment decisions already made, this is a really nice option.

What comes with the aquarium
This system comes with a lot
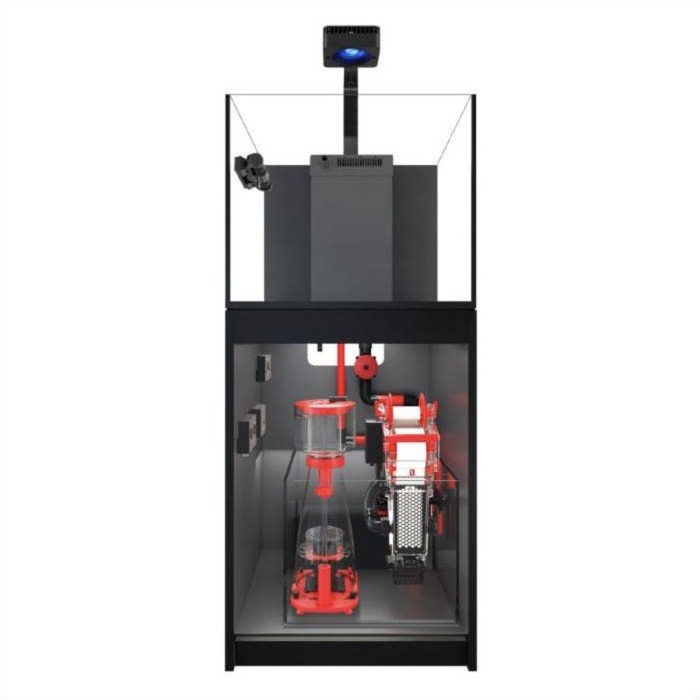
The MAX package includes the matching cabinet and the major filtration, lighting, and circulation equipment. The advertised 42 gallons refers to the display—not the full system volume.
Red Sea REEFER MAX 200 G3
The display measures 23.6 inches long, 22.6 inches front to back, and 20.9 inches tall. It holds 41.7 gallons, with an approximately 11-gallon sump bringing the listed system volume to 52.8 gallons.
- Aquarium and matching cabinet
- Glass sump and pre-glued plumbing
- ReefLED G2 115 and mounting arm
- REEFER DC 300 protein skimmer
- ReefWave 25 gyre pump
- ReefRun G2 4000 DC return pump
- ReefRun controller
- ReefMat 250 fleece roller
- ReefATO+ auto top-off system
- Slide-Out Control Panel 25
You still need a freshwater reservoir, a heater and temperature controller, testing and maintenance supplies, salt, sand, and rock.
What I like
The expensive equipment is already here
This is the first build in this group that moves the filtration out of the back of the aquarium and into a sump underneath it.
A matched system
The pre-glued plumbing makes installation easier, and the skimmer, roller, pumps, and light are chosen for the aquarium. That is a big part of what you are paying for.
A controllable DC return pump
I love that Red Sea includes the ReefRun G2 4000 here. I much prefer a controllable DC pump, especially when I can adjust it through the same app as the other equipment.
No filter sock to keep changing
The ReefMat 250 is already included. Changing filter socks all the time is a pain, so having a fleece roller designed for the sump is a big benefit in my book.
ReefBeat brings the gear together
The included smart equipment works through ReefBeat. The ReefATO+ also monitors temperature and detects leaks, but monitoring temperature is not the same thing as switching a heater on and off.
What I would change
A few things I do not love
None of these would stop me from considering the aquarium, but they are worth thinking about before spending this much money.
I prefer a longer, shallower aquarium
I am just not a big fan of the cube-like shape. At roughly this size, I prefer the longer footprint of a 40-gallon breeder-style aquarium. More horizontal room gives you more options for swimming space and the aquascape. Extra height does not give a fish the same benefit as a longer swimming lane.
I prefer acrylic sumps
The included glass sump works, and it is designed around the equipment in the package. I personally like how lightweight acrylic sumps are, and I like having more options for baffles and compartments. That is a preference, not a reason this sump will not do its job.
Single-puck lighting can create shadows
The ReefLED G2 115 is a good, powerful light. I would still prefer a bar light, or a puck with supplemental bars, because a single light source can leave shaded areas as coral colonies grow. You can always add supplemental lighting later.
The reservoir needs a plan
There is a lot of equipment in this little cabinet. Do not assume there will be room beside the sump for a large reservoir. I would rather plan for one outside the cabinet than buy something that blocks access or simply will not fit.
Does it include Wi-Fi outlets?
No general-purpose Wi-Fi AC outlet strip is listed in the REEFER MAX 200 G3 package. The included ReefRun controller operates compatible pumps; it is not a ReefControl Pro or a ReefControl Power 8. The slide-out control panel is a place to mount controllers, not a bank of controllable outlets.
That is why I would still buy the Inkbird temperature controller for the titanium heater. The ReefATO+ temperature reading is useful, but it does not replace heater control.
Other items you will need to purchase
The equipment I would add
The big-ticket filtration and lighting are included, but the system does not come with everything. Here is the rest of my shopping list. For products with multiple sizes, choose the version named on the card.

Red Sea ReefCan — 10.6 Gallons / 40 Liters
The ReefATO+ is included, but its freshwater reservoir is not. I like this slim reservoir and its convenient refill openings. It measures about 7 inches wide, 20 inches deep, and 22 inches tall. Plan to place it outside the cabinet unless Red Sea confirms clearance for the fully equipped MAX 200 G3.
View the ReefCan 40L at BRS
BRS 200-Watt Titanium Heater Element
I would move up to the 200-watt element for this system. Pair it with the Inkbird below: this heater has no built-in thermostat and must not run without a controller. Check the sizing against your room temperature and the temperature rise you need.
View the 200W Heater at BRS
Inkbird ITC-308 WiFi Dual-Stage Temperature Controller
This controller switches the heater on and off to maintain your chosen temperature. It also has high and low temperature alarms, WiFi monitoring, and a separate cooling outlet if you add a fan or chiller later.
View the Inkbird ITC-308 WiFi at BRS
Refractometer with Calibration Fluid
Use this to mix new saltwater and confirm the aquarium stays at the right salinity. Calibrate it with the included 35 ppt solution before relying on the reading.
View the Refractometer at BRS
Python 2-Inch Pro-Clean Gravel Wash
I would use the 2-inch Python Pro-Clean for water changes and cleaning the sand. It is a more practical size here than the tiny siphon I use on the DeskMate.
View the Gravel Wash at BRS
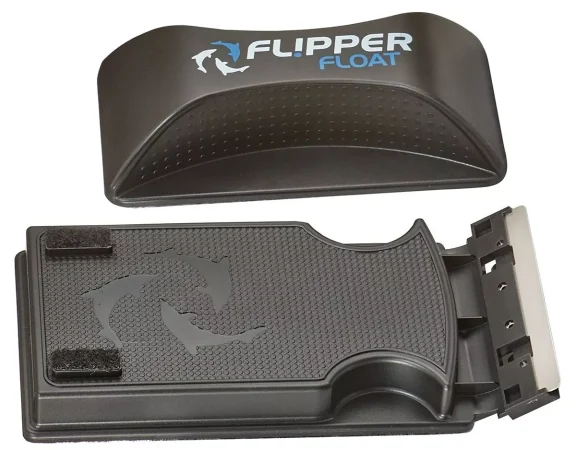
Flipper Float Standard Algae Cleaner
A floating magnetic cleaner makes regular glass cleaning fast and keeps your hands out of the aquarium. I would choose the Standard size for this aquarium.
View the Flipper Float at BRS
HelloReef Stick-On Thermometer
This simple thermometer stays outside the aquarium and gives you a quick temperature check every time you walk by.
View the Thermometer at BRS
API Saltwater Master Test Kit
Testing ammonia and nitrite tells you when the nitrogen cycle is complete and it is safe to begin adding animals.
View the API Test Kit at BRS
Dr. Tim’s Ammonium Chloride
This gives you a measured ammonia source for a clean, fishless cycle. Follow the label carefully and confirm the dose with your ammonia test.
View Ammonium Chloride at BRS
Dr. Tim’s One & Only for Saltwater
Add the nitrifying bacteria after dosing ammonia chloride. Choose a bottle sized to treat the full water volume of this approximately 53-gallon system, including the sump, and follow the label.
View One & Only at BRS
BRS 4-Stage Value Plus 75 GPD RO/DI System
For this build, I would buy a full RO/DI system. It gives you clean water for mixing saltwater and for every future top-off.
View the RO/DI System at BRS
Tropic Marin Pro Reef Salt
This is the salt mix I would use for the build. Mix it with RO/DI water and use the refractometer to verify salinity before adding it to the tank.
View Tropic Marin Pro Reef Salt at BRS
CaribSea Original Grade Ocean Direct Live Reef Sand
I would start with one 20-pound bag for a shallow sand bed. If you prefer a deeper bed, you may want 40 pounds. You do not have to use every grain.
View the Live Sand at BRS
CaribSea Nano LifeRock — 10 Pounds
I would buy two 10-pound boxes. I like the smaller pieces because they give me more options for little caves, nooks, and crannies. This is a selection to build from, not a requirement to cram 20 pounds into the display.
View the Nano LifeRock at BRS
CaribSea LifeRock Nano Reef Kit
The nano arches add height, caves, and negative space without forcing you to build one giant wall of rock. Use this with the smaller nano pieces and keep the pieces you like best.
View the Nano Reef Kit at BRS
CaribSea LifeRock Dry Live Rock — 40 Pounds
I would get the 40-pound box so I have extra pieces to choose from, although a 20-pound box may be enough for a more open layout. Combined with the nano rock and arches, you will have plenty of choices. Keep the leftovers rather than overcrowding the aquarium.
View LifeRock at BRSCheck the reservoir fit before ordering
The ReefCan 40L works with the ReefATO+ pump, but that does not prove it fits inside the MAX 200 G3 cabinet. BRS lists it as incompatible inside older MAX 200 G2+ cabinets, and I have not confirmed a G3 fit. Plan on external placement or get confirmation from Red Sea for your exact setup. A clean aquarium-only bucket is also a practical reservoir option.
Buy rock for choices—not to fill every space
I would buy extra rock so I can try different arrangements outside the tank. You do not need to use all of it. Keep swimming lanes, cleaning access, and room for coral growth.
Secure the aquascape
Super glue and coral adhesive
I would buy both of these before assembling the rockwork. Build and test the structure outside the aquarium, and let the joints set before moving it into place.

BRS Extra Thick Gel Super Glue — 10 Ounces
I would use this extra-thick gel to secure small rock contacts and attach coral frags. The 10-ounce bottle gives you plenty to work with while building the aquascape. Start with a stable structure rather than relying on glue to hold an unsupported pile of rock.
View the 10 oz Super Glue at BRS
Tunze Coral Gum Instant — 400 Grams
Choose the 400-gram version. This fast-setting, two-part coral adhesive is useful for securing small aquascaping pieces and coral mounts. Mix and use it according to the instructions, and check that each joint is secure before moving the structure.
View the 400 g Coral Gum at BRSOptional upgrades
Go deeper into the Red Sea ecosystem later
You do not need these to start this aquarium. If you want more monitoring and control later, this is the upgrade path I would look at.

Red Sea ReefControl Pro
An optional way to go deeper into the ReefBeat ecosystem. This package includes a pH and temperature probe and supports additional compatible sensors. It does not include an AC outlet strip; pair it with ReefControl Power if you want it to switch mains-powered equipment.
View ReefControl Pro at BRS
ReefControl Power 8 Deluxe with Control Panel
This adds eight controllable AC outlets and physical buttons for maintenance. For automatic heater control, you also need a compatible temperature-reading setup, such as the ReefControl Pro and its included probe. Power 8 can also use a separately purchased ReefSense Temperature Probe directly.
View Power 8 Deluxe at BRSA controller and an outlet strip do different jobs. ReefControl Pro supplies monitoring and sensor-based logic; ReefControl Power supplies AC outlets. Use a compatible temperature probe and properly configured heater control before replacing the Inkbird. Neither of these optional products is included with the aquarium.
Plan the full cost
The starting price is not the finished-build price
The aquarium package is around $3,700—BRS listed it at $3,649 when I checked. That includes a lot, but it does not include the reservoir, heater, controller, RO/DI system, test kits, maintenance tools, salt, sand, rock, or livestock.
Price the complete shopping list before committing, and keep the optional ReefControl upgrades separate from the gear you need to get started. This is a premium sump build, not an inexpensive way to try saltwater.
Compare before you decide
Is a sump system the right fit?
If you like the equipment package but want something simpler underneath the aquarium, compare this with my MAX NANO G2 XL build. Or explore all seven builds to find the size and budget that make sense for you.