Updated July 2026
Choosing a first saltwater aquarium gets much easier when you stop shopping one product at a time. I start with two decisions: the total budget I can actually finish the build with, and the tank size I can maintain every week.
Affiliate disclosure: This article contains affiliate links. If you buy through one, I may earn a commission at no extra cost to you. I only recommend products that fit the build being discussed, and the guide is designed to be useful whether you purchase through these links or not.
Below, I’ll show you two proven starting points—a guided 15-gallon kit and a flexible 40-gallon all-in-one—then explain how to choose by budget, space, livestock goals, and long-term maintenance.
Quick answer: choose by budget first
- Under $500: keep the livestock plan simple and expect to buy some equipment used or start with a very small all-in-one. Use my under-$500 saltwater aquarium build.
- About $500 to $1,000: a guided kit or compact all-in-one reduces equipment decisions, but leave room for water, tests, and maintenance supplies.
- Above $1,000: a 30- to 40-gallon all-in-one becomes realistic once the stand, light, rock, sand, water system, and tools are counted.
Those numbers are planning ranges, not promises. Retail prices change, and the “tank price” is never the complete build price.
Then choose the tank size you can maintain
A 15- to 20-gallon aquarium fits more spaces and costs less to fill, but evaporation and overfeeding affect it quickly. A 30- to 40-gallon system costs more and needs a dedicated stand, yet the extra water volume and equipment space give a committed beginner more room to recover from small mistakes.
Before buying, confirm the filled weight, measure doors and stairs, make sure you can reach the filtration area, and decide where RO/DI water and maintenance tools will live.
This Week's Video:
Build One: 15 Gallon HelloReef
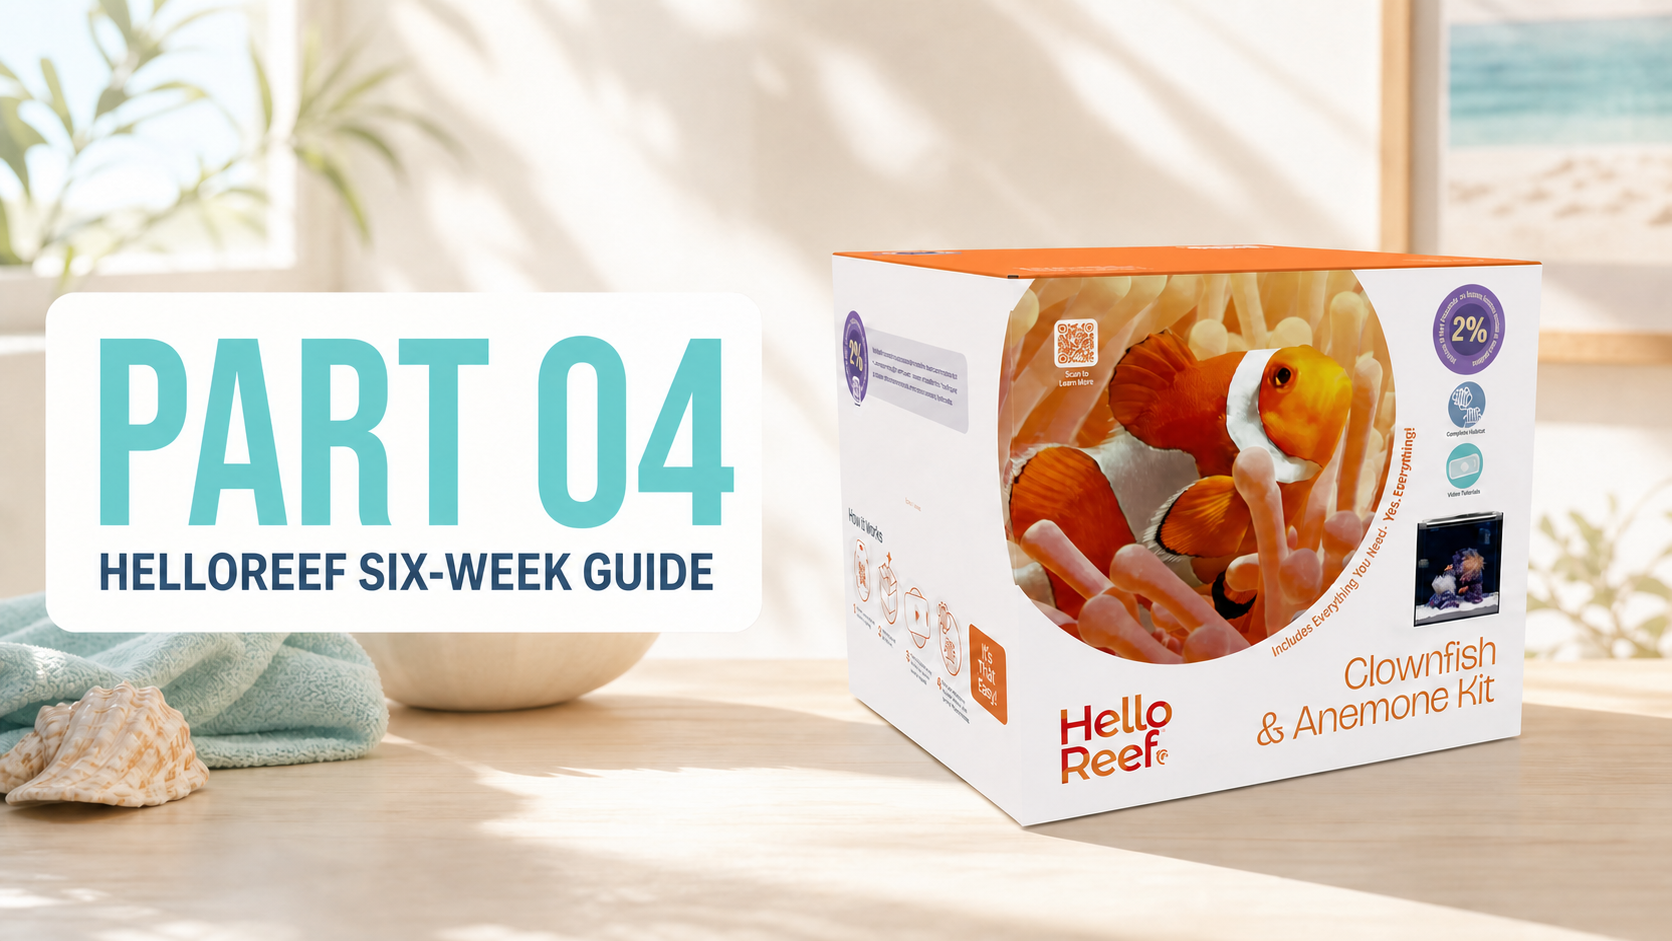
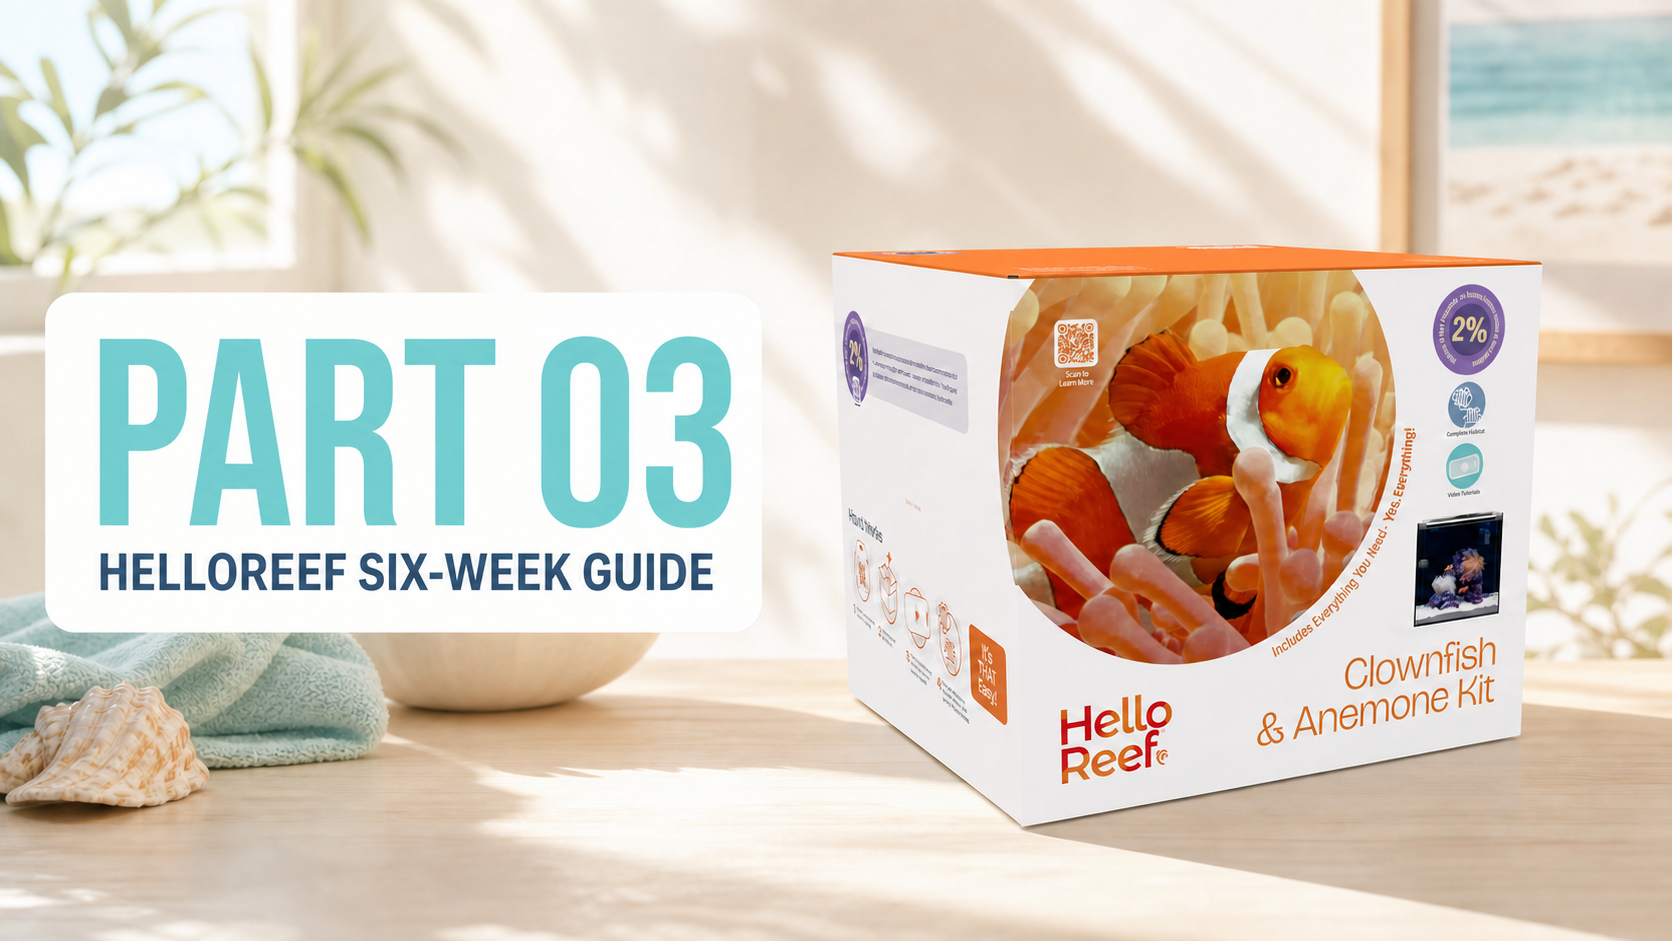
The most guided option is the 15-gallon HelloReef Clownfish & Anemone Aquarium Kit. It is a true all-in-one package: the aquarium, rear filtration, return pump, circulation pump, heater, light, rock, sand, salt, bacteria, refractometer, food, and setup supplies are bundled together.
I want to be transparent about my connection: I work with HelloReef, and I helped create the step-by-step training videos included with the kit. That is also why I understand where this approach helps a new hobbyist most—it removes dozens of small equipment decisions that can stall a first build.
Current fit: choose this route if you want a compact tank, a guided setup, and a livestock plan centered on a pair of clownfish with beginner-friendly corals or, once the aquarium is mature and stable, an anemone.
For a broader comparison of nano systems, see my best beginner saltwater aquariums guide.
The kit gets you very close to the first fill, but “complete” never means maintenance-free. You still need a reliable source of RO/DI water, patience during the cycle, and a plan for testing and weekly care. Prices and promotions change, so use the product page below for the current total rather than treating an old article price as permanent.

What the kit includes
The current kit uses a 15-gallon glass all-in-one aquarium with integrated rear filtration, a Sicce return pump and nano circulation pump, a 50-watt preset heater, and a 12-inch AquaIllumination Blade LED. It also includes the rock, live sand, salt, bacteria, refractometer, food, and basic setup tools needed to get moving.
That combination is valuable because the components are already sized to work together. You are buying fewer decisions, not just more gear.

What I would add
Plan on test supplies for ammonia during the cycle and nitrate and phosphate as the aquarium begins to mature. An automatic top-off is a useful later upgrade because evaporation changes salinity quickly in a small tank, but it is not a reason to delay the initial setup.
You do not need to buy a protein skimmer on day one for a lightly stocked 15-gallon aquarium. Consistent water changes and careful feeding are more important.

Maintenance tools worth budgeting for
Keep the list simple: a small siphon, dedicated buckets, a fish net, towels, and a glass cleaner. A smart power strip can make equipment control easier, but drip loops and a safe electrical layout come first.
The recurring cost is easy to overlook. Leave room in the budget for replacement filter media, salt, test reagents, food, and RO/DI water—not just the aquarium itself.

Build Two: 40 Gallon Setup
If you have the room and the budget, a 40-gallon all-in-one is a forgiving long-term platform. You get more swimming space, more aquascaping room, and more water volume to buffer small mistakes. The tradeoff is a much higher total cost once you include the stand, lighting, rock, sand, water-making equipment, and maintenance supplies.
This is the route I would choose for someone who wants to select equipment piece by piece and expects to keep the aquarium for years—not for someone trying to hit the smallest possible starting budget.
Tank and stand
The Innovative Marine 40-gallon NUVO Fusion Pro all-in-one remains a practical foundation because the filtration is built into the back and the return pump and basic media hardware are included. A purpose-built stand is important: forty gallons of water alone weighs more than 330 pounds before glass, rock, sand, and equipment.
Measure the assembled tank and stand, confirm the floor location, and make sure you can reach the rear filtration chambers before ordering. If you are still comparing platforms, read my beginner saltwater tanks under $1,000 guide.

Choose the light after the livestock plan
Do not buy the most expensive light first and decide what lives under it later. A fish-only aquarium needs far less light than a mixed reef, while SPS corals demand stronger, more even coverage.
For a 40-gallon reef, budget for a controllable reef light sized to cover the full footprint. The 30-inch AquaIllumination Blade is one streamlined option, but the right choice depends on coral goals, mounting, and the amount of front-to-back coverage you need.

Rock and sand
Rock and sand are not just decoration. Their surfaces support the bacteria that process waste, and their shape determines hiding places, swimming lanes, and future coral placement.
Buy enough rock to create a stable, open structure instead of chasing an old “pounds per gallon” rule. For sand, a shallow bed is easier for most beginners to keep clean. Rinse dry sand thoroughly; follow the package directions for live sand.


RO/DI water: buy it locally or make it at home
For a nano aquarium, buying RO/DI water from a trusted local fish store can be reasonable. At 40 gallons, making water at home becomes more convenient because you need enough for the initial fill, regular water changes, and evaporation top-off.
If you buy a filter, check your tap-water pressure and disinfectant type first. Chloramine-heavy water may require different carbon stages, and every system needs replacement filters and a TDS meter in the long-term budget.

Salt mix and salinity
Choose a reputable salt mix that matches the alkalinity range you intend to maintain, then stay consistent. Expensive salt will not compensate for unstable salinity or rushed mixing.
You also need a heater and circulation pump for the mixing container, a calibrated refractometer or salinity meter, and a safe place to store clean water. Mix according to the manufacturer’s directions rather than assuming every brand has the same process.

Testing without buying everything at once
During the cycle, focus on ammonia and the trend toward nitrate. Once fish and corals are in the aquarium, routine nitrate and phosphate testing becomes more useful. Add alkalinity, calcium, and magnesium tests when you begin keeping corals that consume those elements.
Good testing is a schedule, not a shelf full of kits. Record the results so you can see change before a small problem becomes an emergency.
The complete budget checklist
- Aquarium, stand, lid, and safe placement
- Return pump, circulation, heater, and temperature check
- Light matched to the livestock plan
- Rock, sand, salt, and RO/DI water
- Test supplies, buckets, siphon, net, and glass cleaner
- Food, replacement media, and an emergency reserve
How to save money without creating problems
Spend on the parts that protect stability: a sound aquarium and stand, dependable heating and flow, a safe electrical setup, and accurate salinity measurement. Save by choosing a simpler livestock plan, buying fewer optional gadgets, and delaying upgrades until the aquarium proves that it needs them.
Used equipment can be a good value, but inspect tanks for chips and failed seams, test pumps and lights, and assume old heaters need replacement. Never save money by skipping the lid, using untreated tap water, or adding animals before the cycle is complete.
Choose the build that fits your real starting point
- Need the lowest realistic budget? Read how I’d build a saltwater aquarium for under $500.
- Want three complete approaches? Compare my affordable saltwater aquarium setups.
- Choosing a tank platform? See the best beginner tanks under $1,000.
- Working with 15 to 20 gallons? Start with the best beginner saltwater aquariums.
My final advice is simple: choose the smallest build you can maintain comfortably, not the largest tank you can barely afford to buy. A complete, stable aquarium is a much better first experience than an ambitious setup with no money left for water changes, tests, and livestock care.