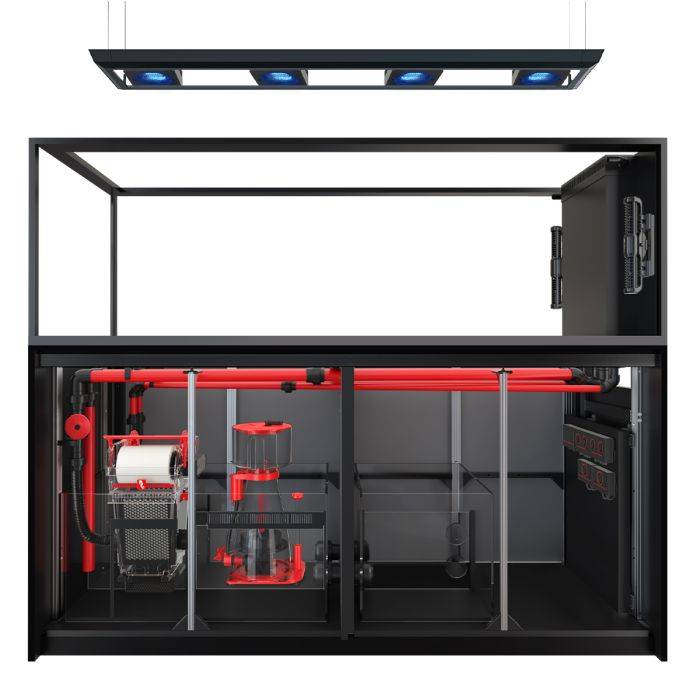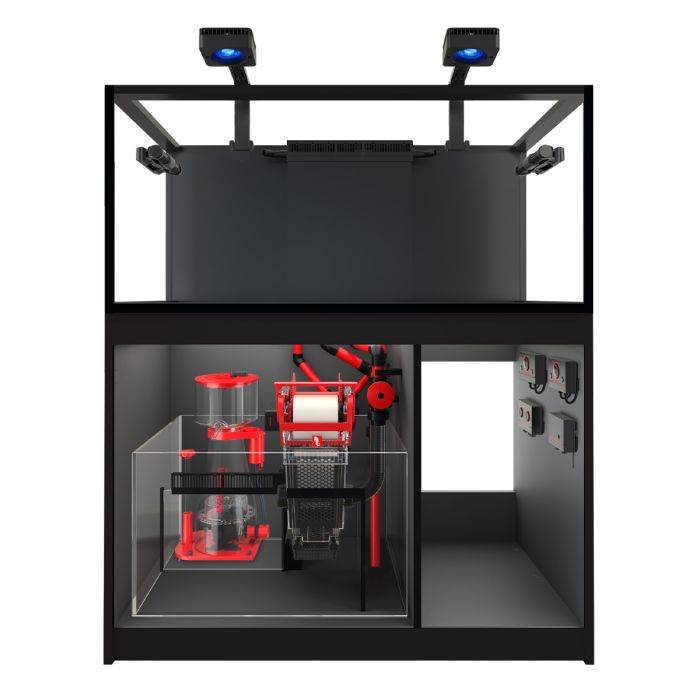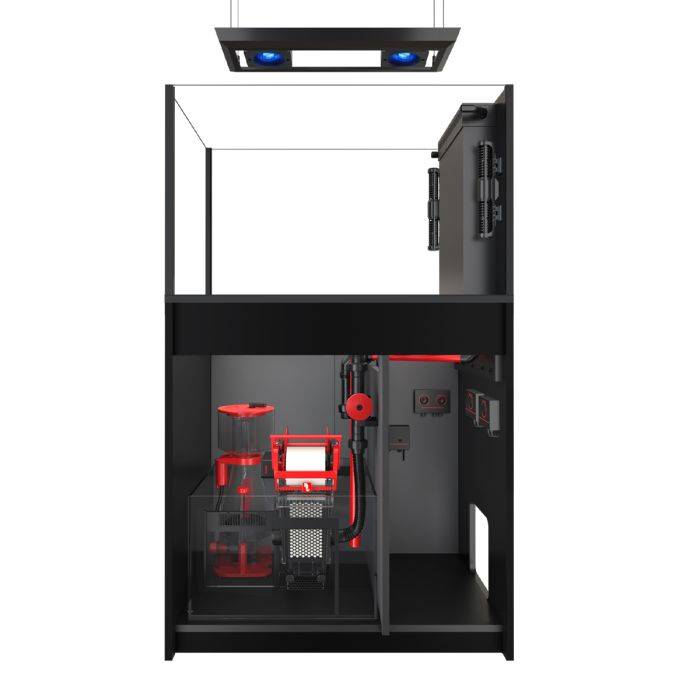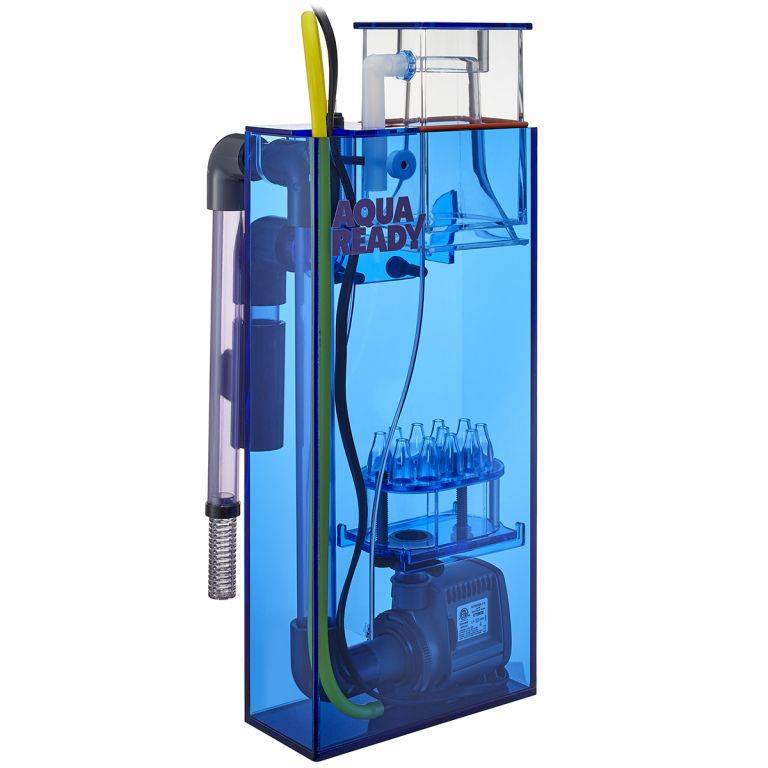
Before we add water, let’s put the aquarium in the right place, make sure every part arrived safely, install the equipment, and build an aquascape that will be easy to live with.
I understand the temptation. The box arrives, everything looks exciting, and you want to add water immediately. I do too. But there are a few jobs that are much easier while the tank is still empty, and getting them right now will save you a lot of frustration later.
By the end of this guide, you should have a safe location, an inspected kit, a basic understanding of every major system, installed dry equipment, and a stable aquascape with room for flow and cleaning. We will add water in Week 2.
Affiliate disclosure: This article contains an affiliate link. If you purchase through it, My First Fish Tank may earn a commission at no additional cost to you. I only include the product because it is the exact aquarium path discussed in this guide.
This public video is a useful visual overview of the equipment, aquascape, and sand. The complete HelloReef course included with the kit provides the detailed step-by-step process.
Start With the Aquarium’s Permanent Location
A 15-gallon aquarium may look small, but the finished system will weigh well over 100 pounds after the aquarium, water, rock, sand, and equipment are together. You do not want to discover that the furniture wobbles or that you cannot reach the rear filtration chamber after the tank is full.
For the broader decision—including aquarium size, materials, shape, budget, and placement—read my guide to choosing your first saltwater aquarium.
Choose a surface that can support the entire aquarium
The base should be fully supported, stable, level, and resistant to the occasional spill. Clean the surface and the bottom of the aquarium before setting it down so a small piece of debris is not trapped underneath.
If you have any real uncertainty about the furniture, floor, electrical circuit, or location, stop and get qualified help before filling the aquarium. Moving an empty tank is simple. Moving a stocked aquarium is not.
Leave room to use and maintain the system
You need to reach the rear chambers, remove filtration, clean the glass, route cords, and work around the light. Leave enough space around the aquarium to complete those jobs without moving the entire system.
Now think about maintenance. Where will you store purified freshwater? Where will you mix saltwater? How far will you have to carry a bucket for a water change? The easier you make those jobs now, the more likely you are to keep doing them later.
Avoid preventable environmental problems
- Keep the aquarium away from direct sunlight if possible. Sunlight does not automatically ruin an aquarium, but it can add heat and encourage algae in places you do not want it.
- Avoid heating and cooling vents, fireplaces, portable heaters, and locations with large temperature swings.
- Consider noise and daily visibility. A tank you see every day is easier to observe, but a bedroom may not be ideal if even gentle water noise interrupts your sleep.
- Keep the aquarium away from edges, doors, or traffic patterns where people, pets, or furniture could strike it.
Unbox Everything Before You Start Assembling
Once the location is settled, unpack the kit carefully and confirm that the aquarium and equipment arrived in good condition. Keep the course-access materials, templates, manuals, and packaging organized until the system is running correctly.
Inspect the glass, seams, rear filtration chambers, cords, plugs, pumps, heater, light, filtration parts, rock, sand, salt, bacteria, and other included supplies. If something is damaged or missing, it is much easier to document and resolve before it has been installed or exposed to water.
Understand the Five Systems You Are Building
You do not need to become an aquarium engineer before continuing, but you should know the basic job of every major system. That makes the physical setup easier and gives you a much better chance of recognizing a problem later.
1. The display and rear filtration chambers
The front is the display where the aquascape and, eventually, the animals live. The rear chambers move water through filtration, hold equipment, and return the cleaned and heated water to the display.
2. Water movement
The return pump moves water through the filtration system. The additional circulation pump helps prevent still areas where food and waste can collect. We will position and tune the running flow during Week 2.
3. Temperature control
The heater keeps the aquarium within a stable tropical range. During this dry setup, install it according to the current equipment instructions, but do not energize any heater or water pump while it is dry.
4. Mechanical, chemical, and biological filtration
Mechanical filtration catches particles. Chemical media can remove certain dissolved contaminants, odors, or discoloration. Biological media provides surface area for the bacteria that process animal waste. Each has a different job, and each must remain accessible for future maintenance.
5. Lighting
The light lets you enjoy the aquarium and eventually supports photosynthetic animals. Exact programming belongs in Week 2. For now, make sure it fits securely, the cord can be routed safely, and you understand that a consistent schedule is more useful than constant adjustment.
Dry-Fit the Equipment Before the Aquarium Gets Crowded
Install the filtration pieces, return plumbing, pump, and heater according to the current HelloReef and equipment-manufacturer instructions. Leave everything unplugged.
As you work, ask one practical question repeatedly: Can I remove and clean this later? A component that technically fits but blocks another part or cannot be removed without dismantling the aquarium is not installed usefully.
- Keep the intended water path through the rear chambers open.
- Make sure the return plumbing is secure without forcing a fitting.
- Confirm the heater will remain submerged at the normal operating water level.
- Route cords so they do not become trapped behind the filled aquarium.
- Leave mechanical filtration easy to remove because it will require frequent cleaning.
Build an Aquascape You Can Actually Maintain
An aquascape is not simply a pile of attractive rocks. It becomes the main structure in the aquarium, a place for animals to swim and shelter, and a surface that must receive water movement and remain accessible for cleaning.
Stability comes first
Build the structure outside the aquarium on a protected work surface. Test different arrangements and apply gentle pressure from several directions. Snails, maintenance tools, and your own hands will eventually bump the structure, so it cannot depend on wishful thinking to stay upright.
Leave purposeful open space
- Leave a gap between the rock and the glass so an algae cleaner can pass.
- Create openings that allow water to move around and through the structure.
- Preserve swimming space instead of filling every available inch with rock.
- Keep the structure low enough to leave room for future animal growth.
- Include secure crevices without creating a loose, top-heavy stack.
The complete HelloReef course shows the aquascaping process in much more detail. For this guide, keep the goal simple: build something stable, leave open swimming space, and make sure you can still clean around it.
Add the Rock and Sand Carefully
Once the structure has cured according to the material instructions, support it from the base and lower it into the aquarium carefully. Do not scrape the glass or drop the structure onto the bottom.
Add the sand in a way that minimizes contact with the glass and keeps it out of the rear filtration chambers. The rock should remain stable without relying on loose sand to hold it in place. After everything is positioned, confirm that the structure still leaves cleaning and flow clearance on every necessary side.
Before You Move On to Week 2
- The aquarium is on a level, stable, fully supporting surface.
- You can reach the rear chambers, glass, light, filtration, and cords.
- You know where you will store water, mix saltwater, and carry out water changes.
- Every component has been inventoried and inspected for damage.
- You understand the basic job of the return, flow, heater, filtration, and light.
- Dry equipment is installed according to current instructions and remains unplugged.
- The aquascape is stable and leaves swimming, flow, and cleaning space.
- Rock and sand are positioned without blocking the rear filtration chambers.
- Every cord can form a drip loop and power connections are protected.
- You know which water, mixing, measuring, testing, and maintenance supplies are still needed.
Next: Add Water and Commission the Equipment
In Week 2, I’ll walk you through source water, mixing saltwater, measuring salinity, setting the temperature, adjusting flow, and starting a simple lighting schedule.
How Much Step-by-Step Help Do You Want?
This free series gives you a useful overview of what to do each week. If you want every HelloReef step demonstrated in detail, the kit includes the complete course with more than 50 videos.
Not sure whether this is the right tank for you? Start with the Start Here guide or compare all three beginner aquarium options.
View the HelloReef kit and complete course at Bulk Reef Supply.