Turn the dry aquarium from Week 1 into a measured, safely powered saltwater system with stable temperature, useful circulation, and a consistent lighting plan.
This is the week when the aquarium finally starts to feel real. The rock and sand are in place, the equipment is installed, and now we get to add water and watch the system come to life.
There is a little more to this than pouring in water and plugging everything in. The type of water matters. We need to measure the salt, protect the electrical connections, check the heater, and make sure the pumps move water without blowing sand all over the tank. Once those basics are working, we can focus on cycling in Week 3.
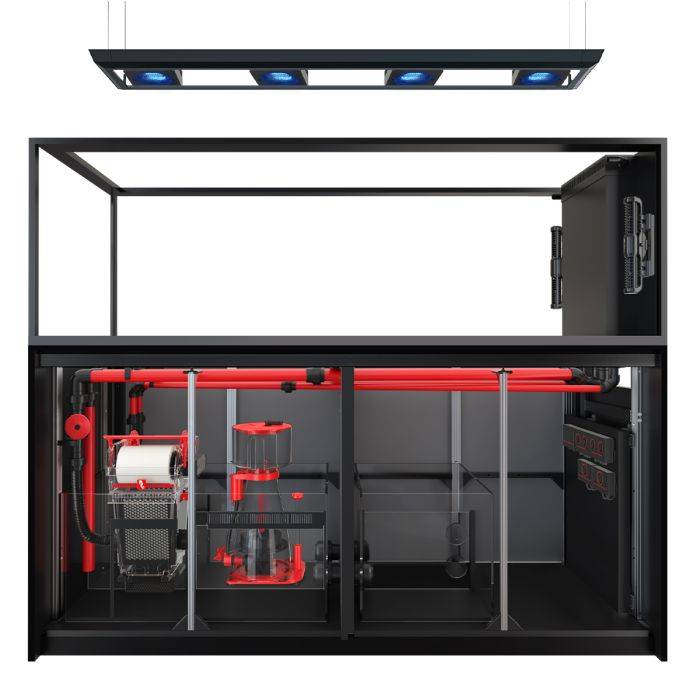
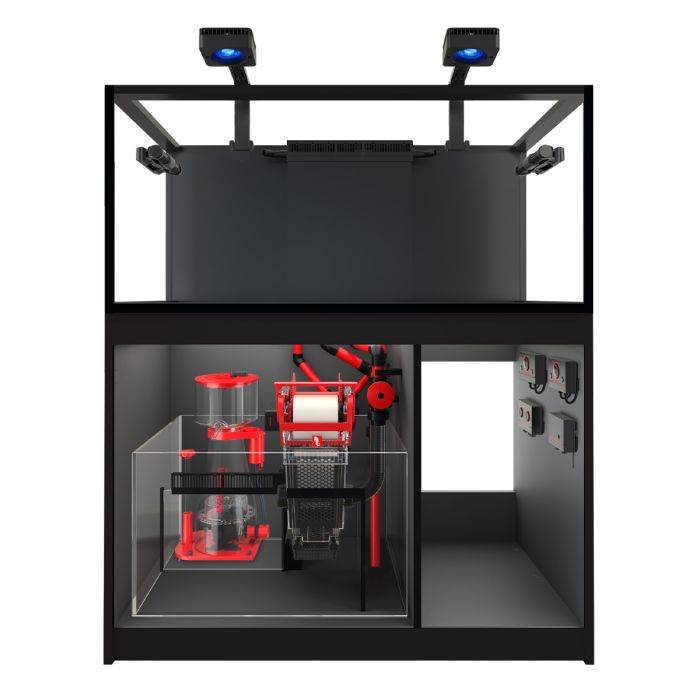
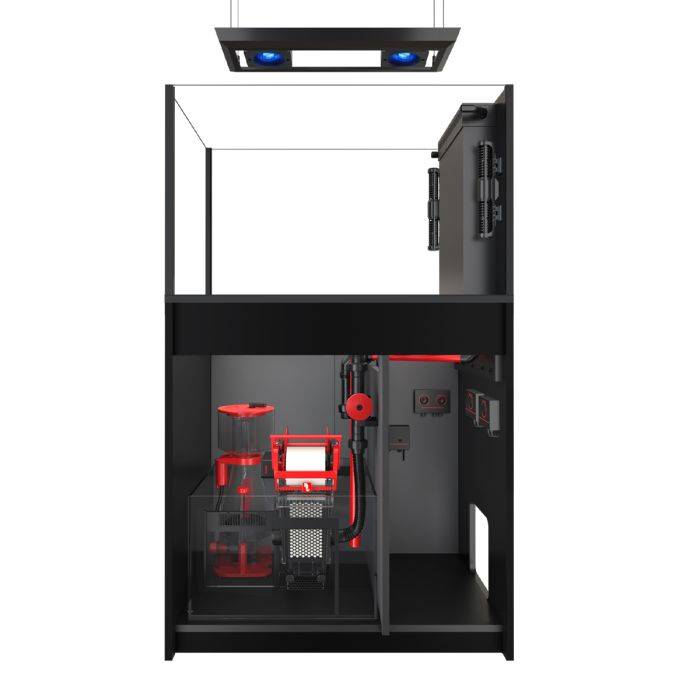
Affiliate disclosure: This article contains an affiliate link. If you purchase through it, My First Fish Tank may earn a commission at no additional cost to you. The HelloReef kit is included because it is the exact aquarium path discussed here.
Where Week 2 fits: This public video supports both Week 2 and Week 3. Week 2 starts at the beginning and covers water, flow, lighting, the heater, and the thermometer. The cycle becomes Week 3 at about 5:05.
Choose Water That Gives the Aquarium a Clean Start
Tap water is designed to be safe for people, not necessarily ideal for a reef aquarium. Its mineral and contaminant profile can vary by location and season. Chlorine or chloramine may be present, and other dissolved material can contribute to algae or make future troubleshooting harder.
For a beginner saltwater aquarium, use water that is clearly identified and suitable for aquarium use. Reverse-osmosis deionized water—RO/DI—is the standard choice because the filtration process removes the large majority of dissolved material. Properly produced distilled water can also work.
If you purchase water from a store, do not assume that every jug labeled “filtered” is the same. Read the label, understand the process, and use a TDS meter when practical to confirm the quality of RO or RO/DI water. Keep the source consistent so a change in water does not become a hidden variable later.
Finish the Electrical-Safety Plan Before Filling
Water will eventually reach places you did not intend. A wet hand, a hose that slips, condensation, or a small spill is enough to make poor cord placement matter.
- Use appropriate GFCI protection for aquarium equipment.
- Create a drip loop in every cord so water reaches the low point before it can run toward the plug.
- Mount or position the power strip away from the floor and away from likely splash or overflow areas.
- Keep plugs accessible. Do not trap a critical connection behind a filled aquarium.
- Label the cords so you can quickly identify the return pump, circulation pump, heater, and light.
- Never energize a heater or water pump while it is dry.
If the outlet, circuit, support, or cord route raises a genuine question, pause and get qualified help. Drip loops are important, but they are not a replacement for appropriate electrical protection.
Prepare the First Batch of Seawater
The safest general habit is to mix saltwater in a clean container dedicated to aquarium use. Never use a container that has held soap, cleaners, pesticides, automotive fluids, or anything else you would not want in the aquarium.
The complete course may demonstrate a specific first-fill method for this empty kit. Follow the current HelloReef, salt, and equipment instructions when they apply. After the aquarium contains animals, rock biology, or established water, never add dry reef salt directly to the display as a routine correction or water-change method.
Calibrate Before You Trust the Salinity Number
A refractometer or other salinity instrument is only useful when it is clean, calibrated, and used correctly. Calibrate it with the appropriate reference solution and follow its instructions for temperature, sample placement, cleaning, and reading.
A common target for a reef aquarium is approximately 35 parts per thousand, often displayed around 1.025–1.026 specific gravity at reef temperature. The important word is measured. Your target and instrument instructions control; a cup or scoop count does not.
If salinity is too high
Remove a small amount of saltwater and replace it with purified freshwater. Allow the system to mix, then measure again. Make small corrections rather than chasing the number with large swings.
If salinity is too low
Correct it with properly mixed saltwater, not a pile of undissolved salt in the display. Again, make the change gradually, allow complete mixing, and retest.
Fill Slowly and Establish the Operating Water Level
Protect the sand with a clean plate, plastic bag, or another aquarium-safe surface and add the measured seawater slowly. This will not eliminate every cloud, but it can keep the sand from being thrown across the display.
As water reaches the rear chambers, confirm that it follows the intended path through filtration and reaches the return-pump chamber. The normal operating level matters because evaporation will appear most clearly in the return area. Record or mark that normal level so future top-off becomes consistent.
Inspect the aquarium, plumbing, and rear chambers for leaks before energizing equipment. A few minutes spent checking now can prevent a much larger problem.
Bring the Temperature Up Gradually
Install and operate the heater according to the current manufacturer instructions, including minimum water level, orientation, and any required calibration. Use a separate thermometer to verify the actual water temperature rather than trusting the heater dial alone.
For this beginner tropical path, the goal is a stable temperature in the upper 70s Fahrenheit; approximately 77–79°F is a practical operating range. Stability matters more than repeatedly adjusting the heater to chase tiny changes.
Tune Flow for the Whole Aquarium
The return pump moves water through filtration. The circulation pump adds movement inside the display. Together, they should keep water moving around the aquascape and across the sand without creating a sandstorm or blasting one location.
Start with the return nozzle aimed so its flow travels across the display instead of directly into nearby rock. Position the circulation pump where it can add broad movement without drawing air from the surface. Then observe:
- Does the surface move enough for healthy gas exchange?
- Are there quiet pockets behind or beneath the aquascape?
- Is sand being pushed into piles?
- Does the return chamber remain at a safe operating level?
- Can every pump still be removed for cleaning?
You will make small adjustments after animals and food enter the aquarium, but the basic circulation pattern should be broad, quiet, and repeatable before Week 3.
Set a Consistent Lighting Approach
Install the light securely, route its cord safely, and follow the current manufacturer and HelloReef instructions for connection and programming. Exact app screens, presets, intensity, and the kit-specific schedule belong in the complete course because equipment and software can change.
For now, keep three things simple:
- Use a consistent daily schedule rather than changing it whenever the aquarium looks different.
- Do not assume maximum intensity is useful before photosynthetic animals are present.
- When a coral or anemone is eventually added, use an appropriate light-acclimation plan rather than exposing it to an abrupt increase.
Week 3 will bring nutrients and biological activity into the system. Excess light during the earliest stage can make normal new-tank algae more noticeable without making the cycle happen faster.
Before You Move On to Week 3
- The source water is clearly identified and suitable for aquarium use.
- Power connections are protected, accessible, and served by appropriate GFCI protection.
- Every cord has a drip loop and no power strip sits in a likely spill area.
- Saltwater was prepared with current instructions and dedicated clean equipment.
- The salinity instrument is calibrated and produces repeatable readings.
- Salinity is measured within the selected target range.
- The aquarium and rear chambers are leak-free at the normal operating level.
- The heater is submerged correctly and a separate thermometer confirms stable temperature.
- The return and circulation pumps create broad flow without air intake or a sandstorm.
- The light is secure and follows a consistent, conservative plan.
Next: Cycle the Aquarium and Build Stable Habits
In Week 3, I’ll explain what the cycle is doing, how to know when it is finished, how to replace evaporation correctly, and what to expect when the new tank starts looking a little ugly.
The Free Guide Versus the Complete Course
This free series gives you the basics and tells you what to pay attention to. The complete HelloReef course included with the kit has more than 50 detailed videos showing the exact equipment and each part of the setup.
If you have not completed the dry setup, return to Week 1 before filling. If you are still choosing an aquarium, use the Start Here guide or compare all three beginner aquarium options.
View the HelloReef kit and complete course at Bulk Reef Supply.