Nuisance Algae in Saltwater Aquariums
A practical identification and removal guide for diatoms, film algae, hair algae, bubble algae, turf algae, cyanobacteria, bryopsis, and dinoflagellates.
Nuisance algae is frustrating. I get it. But it is also your aquarium telling you that something needs attention. It might be the lights, available nutrients, source water, flow, maintenance, or simply a young tank still finding its balance. Before you buy an animal or pour in a treatment, figure out what you are actually looking at. Then check your water parameters, remove what you can, and work on the reason it keeps coming back.
I’ll walk you through the most common look-alikes, the removal methods that are actually worth trying, and the situations where a treatment may—or may not—make sense. If you need the maintenance basics first, start with how to do a water change.
The short answer: remove algae while fixing the reason it grows
Do not start with a chemical cure. Confirm nutrients and lighting, remove growth manually, then improve export and competition.
 Start hereManual removal toolsPhysically remove as much algae as possible before changing several systems at once.Check Gravel Vacuum Options →
 Fix the source waterUse reliable RO/DI waterSource-water impurities can keep feeding the problem even when the display looks cleaner.Check RO/DI Systems →
 Improve export only if neededChoose an export method you will maintainA refugium or skimmer works only when it matches the tank and receives regular maintenance.Check Refugium Options →
Identify the growth before you treat the tank
Color is not enough. Look at texture, where it grows, whether it traps bubbles, and how easily it siphons away. Use this as a starting point—not a substitute for close-up photos or microscopy when the treatment carries real risk.
Click any image to expand it.
| What it looks like | Likely match | Best first move |
|---|---|---|
|
Dusty tan coating that wipes awayPhoto: © Bulk Reef Supply
|
Diatoms | Siphon or wipe it away; check source water and let a young tank mature. |
|
Thin green film on glassPhoto: © Marine Depot
|
Film algae | Scrape the glass and shorten the interval between cleanings. |
|
Long green strandsPhoto: © My First Fish Tank
|
Hair algae | Pull and siphon it while correcting excess light, detritus, and nutrient imbalance. |
|
Round green bubblesPhoto: © Marine Depot
|
Bubble algae | Remove carefully without spreading fragments; improve export. |
|
Dense, wiry matPhoto: © My First Fish Tank
|
Turf algae | Scrub outside the display when possible and reduce the conditions feeding it. |
|
Red or brown slimy sheetPhoto: © My First Fish Tank
|
Cyanobacteria | Increase physical removal, improve flow and maintenance, and confirm nutrients. |
|
Feathery green branchesIllustration: Public domain via Wikimedia Commons
|
Bryopsis | Confirm the ID before considering a targeted treatment. |
|
Brown strings or mats with bubbles and a day/night cyclePhoto: © Bulk Reef Supply
|
Dinoflagellates | Confirm the species; avoid blindly stripping nutrients to zero. |
I) What is Nuisance Algae?
“Nuisance algae” is a hobby shorthand for unwanted growth that covers rock, sand, glass, equipment, or coral. Not everything in this guide is technically algae: cyanobacteria are bacteria, dinoflagellates are protists, and diatoms are microalgae with silica-based shells. The distinction matters because each responds to a different combination of manual removal, nutrient management, flow, lighting, and treatment.
A small amount of film algae is normal in a living reef. It becomes a nuisance when it spreads faster than routine maintenance can control it, irritates livestock, traps detritus, or blocks light from corals.


Before reaching for a bottle, look at color, texture, attachment, location, how quickly it returns, and whether it forms bubbles or strings. Test nitrate and phosphate, check source-water TDS, confirm the light schedule, and inspect low-flow areas. A correct identification prevents wasted money and reduces the risk of stressing fish, corals, and beneficial microbes with the wrong treatment.
1) Where Does Nuisance Algae Come From?
Algae and other microorganisms enter aquariums on rock, coral plugs, macroalgae, livestock water, equipment, and even airborne dust. Their presence is normal. An outbreak happens when the tank gives one organism an advantage—often available nutrients, long or intense lighting, accumulating detritus, unstable chemistry, immature biology, or weak export.
Trying to keep every spore out is unrealistic. Quarantine and inspection help reduce pests, but long-term control comes from making the display less favorable to the unwanted growth.
2) What Causes Nuisance Algae to Grow?
Most outbreaks have more than one cause. Common contributors include an overly long or intense photoperiod, excess food or trapped waste, inconsistent maintenance, poor flow, exhausted filtration media, nutrient imbalance, untreated source water, and the normal instability of a young aquarium.
Do not assume that any measurable nitrate or phosphate is “bad.” Corals and beneficial organisms need nutrients, and driving either value to zero can create new problems. Look for a stable trend, match export to feeding, and change one variable at a time so you can tell what is working.
a) Light
Photosynthetic pests use the same light that supports corals. Confirm that timers are working, remove accidental overnight light, and check whether the aquarium receives direct sunlight. If the schedule or intensity is excessive, reduce it gradually while watching coral response. A temporary blackout may suppress some growth, but it does not remove the underlying nutrient, flow, or maintenance issue.

b) Nutrient Levels
Nitrate and phosphate are not toxins at normal reef levels; they are nutrients that should be measured and kept reasonably stable. Persistent algae can still grow when a test reads low because the growth is consuming nutrients as they become available.
Review feeding, frozen-food rinse practices, detritus buildup, filter maintenance, source water, and export together. Avoid rapid corrections or chasing zero. A consistent routine is safer and more effective than reacting to a single test result.
II) Most Common Types of Nuisance Algae
Color alone is not enough for identification. Observe whether the growth is dusty, slimy, filamentous, bubble-like, or turf-like; note where it grows; and see how it behaves when siphoned. The following profiles are starting points. When the treatment risk is high, confirm the organism with close-up photos or microscopy before acting.
1) Diatoms

Diatoms usually appear as a dusty tan or brown coating on sand, rock, and glass, especially in new aquariums. They wipe away easily and often return quickly. New-tank diatoms commonly fade as available silicate is consumed and the system matures.
Siphon or wipe them during maintenance, keep mechanical filtration clean, confirm that RO/DI water is producing low TDS, and avoid drastic nutrient reduction. A persistent bloom in an established tank is a reason to check source water, exhausted DI resin, detritus, and recent additions.
2) Film Algae

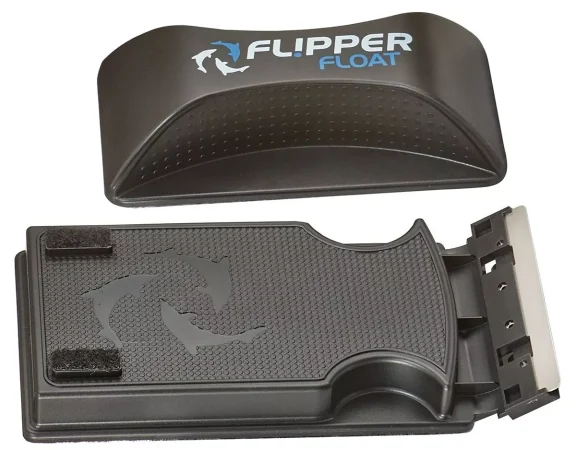
A thin green or brown film on the glass is normal and is usually handled with a magnetic cleaner or scraper. Clean carefully near the sand so grit does not scratch the glass or acrylic. If a heavy film returns every day, review feeding, light duration, source water, and filtration maintenance rather than treating the glass alone.
3) Hair Algae

Green hair algae forms soft strands that wave in the current and can trap detritus. Pull or brush out as much as possible while siphoning, improve flow through debris-prone areas, and keep nitrate and phosphate stable instead of forcing them to zero. Appropriate snails or other grazers can help with new growth, but established tufts usually need repeated manual removal.
4) Bubble Algae
Bubble algae forms firm green bubbles singly or in clusters, often in shaded crevices. Remove the rock when practical and pry the holdfast loose while siphoning nearby. A broken bubble is not guaranteed to infest the whole tank, but careful removal limits fragments and released material. Emerald crabs sometimes eat bubble algae, yet their behavior is inconsistent and they are not a substitute for manual control.
5) Turf Algae

Turf algae forms a short, dense mat that is tougher to pull than hair algae. Scrape or brush removable rock outside the display, siphon loosened debris, improve flow, and prevent detritus from accumulating in the same area. Because turf regrows from material left behind, a steady removal schedule plus stable nutrient control is more reliable than a one-time treatment.
6) Cyanobacteria (not algae)

Cyanobacteria is a photosynthetic bacterium, not an algae. It often forms red, burgundy, green, or dark slimy sheets that lift in mats and trap bubbles. Siphon it out, improve flow across affected surfaces, clean accumulated waste, and correct excess organics without driving nitrate or phosphate to zero.
If basic corrections fail, a product labeled for cyanobacteria may be considered as a last resort. Follow the current label exactly, provide the required aeration, and watch oxygen-sensitive livestock closely. Remove dying material promptly.
7) Bryopsis

Bryopsis often has distinct feather- or fern-like branches and can anchor deeply into rock. Confirm the shape before treating because ordinary hair algae can look similar at a glance. Manual pulling may leave holdfasts or spread fragments, so siphon while removing and clean tools outside the tank.
Fluconazole products such as Flux Rx are used by some aquarists for confirmed bryopsis. Use only according to the current product label, verify compatibility with all livestock and macroalgae, maintain aeration, monitor nutrients, and remove decaying growth. Do not use it as a general treatment for unidentified green algae.
8) Dinoflagellates

Dinoflagellates can appear as brown, golden, or rust-colored strings or mats, often with bubbles and a strong day/night cycle. Several species look similar but respond differently, so microscope identification is the most dependable next step before an aggressive treatment.
Check for bottomed-out nitrate or phosphate and restore measurable, stable nutrients gradually when appropriate. Increase biodiversity and physical removal, keep oxygen high, and clean mechanical filtration frequently. Ultraviolet sterilization helps only species that spend time in the water column; it is not universal. Bottled bacteria may support diversity, but no single bacterial product is a guaranteed cure.
III) How to Get Rid of Nuisance Algae
Use a simple sequence: identify the organism, test the water, remove as much as practical, correct the conditions that favor it, and then reassess. Take photos under white light and track nitrate, phosphate, alkalinity, temperature, salinity, and maintenance dates. Most outbreaks improve through repeated, modest actions rather than one aggressive intervention.
1) Lighting
Verify the actual photoperiod and intensity in the light app or timer. Reduce unnecessary white, red, or green channels only if they are excessive for the livestock, and make changes gradually. Clean salt creep from lenses and account for nearby windows. Lighting changes can slow photosynthetic growth, but they work best alongside manual removal and nutrient control.
2) Clean Up Crew (CUC)
A cleanup crew can absolutely help, but only if you give the right animal the right job. A snail that eats film algae is not going to magically remove a thick mat of cyanobacteria, and no animal can fix overfeeding, trapped waste, a light that runs too long, bad source water, or unstable nutrients. Match the animal to the growth you actually have, add only what the aquarium can feed, and expect established mats or long tufts to need manual removal first. Use my beginner cleanup crew guide to compare snails, crabs, and other grazers by the job they do—not by a gallons-based formula.
3) Manual Removal
Manual removal gives the fastest visible improvement and exports bound nutrients before the growth dies in the tank. During a water change, siphon loose mats and detritus, twist hair algae around a brush, and scrub removable rock in discarded saltwater. Clean tools outside the display and repeat weekly as needed so fragments are not spread throughout the aquarium.
4) Refugiums
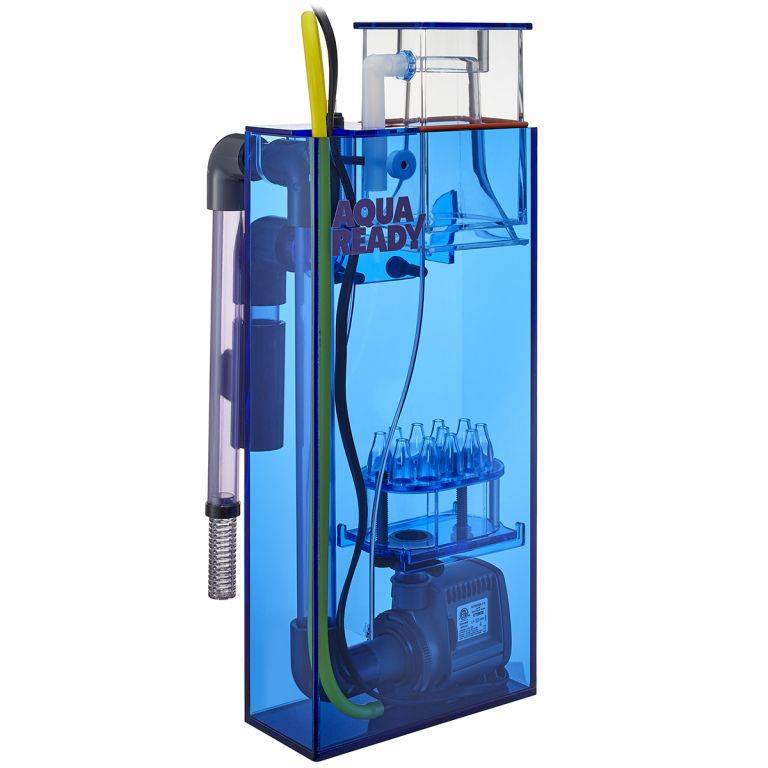
Macroalgae in a refugium is different from nuisance algae growing all over the display. You are growing it on purpose, under its own light, so it can use nutrients and then leave the system when you harvest it. A refugium can be useful, but it is optional and it is definitely not a guaranteed algae cure. Give it enough room and flow, keep the macroalgae healthy, and harvest it regularly. If it stops growing or starts dying, check the light, nutrients, iron, flow, and pests instead of assuming it is still helping.

5) Skimmers
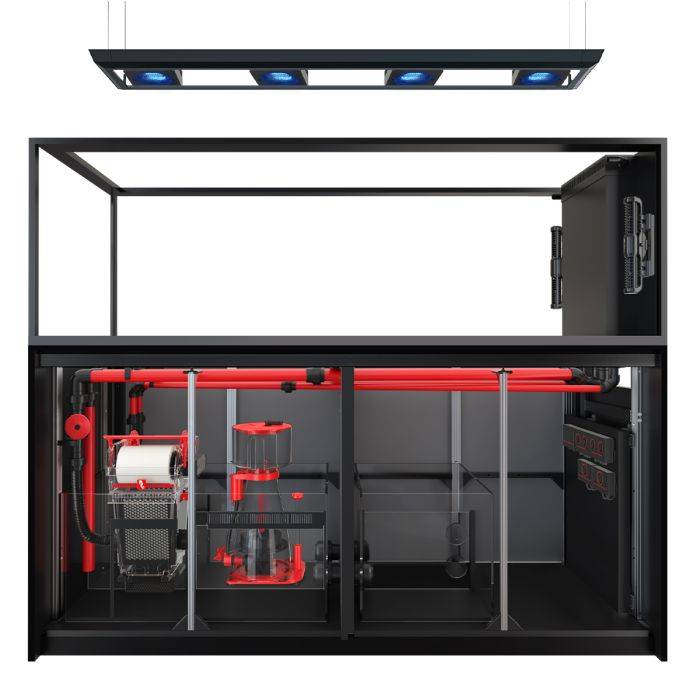
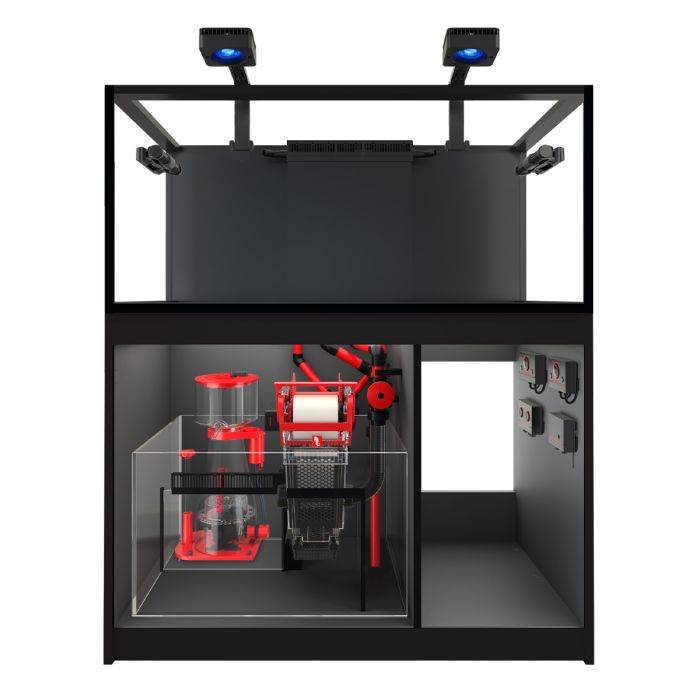
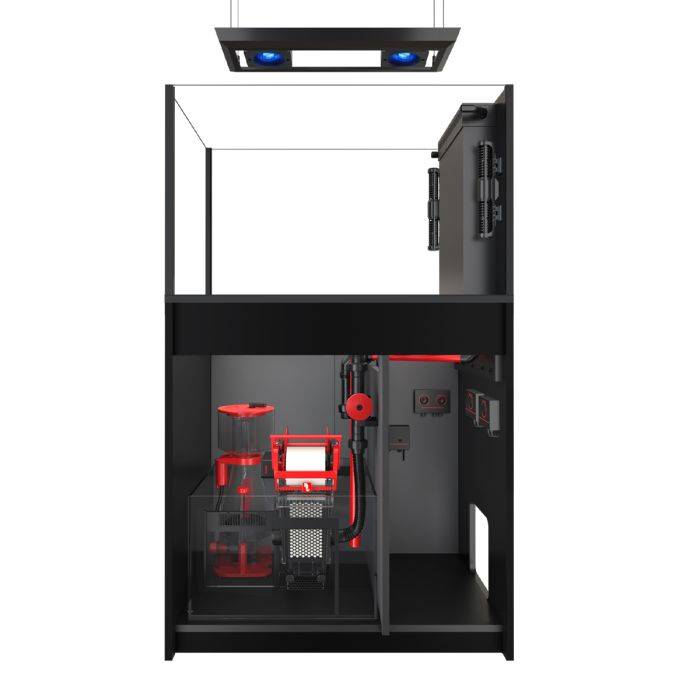
A protein skimmer removes dissolved and particulate organic material before more of it breaks down. Tune it for stable foam, keep the neck and air intake clean, and choose a model appropriate for the system and feeding level. A skimmer can support nutrient control, but it does not replace water changes, mechanical filtration, or detritus removal.
6) RO/DI Water
Tap-water quality varies by location and season. Starting with properly maintained RO/DI water makes salinity and nutrient control more predictable and helps avoid importing nitrate, phosphate, silicate, copper, or other contaminants. Monitor product-water TDS, replace sediment and carbon filters on schedule, and change DI resin before exhaustion. Test the source rather than assuming clear water is pure.
7) Chemicals
Use chemical treatments only after you are confident about the identification and have corrected the cause. Read the current label, calculate true water volume, confirm livestock compatibility, increase aeration when directed, and remove carbon, UV, or other media only if the manufacturer instructs you to do so. Never combine treatments.
ChemiClean is marketed for red cyanobacteria, while Flux Rx is a fluconazole product generally used for bryopsis. Neither is a universal algae cure. Monitor the aquarium closely and remove dying material so it does not create an oxygen or nutrient spike.
8) Media & Reactors
Mechanical media captures particles only if it is changed or cleaned before trapped waste breaks down. Chemical media should be selected for a measured need. Granular ferric oxide can lower phosphate, but aggressive use may strip it too quickly and stress corals. Start with a conservative amount, follow the manufacturer’s instructions, and retest before adding more.
A media reactor forces water evenly through carbon, GFO, or another medium, improving contact compared with a passive bag. It can be useful, but it is not required for every aquarium. Use the correct flow for the media, prevent grinding or clumping, start small, and monitor the result with testing rather than running the reactor on autopilot.