

A routine you can actually follow
Saltwater Aquarium Maintenance Guides
Saltwater aquarium maintenance does not need to take over your life. The trick is knowing what actually needs to happen every day, every week, every month, and only when the tank tells you it is time. I’ll help you build a routine that fits your aquarium, your equipment, and the amount of time you really have.What maintenance really means
Four Jobs Keep the Routine Simple
You do not need to memorize a giant list of chores. Almost every maintenance job fits into one of four groups. Start with the reason for the work, then choose the task.Test
Measure the things that can change a decision. Trends matter more than collecting numbers you never use.Remove waste
Clean the glass, replace dirty mechanical media, siphon debris, and change water when the aquarium actually needs it.Service equipment
Keep pumps, chambers, filters, sensors, tubing, and life-support equipment working the way they are supposed to work.Start here, then adjust
Daily, Weekly, and Monthly Maintenance Tasks
This is a useful starting schedule, not a law. Your tank size, stocking, feeding, evaporation, equipment, test trends, and the age of the aquarium can all move a job earlier or later.Daily
Weekly & biweekly
Monthly & quarterly
Long-term & as needed
Keep the basics nearby
Useful Aquarium Maintenance Gear
You do not need a closet full of gadgets. These guides cover some of the most common maintenance equipment I recommend for making routine jobs easier, safer, and more accurate.RO/DI Filters

Test Kits

Salinity Testers

Aquarium Heaters

Maintenance Tools

Algae Scrapers

Looking for something else?
View All Gear Guides
Troubleshooting
Something wrong with your tank?
Choose the problem you need help with, then open the guide that matches what you are seeing.
How to Test Saltwater Aquarium Water
Get consistent test results, record them, and use trends to understand what your aquarium needs.
Read the Water Testing Guide
Nuisance Algae in Saltwater Aquariums
Identify common nuisance algae and learn how to remove it while addressing what is helping it grow.
Read the Nuisance Algae Guide
How to Get Rid of Dinoflagellates
Learn how to identify dinoflagellates and choose a response that fits the problem in your reef tank.
Read the Dinoflagellates Guide
Common Saltwater Fish Diseases
Compare the signs of marine ich, velvet, flukes, bacterial infections, and other common fish diseases.
Read the Fish Disease Guide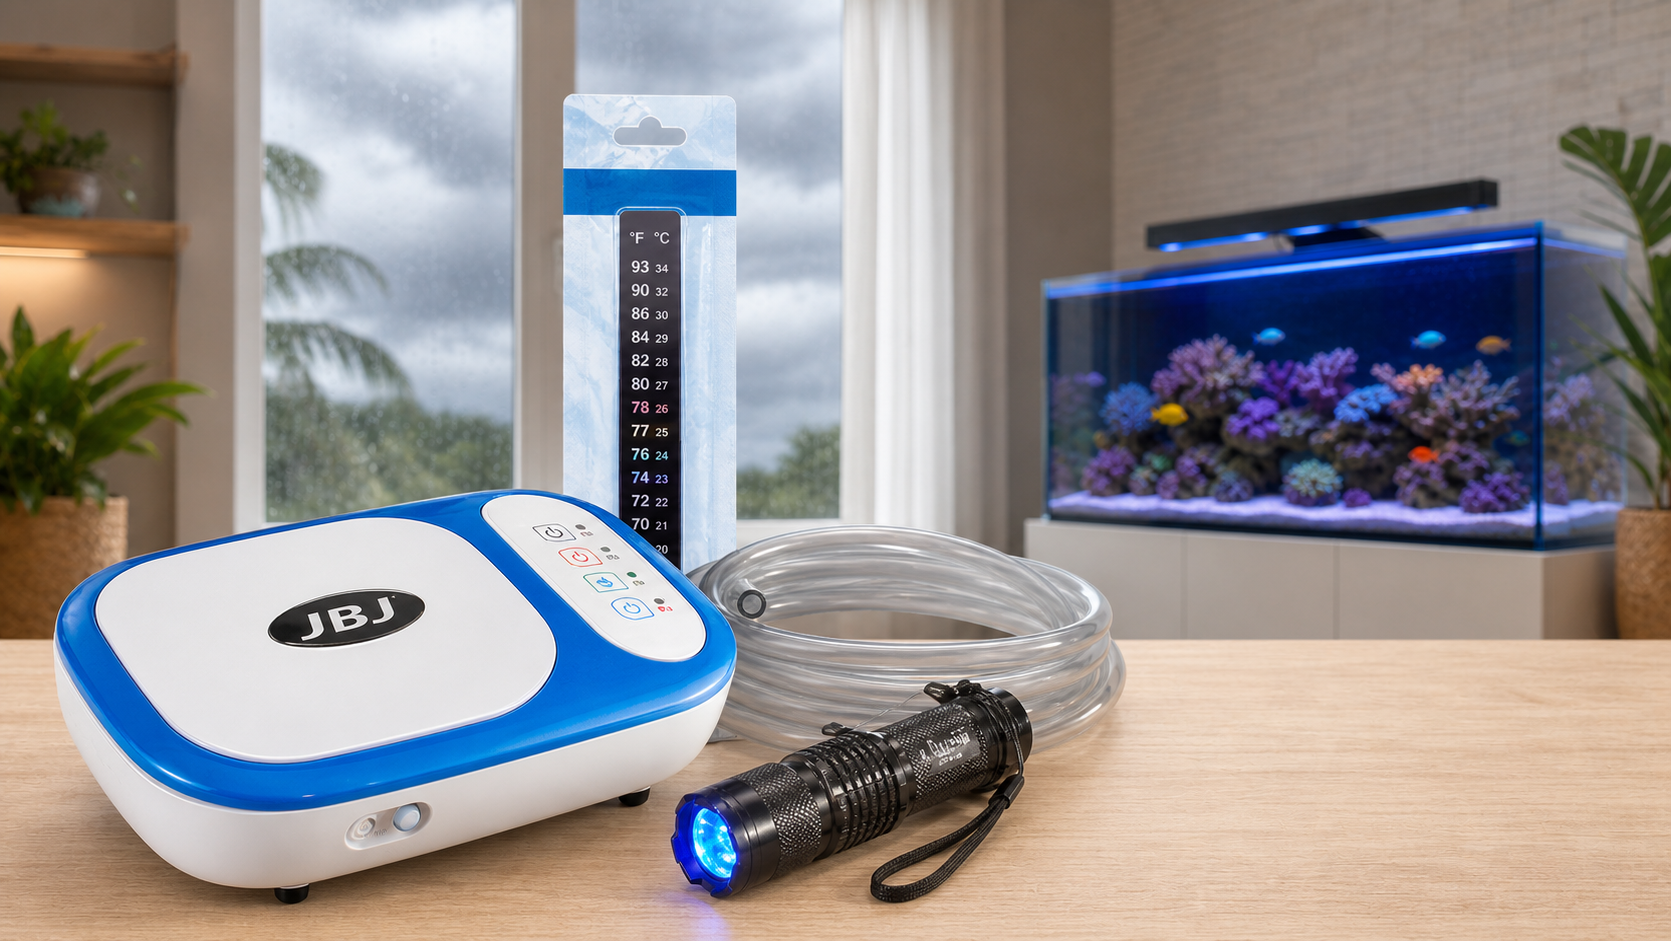
Power Outage and Vacation Planning
Prepare your aquarium for a power outage or time away with backup equipment and a clear care plan.
Read the Emergency Planning Guide
The Beginner’s Guide to Saltwater Fish Medication & Treatment
Understand common medication categories, when to use a hospital tank, and what to check before treating a sick fish.
Read the Fish Medication GuideWater Changes, Mixing, and Testing

How to Do a Saltwater Aquarium Water Change
Follow the process from preparing saltwater and siphoning debris to refilling the tank and restarting your gear.
Read the Guide
How to Make Saltwater for an Aquarium
Learn what you need to mix saltwater and how to check it before adding it to your aquarium.
Read the GuideHow to Test Saltwater Aquarium Water
Get consistent test results, write them down, and use the trends to understand what your tank needs.
Read the Guide
Recommended Saltwater Parameters for Reef Tanks
Review the water parameters I track and what to consider when a reading looks off.
Read the Guide
Water Chemistry, RO/DI, and Salt
Take a deeper look at water chemistry, purified water, and the basics behind mixing and testing saltwater.
Read the GuideCleaning and Servicing Equipment

How to Clean Aquarium Filters and Skimmer Cups
Learn how to service socks, floss, sponges, and skimmer cups without stripping away your biological filtration.
Read the Guide
How to Clean a Sump or Rear Filter Chamber
Remove the debris collecting behind or below your tank, then put everything back and check the restart.
Read the Guide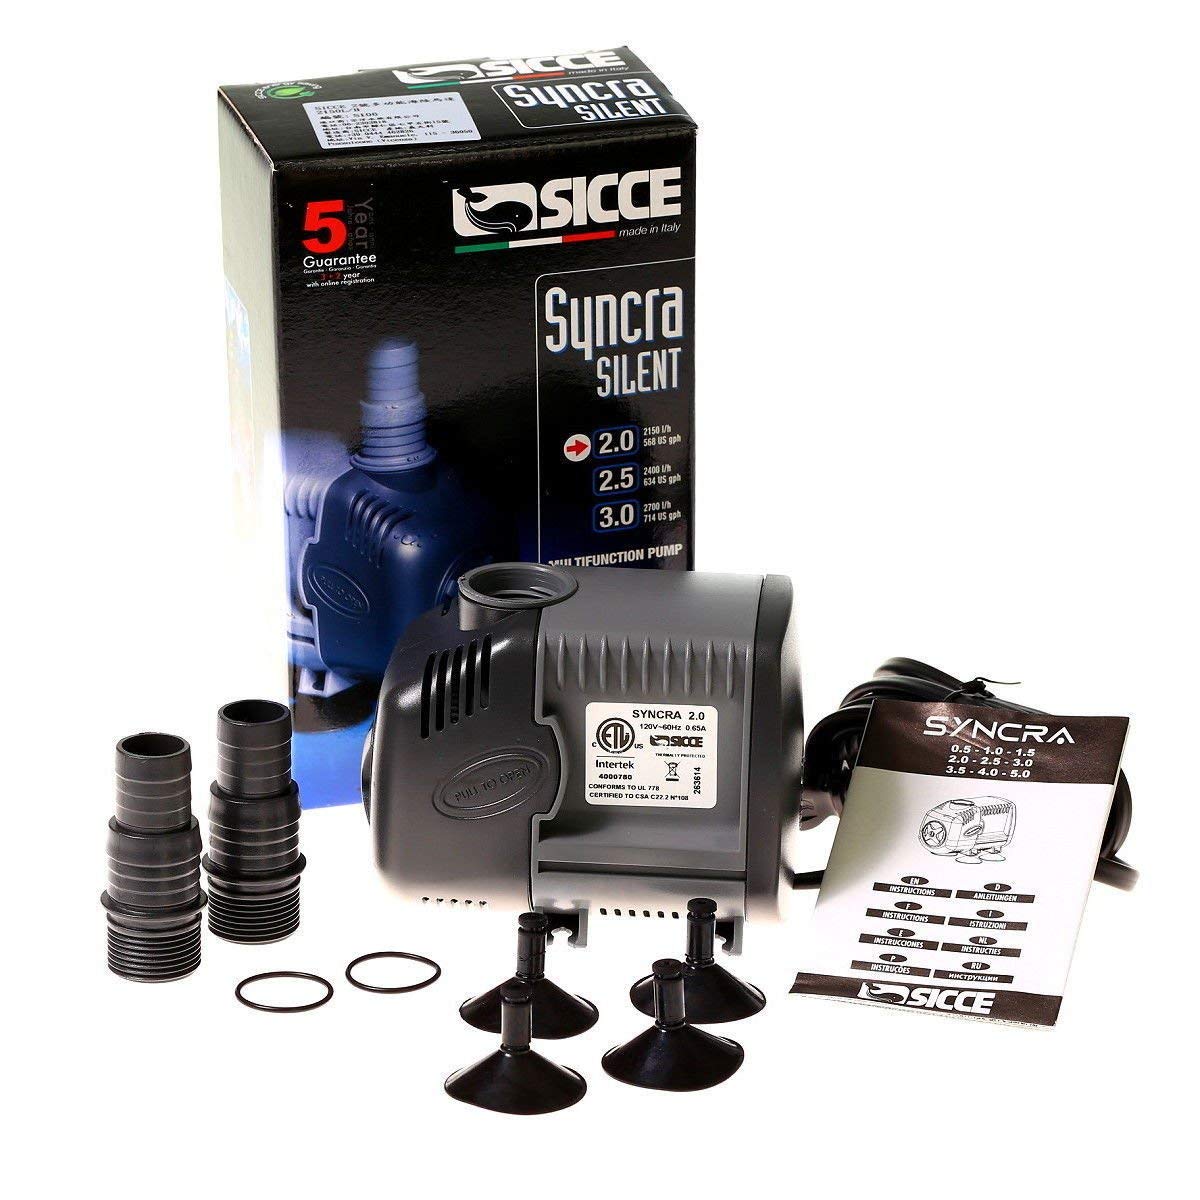
How to Clean Saltwater Aquarium Pumps
Walk through pump cleaning, reassembly, and the checks to make before leaving the tank running.
Read the Guide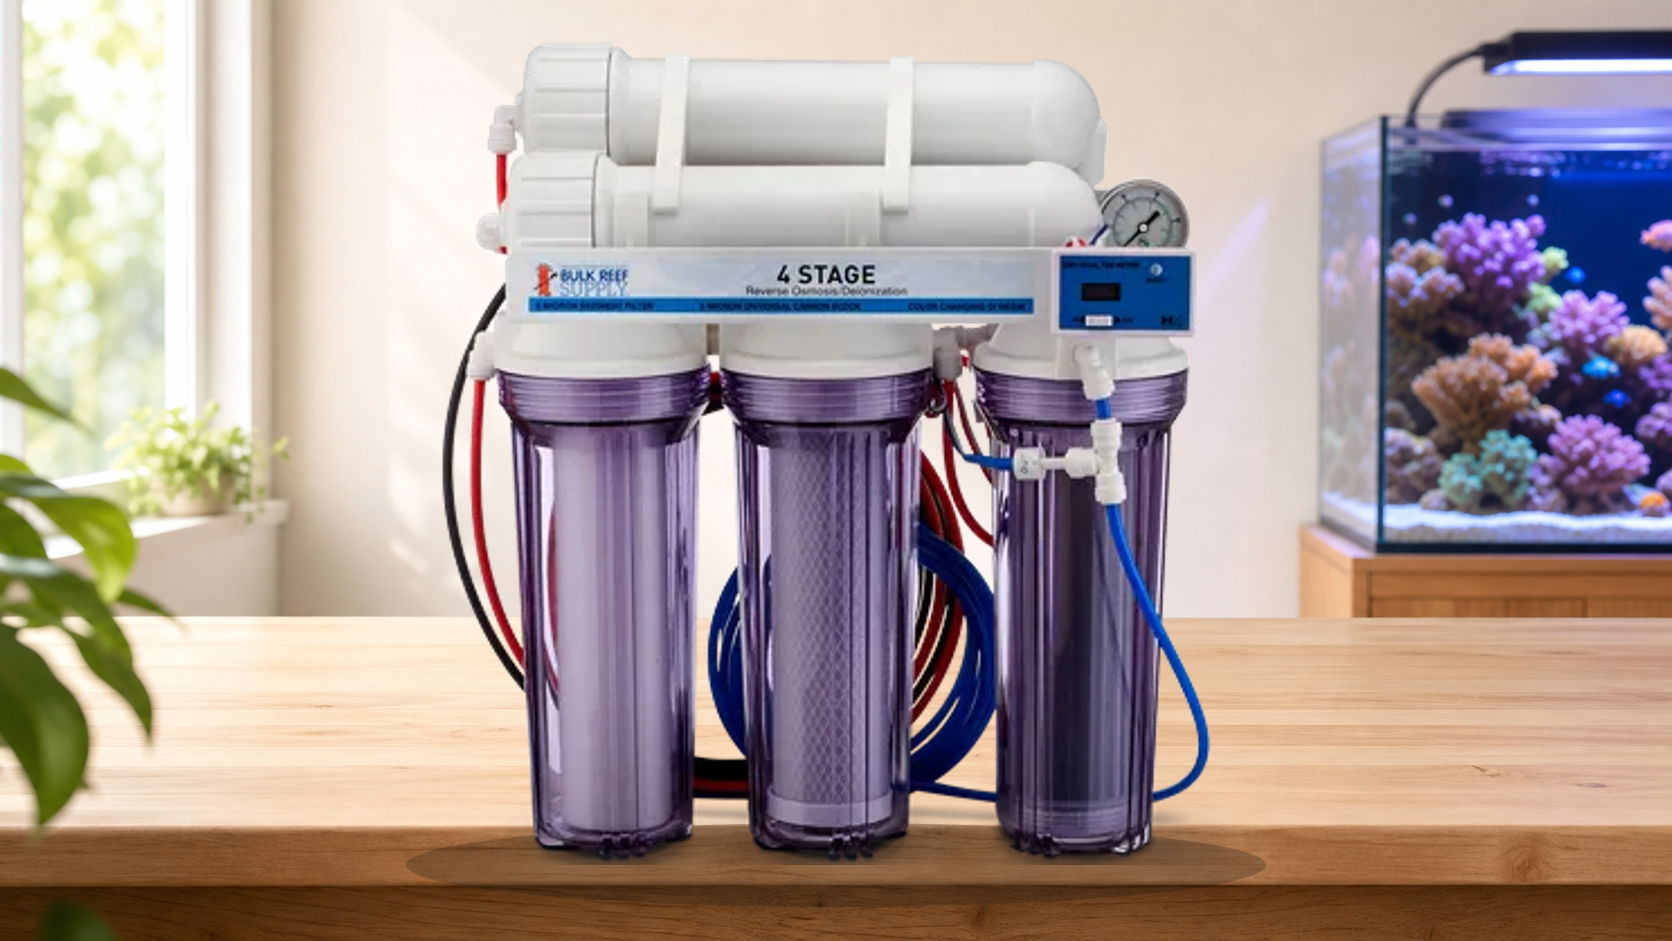
How to Replace RO/DI Filters
Find out which filter stage needs attention and how to replace it, flush the system, and check the finished water.
Read the Guide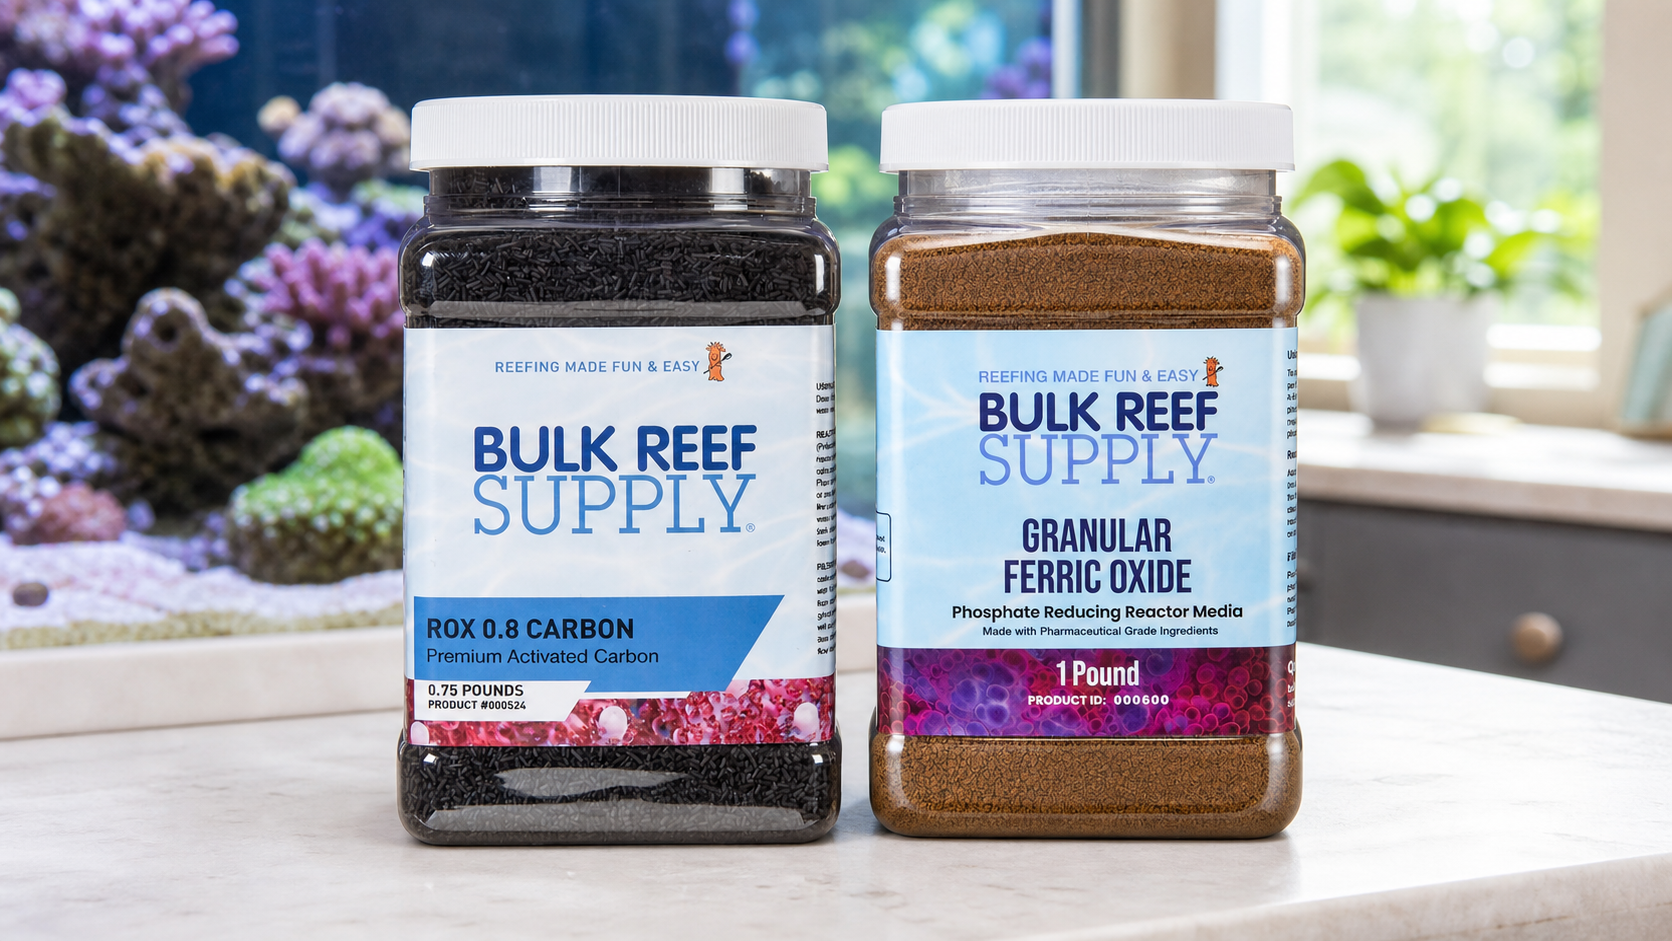
Activated Carbon and GFO
Learn what each medium does, when it may help, and how to monitor it in your reef tank.
Read the GuideAlgae Control and Planning Ahead
Nuisance Algae in Saltwater Aquariums
Identify common nuisance algae and learn how to remove it while addressing what is helping it grow.
Read the GuideHow to Get Rid of Dinoflagellates
Learn how to identify dinoflagellates and choose a response that fits the problem in your reef tank.
Read the GuidePower Outage and Vacation Planning
Prepare your aquarium for a power outage or time away with backup equipment and a clear care plan.
Read the Guide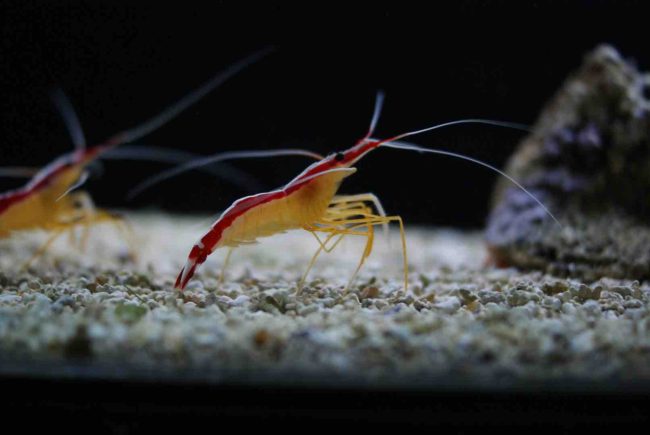
Choosing a Cleanup Crew
Choose snails, shrimp, and other cleanup crew members for the jobs and food available in your tank.
Read the GuideCommon beginner questions
Saltwater Aquarium Maintenance FAQ
How often should I maintain a saltwater aquarium?
Use daily observation, weekly water changes and routine maintenance, monthly or quarterly equipment care, and an as-needed plan for larger service and emergencies. Then adjust that schedule using tank size, stocking, feeding, evaporation, equipment, test trends, and visible performance.What should I check every day?
Look at the animals, temperature, water level and top-off, flow, equipment operation, leaks, unusual sounds, and anything that changed since yesterday. The full daily check should usually take about five minutes.How often should I change the water?
I recommend a weekly water change, especially for beginners. How much water you change depends on your tank, livestock, feeding, and water-test results. Start with a consistent weekly routine and adjust the amount as you learn what your aquarium needs. Use the saltwater aquarium water-change guide for the complete process.Do small saltwater tanks need more maintenance?
Not automatically more chores, but they usually deserve faster observation and tighter corrections because evaporation, salinity, temperature, feeding, and waste can change a small volume quickly.Should I clean every filter and pump at the same time?
I generally would not turn ordinary maintenance into a complete system reset. Separate mechanical cleaning from biological filtration, follow the equipment instructions, stage larger jobs when practical, and verify every restart.What if I miss a week?
Observe and test before trying to catch up. Complete the most important due work in a sensible order instead of doubling every task. Give leaks, life-support failures, unsafe electrical conditions, and animal distress immediate attention.How do I know when carbon, GFO, pumps, or filters need service?
Use the material’s purpose, visible load, measured performance, flow, test trends, and current equipment or manufacturer guidance. One automatic monthly replacement date does not fit every tank or every product.What should I do before a vacation?
Verify top-off, feeding, monitoring, life support, backup power or air, supplies, and a reliable contact. Use only automation you have already tested, and avoid major last-minute changes.Take a break or keep exploring
Where Do You Want to Go Next?
Your maintenance routine is only one part of enjoying the aquarium. Choose the next stop that sounds useful right now.Need a Break?
Take a few minutes, dodge the obstacles, and see how far Swimmy Fish can make it. Play Swimmy Fish
Take a reef break
How Far Can Your Clownfish Swim?
Help a tiny clownfish swim through the reef. It takes one button to play, and the passages get harder as you go.
Play Swimmy Fish